
Table of Contents
Your nails can tell you a lot about how you treat yourself. That might sound poetic, but it’s also practical: peeled edges, ridges, peeling layers, or a glossy uniform surface—it’s all a report card on your habits. A good nail care routine isn’t about the polish color. It’s about what you do between manicures, the daily twenty-second gestures that keep your keratin strong, flexible, and properly hydrated.
Healthy nails grow slowly, so they reflect the way you cared for them three months ago. If you’ve noticed sudden peeling or brittleness, it usually isn’t the polish you used last week—it’s the dry, stripped environment you left them in for years. The good news? Nails respond quickly once you stop fighting them. You can see a visible difference within two weeks.
Why Your Nails Need a Routine (Not Just Polish)
Nails are made of keratin, the same protein found in your hair, but they have an important disadvantage: the visible nail plate is dead tissue. It can’t repair itself once it leaves your cuticle. The only way to influence it is to create the right conditions as it grows out. Think of your nails as a sculpted piece of keratin that needs a daily protective film, a controlled moisture balance, and gentle handling.
Without a routine, water strips the intercellular lipid layer that holds keratin cells together. That leads to peeling, splitting, and those white patches that betray a weak surface. If you’ve ever tried to grow your nails and watched them snap at the first sign of progress, you know the frustration. A simple, consistent ritual fixes most of that.

A routine matters as much for your nails as it does for your hair. Building a nail care routine is a lot like building a hair care routine that actually works—you need the right sequence and the patience to repeat it. Once you have the sequence, everything else gets simpler.
The Core Nail Care Routine: Five Steps That Make a Difference
Here’s a routine that doesn’t take more than fifteen minutes a week plus a couple of small daily habits. It covers everything from shaping to hydration, and it works with natural nails, gel nails, or a bare skin day.
Step 1: Cleanse and inspect
Once a week, set aside a moment to scrub under your tips with a soft nail brush and a small drop of warm soapy water. Use a neutral-pH cleanser or castile soap. You’re not trying to deep-clean your hands; you’re removing oil and grime from around the cuticle, which prevents the nail from dying out and leaves a clean surface for treatments.
While you’re at it, look at your nails properly. Do they have dents (Beau’s lines)? Discoloration? A healthy nail should be painless and smooth. If something looks weird, it’s worth a doctor’s visit. And if you pick your cuticles without thinking, use a cuticle remover containing urea rather than a knife, and gently push back with a wooden stick.
Step 2: Shape with the right file, in the right direction
Skip the metal emery board. They cause micro-tears. Use a fine glass or ceramic file with a grit around 180–240, and only ever file in one direction, from the outside edge toward the center. Sawing back and forth is how you get ragged, split tips.
For a strong shape, keep length at the sides and keep it as close to a squoval shape as possible. Round and almond shapes look pretty but they cut corner strength, so if your nails bend easily, opt for a shorter, straight-side shape. File your nails dry, never after a shower, since wet nails flex more and can catch and tear.
Step 3: Oil and hydrate the cuticle area
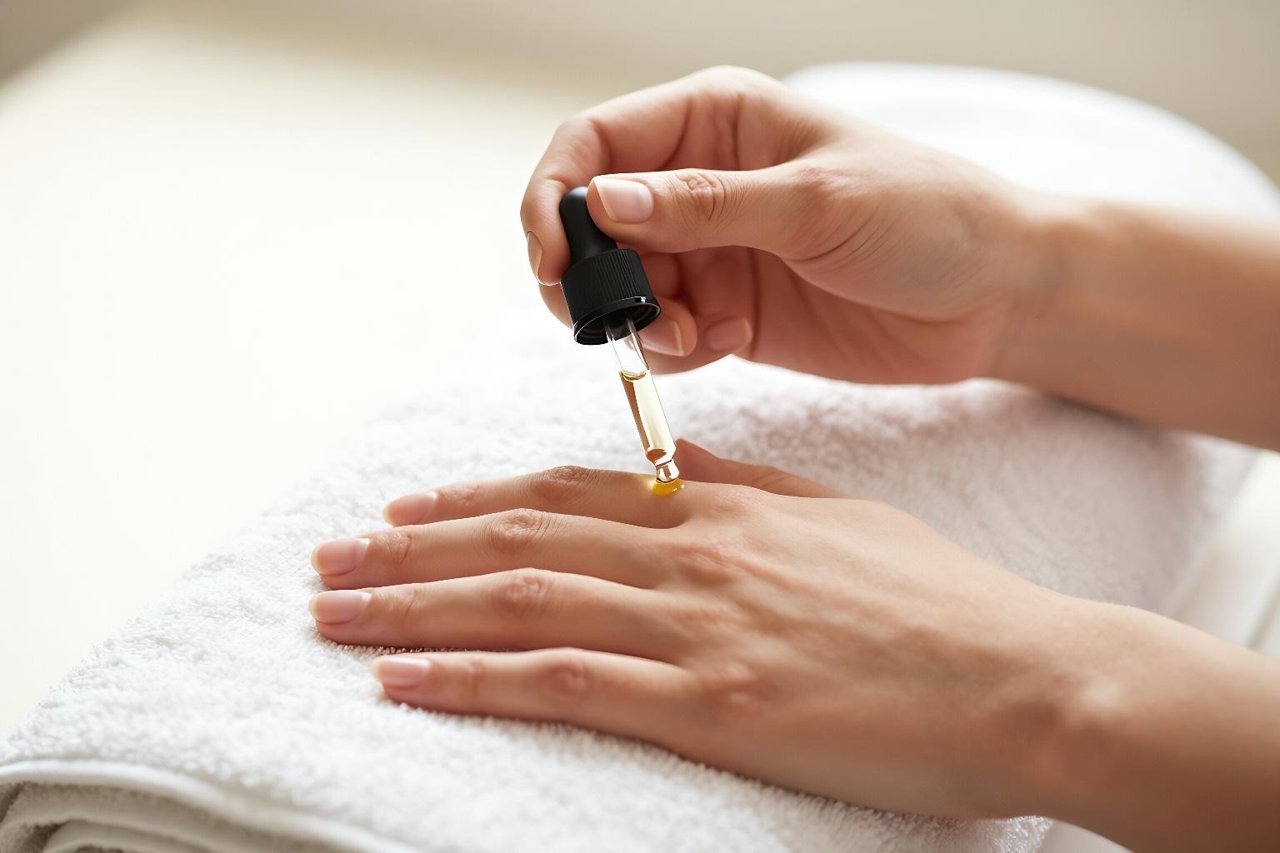
This is the step most people skip, and it’s the one that pays off fastest. Your cuticle is a living tissue that seals the proximal edge of the nail. When it dries out and pulls back, it exposes the nail matrix, letting moisture escape. A daily drop of cuticle oil massaged in for just ten seconds will stop peeling before it starts.
If you’re still wondering whether this is worth the effort, why cuticle oil should be a non-negotiable step in your nail routine explains the science and the visible payoff. The simple version: jojoba oil is chemically the closest to our natural sebum, and it actually changes the flexibility of the nail plate when used consistently.
Step 4: Use a base coat (even under polish-free days)
A base coat isn’t just something to paint under nail polish. It’s a physical barrier against water and impact. If you never wear polish, apply a thin layer of a breathable nail strengthener as a shield. If you do wear polish, base coat prevents staining from deep colors and keeps the polish from stripping your top layers when it eventually chips.
Nails in general do best with one of these three layers: a polish remover, base coat, polish, and top coat. But don’t overdo it. Too many layers of polish make the nail inflexible and prone to cracking. Give your nails a day or two with a fresh base coat only.
Step 5: Weekly maintenance session
Once a week, combine steps one through four after a shower when your cuticles are soft: push back cuticles, scrub under the free edge, file any rough spots, and apply a rich hand cream. This isn’t about an elaborate mani; it’s about consistency. Pair it with a routine you already have—like watching a TV episode or making tea—so you never skip it.
Here’s a quick list of the tools you’ll actually need for this routine:
- A fine glass nail file (180–240 grit)
- A soft nail brush
- A cuticle remover or urea-based gel
- A good cuticle oil (jojoba or argan)
- A thick hand cream
- A breathable base coat or nail strengthener
Choosing Products That Work (and Avoiding the Hype)
There are entire shelves devoted to nail growth serums and hardeners, but remember: most nail topcoats do nothing more than create a temporary film. The real work comes from your routine, not the label price.
If your nails peel and flex too much, you might think you need a hardening polish. But over-hardening is a common mistake. A nail that can’t flex at all will snap on the first bump. Instead, look for a nail strengthening treatment that uses amino acids and peptides, like one built around keratin proteins. They have the best chance of rebuilding the intercellular glue.
Growth serums are a different story. They won’t make your nail plate grow any faster; the nail matrix grows at a pretty steady rate and no topical serum will dramatically change it. What you can do is protect the length you already have, and ensure your diet includes protein, iron, and zinc. If you’re chasing a specific length, read the real nail growth treatment guide before you spend money on miracle bottles. It walks through what works, what doesn’t, and why most ‘growth’ products rely on good condition rather than rapid regrowth.
Protecting Your Nails in Daily Life
Water is your nails’ main enemy
Every time you wash dishes, soak in a bath, or wash your hands, water infiltrates the nail plate and then evaporates, taking lipids with it. After just one 20-minute soak, nails can become measurably softer and more absorbent. That’s why you should wear gloves for chores and keep hand lotion nearby if you wash frequently.
If you’re a regular gel wearer, extra protection isn’t optional. Gel polish requires a few extra steps for safe removal—pulling off gel can yank off the upper layers of your nail. The complete guide to gel nails covers exactly how to prep, care for, and remove yours without damage.
Treat your hands like you treat your teeth
You wouldn’t skip brushing for a week and expect a clean mouth. The same principle applies here: a quick dab of cuticle oil in the morning, a hand cream before bed, and gloves whenever you fill a sink. It’s not sophisticated, but it works.
Keep protein and moisture in balance
Nails need water to stay flexible and proteins to stay strong. If they’re too dry, they break. If they’re too soft, they peel. Combine a moisture-rich hand cream with an oil-based sealant, and you handle both. If your nails are chronically brittle, increase your protein intake and wait a few weeks. There’s no overnight hack.
How Long Until You See Results?
Nails grow at roughly three to four millimeters a month, so it takes about four to six months to grow an entirely new fingernail (toenails take twice as long). But you should notice improved cuticle health and softer, less flaky nail surfaces within two weeks. The reason is simple: the matrix cells that create the nail plate react to the environment they’re in. If you stop destabilizing the nail, the new growth will be strong from day one.
Give this routine one full month. At the end, take a photo of your bare nails in natural light and compare it to where you started. You’ll likely see a shinier surface, fewer ragged edges, and more length at the tips. That’s the routine working, not luck.
Keep it simple, keep it consistent, and let your nails do the slow, stubborn work.


