
Table of Contents
Finding a foundation that actually matches your skin can feel like a frustrating treasure hunt. You test a shade, get it home, and it looks orange. Or it settles into fine lines by lunch. The problem isn’t that the best foundation doesn’t exist. It’s that the best foundation for you is never the one a friend swears by or the most hyped product of the year. It’s the one you can apply in five minutes and forget is there. This guide walks you through the exact process, step by step, with concrete examples so you can stop guessing and start choosing.
Step 1: Know Your Skin’s Baseline
Identify your skin type accurately
Before you even look at swatches, you need to know your skin’s behaviour. Wash your face with a gentle cleanser, pat dry, and wait 30 minutes without applying anything. Then look at your nose, cheeks, and forehead. If your T-zone (forehead and nose) is shiny but your cheeks feel tight, you have combination skin. If everything greases up by noon, you’re dealing with oily skin. If your pores are almost invisible and your skin feels taut after cleansing, your skin is dry. That baseline matters more than any product name. For a deeper breakdown of how to match formulas to your specific skin type, this Estée Lauder guide to the best foundation by skin type goes into specific products, but the principle is universal: oily skin prefers oil-free, matte formulas, dry skin needs hydrating, luminous finishes, and combination skin works best with a buildable satin or powder finish.
Determine your undertone with an easy test
Undertone is the second half of the equation. It’s not the same as your surface colour. Look at the inside of your forearm. If your veins appear blue or purple, you’re cool. Green veins point to warm undertones. A mix of both means neutral. Another test: hold a piece of white paper next to your bare face. Cool skin looks pink or rosy next to white; warm skin looks yellow or golden. Neutral skin just looks neutral. This step often trips people up, but it’s critical. A foundation with the right undertone will melt into your skin; the wrong undertone is why a shade looks ‘off’ even when it’s technically the right depth.
Step 2: Pick the Right Formula for Your Skin’s Needs
Once your type and undertone are clear, you can narrow down formulations. Oily skin doesn’t need to avoid foundation entirely, it needs the right base. If your T-zone is your enemy by 2 p.m., look for words like ‘matte’, ‘oil-free’, ‘non-comedogenic’ on the label. Gel-based or water-based foundations are your best bet. This list of 9 best foundations for oily skin is a good starting point, but you can apply the same logic to any brand: check the finish, check the texture, and test it on your nose, your oiliest zone.

Dry skin counter-intuitively needs a dewy finish to look healthy. A sheer, hydrating coverage with glycerin or hyaluronic acid is better than a heavier matte that cracks by the end of the day. Combination skin often needs two zones handled separately: a mattifying primer on the T-zone and a hydrating foundation applied everywhere else. That’s not complicated once you separate the steps. The key is not to choose a foundation based on the best reviews online, but on what your skin actually does.
Step 3: Match Your Shade Like a Pro (Not Like a Makeup Artist)
The jawline test is overrated
Everyone says to test foundation on your jawline. That’s not always the best spot. The jawline is often lighter than your chest and neck, and it’s not representative of where you need coverage. A better place is the side of your face, just above the jawbone, extending down to your neck. You want the foundation to match both your face and your neck without a visible line. If you have a face that’s darker than your neck, match to your neck to avoid a mask effect. If your face is lighter, match to your chest when you’re wearing something low-cut. The goal is a seamless transition.
Test it, then wait (and wait)
A foundation can change colour as it oxidises. Swatch a few shades on your jaw and neck area, then walk around, run your errands, and check in natural light after 10 minutes. Don’t buy a foundation in the first five minutes of wearing it. Real-world example: I once watched a friend buy a shade that looked perfect in store. An hour later, it had darkened by more than a half-shade, and she looked tan in a bad way. Save yourself that trip. Also, always test in daylight, not under the store’s fluorescent lighting, because those lights turn every shade either pink or yellowish.
Step 4: Apply with Intent, Not Force
The tool matters more than you think
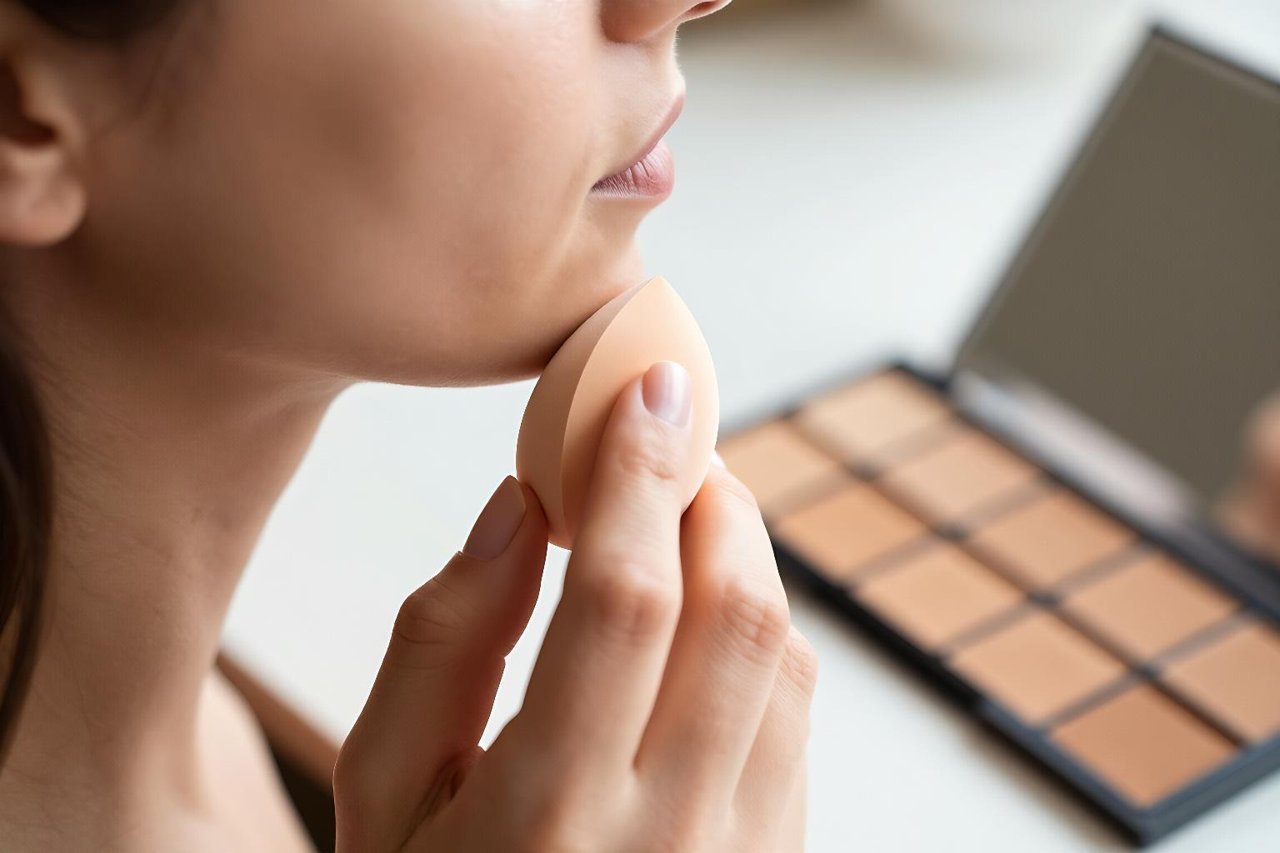
Your foundation is only as good as your application. A dense, buffing brush (like a flat-top kabuki) works well for medium coverage with a blender foundation. A damp beauty sponge gives a sheer, skin-like finish and is almost impossible to make look cakey, because the sponge absorbs the excess. Your fingers are still valid: they warm the product and press it into the skin, perfect for lightweight, cream-based foundations. Use them for quick morning routines when you need coverage in 60 seconds.
Build in thin layers
The biggest mistake is applying too much product at once. Start with a pea-sized amount. Dot it on your forehead, cheeks, chin, and nose. Blend from the centre of your face outward, using small patting or buffing motions. Then assess. If you need more coverage, add another thin layer to the spots that need it: around the nose, under the eyes, or on any redness. That layering technique gives you a natural finish without the cakey feeling. It also means you can get away with a lighter formula, which is often where the best foundation lies.
Step 5: Factor in Your Lifestyle and the Season
Not every day is a full-coverage day
Think beyond the product and into your actual routine. If you rush to work and have no time for touch-ups, a lightweight tinted moisturiser or a foundation stick you can swipe on in the car is a better pick than a heavy, full-coverage liquid that needs a brush and 15 minutes. Foundation sticks are especially underrated for on-the-go application. The 12 best foundation sticks for complete on-the-go coverage 2025 list shows how convenient a good stick can be, but the principle is about simplicity, not the exact product.
Your foundation should change with the weather
Your skin’s needs shift with humidity and temperature. A matte foundation that works in July sweats off by 10 a.m. in a humid September. A dewy formula looks gorgeous in winter but turns into a grease slick in summer. For spring, when humidity is low and you want a fresh vibe, switch to a lighter consistency. These best lightweight foundations for spring are exactly what they sound like: formulas that breathe. The same rule applies to everyone: seasonal foundation changes are not a luxury, they’re a necessity.
Step 6: Prep Your Skin First (Yes, This Is Part of Foundation)
A foundation can’t fix what’s underneath. If you have dry patches, flaky texture, or active breakouts, the formula will either cling to them or make them look worse. A solid skincare routine is step zero. Cleanse gently, moisturise, and use a primer that addresses your concern: blurring for large pores, hydrating for dryness, or colour-correcting for redness. If acne is your main obstacle, don’t just buy a heavy full-coverage foundation to hide it. Treat the skin first. This guide to the best acne products explains how to get your skin to a place where foundation is optional, not a mask. When your skin is healthy, even a sheer tint looks like the best foundation you’ve ever owned.
Put It All Together: A 10-Minute Morning Routine
Let’s take a real scenario. You have combination to oily skin, a neutral undertone, and you’re leaving for work in 15 minutes. Your routine might look like this:
- Splash your face with lukewarm water, apply a lightweight moisturiser, and prime just your T-zone with a mattifying primer.
- Dot a satin-finish liquid foundation (one match lighter than your jaw) across your face.
- Blend with a damp sponge for 30 seconds, starting at the centre.
- Set your T-zone with a translucent powder using a velour puff.
- If a fix is needed mid-day, a foundation stick in your bag can be rubbed on the nose, then buffed with your fingertip.
That’s the entire process. No make-up artist tricks. No 15-step routine. Just knowing your skin, your shade, and your tools well enough to make it efficient.


