
Table of Contents
If you’ve spent years fighting frizz or heat-styling your hair into submission every morning, a keratin treatment probably sounds like a miracle. The promise is simple: one salon visit, and your hair emerges smooth, shiny, and relatively low-maintenance for months. But before you book, there’s a lot to understand about what actually happens to your hair, the chemicals involved, and the aftercare that can make or break your results.
What Exactly Is a Keratin Treatment?
Keratin is a structural protein that naturally makes up your hair, skin, and nails. Over time, heat styling, chemical processing, and even regular washing deplete the keratin in your hair, leaving it rough, porous, and more prone to breakage. A keratin treatment aims to patch that up by coating the hair with a liquid keratin solution and then sealing it with heat from a flat iron.
Think of it less as a deep conditioning mask and more as a structural repair plus polish. The treatment doesn’t just sit on the surface; it penetrates the cuticle to some degree, smoothing the outer layer so light reflects off it better and frizz has a harder time finding a grip.
It’s Not Always About Straightening
Many people assume keratin treatment equals bone-straight hair. That’s not quite true. Different formulas and application methods produce different results. Some, like the classic Brazilian Blowout, are more about smoothing and taming frizz while keeping some body and movement. Others, often labeled as “prescriptive” or “straightening” formulas, are far more aggressive and can leave hair poker straight.

The key is to go in with a clear idea of what you want. A good stylist will tailor the solution, the timing, and the heat to your hair type and desired outcome. If you’re torn between a keratin treatment and other hair straightening treatments, it’s worth reading about the differences before you commit.
The Real Benefits of a Keratin Treatment
For the right candidate, the upsides are genuinely life-changing. You’re not just buying smoother hair; you’re buying hours of your life back.
- Frizz reduction: Even in humid weather, treated hair stays sleek and calm.
- Faster styling: Hair dries more quickly, and you might not need a blow dryer or flat iron at all.
- Less daily wear and tear: Because the hair is sealed, it’s more resistant to moisture damage and friction from towels and brushes.
- Long-lasting shine: The sealed cuticle reflects light evenly, so hair looks healthier immediately after the treatment.
But these benefits don’t come free. The treatment demands a strict aftercare routine, and the initial cost can be significant. Depending on your length and thickness, expect to pay anywhere from $150 to $500 per session, and the results typically last three to six months depending on your hair growth rate and how well you care for it.
What Happens During the Procedure?
Understanding the steps helps you know what you’re getting into. It’s not just a shampoo and go.
Your stylist will start with a clarifying shampoo that opens the cuticle and strips away product buildup. Then, they’ll coat your hair sections with the keratin solution, making sure every strand is covered. You’ll sit under a processing heat cap or wait in a warm room while the solution sets for 20 to 40 minutes.
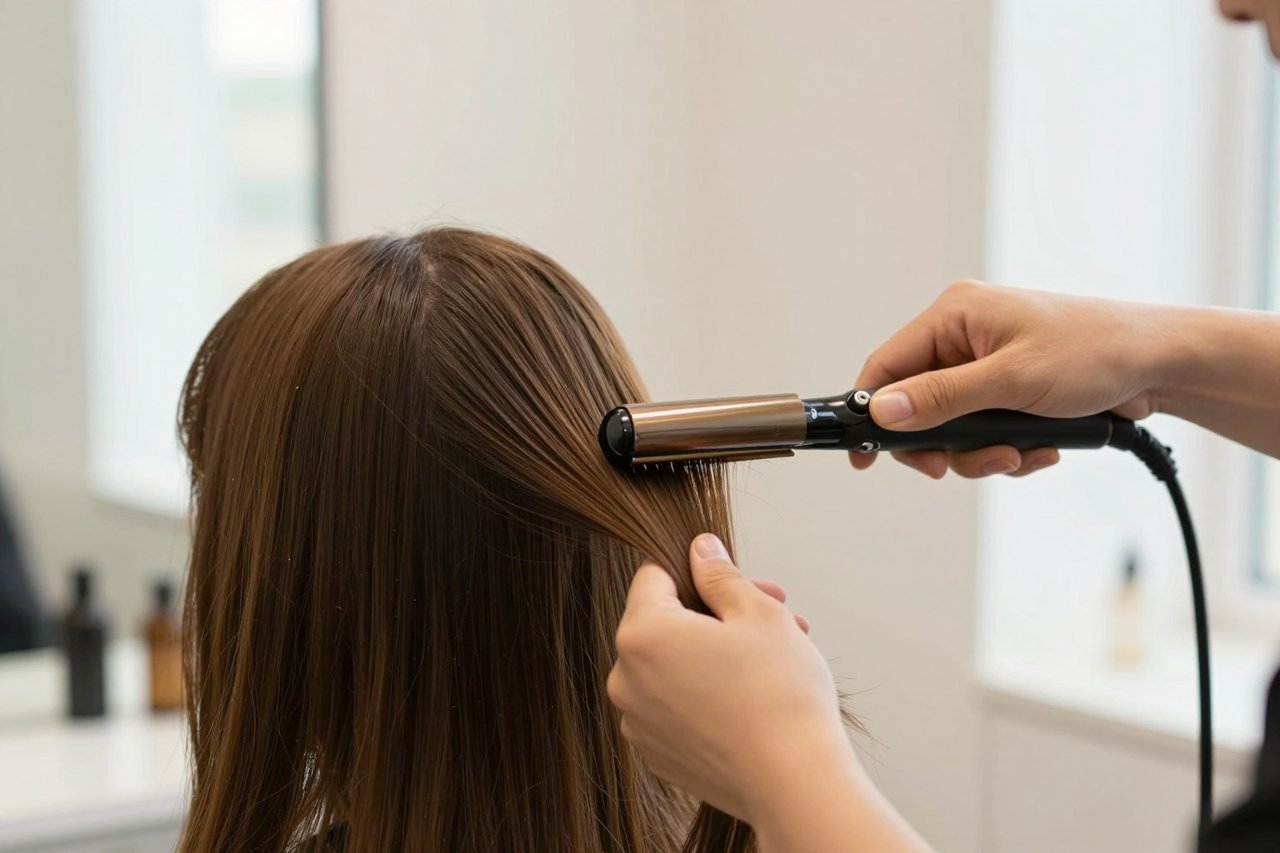
Next comes the most technically demanding part. The stylist blows your hair dry slowly on low heat, then uses a flat iron set between 400 and 450 degrees Fahrenheit to seal the treatment into the hair. The heat is essential, and it’s where the fumes can become a concern. Finally, you’re rinsed and conditioned, and you walk out with mostly smooth hair.
One detail that catches people off guard is the smell. The treatment often has a strong, chemical odor due to the acidic solution. The smell can linger for a few days, especially if you have thick or porous hair.
The Formaldehyde Question You Can’t Ignore
Here’s where things get complicated. Some keratin treatments, particularly older formulas, relied heavily on formaldehyde or formaldehyde-releasing chemicals to create that glassy finish. When exposed to high heat, formaldehyde escapes as a gas, and folks frequently report burning eyes, coughing, and respiratory irritation during and after the treatment.
The FDA has long raised concerns about these products, though regulation has been slow and inconsistent. It’s a topic that continues to evolve, and you should be aware of the current state of things before booking. Check out this update on the FDA’s missed deadline to ban formaldehyde in hair straighteners to understand what’s still floating around in the market.
Not every keratin treatment contains formaldehyde. Many brands now market themselves as “formaldehyde-free,” but that doesn’t mean they’re chemical-free. They often use other aldehydes or glyoxylic acid to achieve similar results. These alternatives can be safer, but they may also not last as long. Ask your salon which brand they use and ask to see the ingredient list. A reputable salon won’t make you feel silly for asking.
Aftercare: The Rules That Make or Break Your Results
You’ve spent the money and sat through the heat. Now you need to protect your investment. The first 48 to 72 hours are crucial. Your hair cuticles remain somewhat open, so you need to keep it dry. That means no washing, no sweating, no rain, and no humidity. Many stylists recommend not tying your hair back or tucking it behind your ears, as dents can set in and affect the final smoothness.
Once you’re past that window, you need to switch to a proper maintenance hair care routine. Using a typical shampoo that contains sulfates can strip away the keratin treatment prematurely. Look for sulfate-free formulas specifically designed for color-treated or keratin-treated hair. We wrote an entire post on why sulfate-free shampoos and conditioners are worth the switch, and it applies directly to extending your treatment’s life.
Also, be mindful of chlorine. If you swim, wear a swim cap or at least wet your hair with regular water first to limit absorption. Use heat protectant whenever you style, even if you’re just touching up one section.
Who Should Think Twice?
Keratin treatments aren’t for everyone. If you have very fine hair, a smoothing treatment can sometimes make it look overly flat and weighed down. The treatment adds an external layer to the hair, which reduces volume. If you rely on root volume to give your hair life, talk to your stylist about applying the solution lower down, away from the scalp.
Pregnant and nursing women are often advised to err on the side of caution, given the lack of safety data on high-heat chemical fumes. And if you have a sensitive scalp, broken skin, or conditions like psoriasis, the harsh ingredients can cause severe irritation. There’s also the question of age-related sensitivity. Hair products that younger scalps tolerate without issue can be much more problematic for older adults, so review the list of hair products and ingredients to avoid using after 50 if it applies to you.
Keratin Treatment vs. Bond Repair
There’s been a lot of talk about bond repair treatments like Olaplex over the last few years, and some people wonder if they can replace keratin. The honest answer is that they do completely different things. Bond repair focuses on rebuilding the disulfide bonds inside the hair cortex, which are broken by chemical processing and high heat. It strengthens the hair from the inside out.
A keratin treatment, on the other hand, works on the surface to smooth the cuticle and add a sleek layer. You can actually combine them. Many stylists recommend doing a bond repair treatment a week or two before a keratin treatment to ensure your hair is in good shape. If your hair is heavily damaged, applying keratin on top of brittle strands can make breakage worse. If you’re curious about the specific benefits, our review of the Olaplex No.3 plus complete repair treatment explains how that type of product works in detail.
How to Know You’ve Found the Right Stylist
Not all keratin treatments are created equal, and the skill of the person applying the treatment matters just as much as the product itself. A confident stylist will do a detailed consultation first, inspect your hair’s texture and damage, and recommend a specific brand and formula. They should also be honest about what the treatment won’t do. If your hair is severely over-processed, even the best keratin treatment can only do so much. In those situations, some stylists will recommend cutting your losses. A dramatic chop is exactly how celebrities like Sofia Richie Grainge handled her over-processed hair when she got a bob to reset things—you can see the photos and full story here: Sofia Richie Grainge got a bob to banish her over-processed hair.
Building a Long-Term Plan for Smooth Hair
A single keratin treatment isn’t a permanent fix, and that’s okay. As your hair grows, the new roots will revert to their natural texture, creating a line where the treated ends are straight and the regrowth isn’t. Some people schedule touch-up treatments every three to four months, applying the product only to the new growth. That keeps the cost and chemical exposure lower over time.
But you need to be realistic about the long-term relationship. Regular keratin treatments require consistent aftercare, and you’ll need to be diligent about deep conditioning to maintain the health of the hair underneath. The treatment is often marketed as “repair,” but it’s more accurate to think of it as a high-quality protective finish. The condition of your hair underneath still depends on good nutrition, gentle handling, and avoiding unnecessary chemical treatments.
So, is it worth it? If you’re tired of spending forty minutes drying and straightening your hair before every event, and you’re ready to follow the aftercare rules exactly as written, a keratin treatment can be a game changer. Just go in with open eyes, choose a qualified stylist, and make sure you ask the right questions about what’s in the bottle and what’s happening to your scalp when the iron is pressed against it. The result can be turning your worst hair days into your best ones, and that kind of calm morning routine is genuinely hard to put a price on.


