
Table of Contents
Here’s a truth that most beauty brands won’t advertise: a lip plumper only delivers its full effect if you apply it in the right order. Slap it on dry, flaky lips and you’re basically begging for irritation. Sweep it over a heavy, slippery gloss and the actives absorb half as quickly. The technique matters just as much as the formula.
This guide walks you through a complete routine—the prep, the application, the layering, and the mistakes to avoid—so you can finally get the natural, lasting fullness you’re after. Consider it the manual your lip plumping products never came with.
Why Preparation Beats Everything
Most plumpers fall into two camps: harsh, tingle-heavy formulas that swell your lips by increasing blood flow, and gentler hydrators that draw water into the tissue with hyaluronic acid or peptides. Both work best when your lips are already in good shape. If your skin is chapped, the active ingredients can migrate to the flakiest spots and settle there, leaving you with an uneven pout instead of a smooth one.
Exfoliate First (but Not Right Before)
Exfoliate 30–60 minutes before you plan to apply your plumper. Doing it right before makes the surface extra-sensitive, and then you add an irritant on top? Not a good look. Use a soft sugar scrub or a damp muslin cloth. Rub in tiny circles for 30 seconds and rinse with lukewarm water.

Hydrate for Five Minutes
Apply a thin layer of a moisture-rich lip balm as your base. This isn’t about gloss; it’s about creating a smooth canvas so the plumper spreads evenly. Look for something with ceramides or shea butter. If you’re not sure what to choose, the best lip balms for dry lips in our guide include a few that sit perfectly under an active formula without interfering.
This step also keeps the stinging sensation milder and helps the plumper last much longer.
- Exfoliate with a sugar scrub or cloth
- Rinse and pat dry
- Wait 30–60 minutes
- Apply a thin layer of hydrating balm
- Wait 5 minutes before the plumper
Choosing the Right Formula for Your Goal
Not all lip plumping products work the same way, and picking the wrong one for your skin type is a common mistake. If you’re new to plumpers, start with a gentler formula. Sheer glosses with peppermint oil or ginger give a subtle effect without the burning. If you already have experience, a serum with hyaluronic acid is a smart choice because it hydrates while it plumps.
The best lip plumping products that give real results without the pain are exactly designed for that. You’ll also find quick picks in our roundup of lip plumpers that work wonders if you prefer convenience over a strict routine.
The Step-by-Step Plumping Application
Step 1. Start Dry
Once you’ve let your balm sit for five minutes, blot it gently with a tissue. You don’t want to remove it completely; you just want to take off the excess shine. The plumping product needs to make direct contact with the skin to activate.
Step 2. Use a Thin, Even Layer
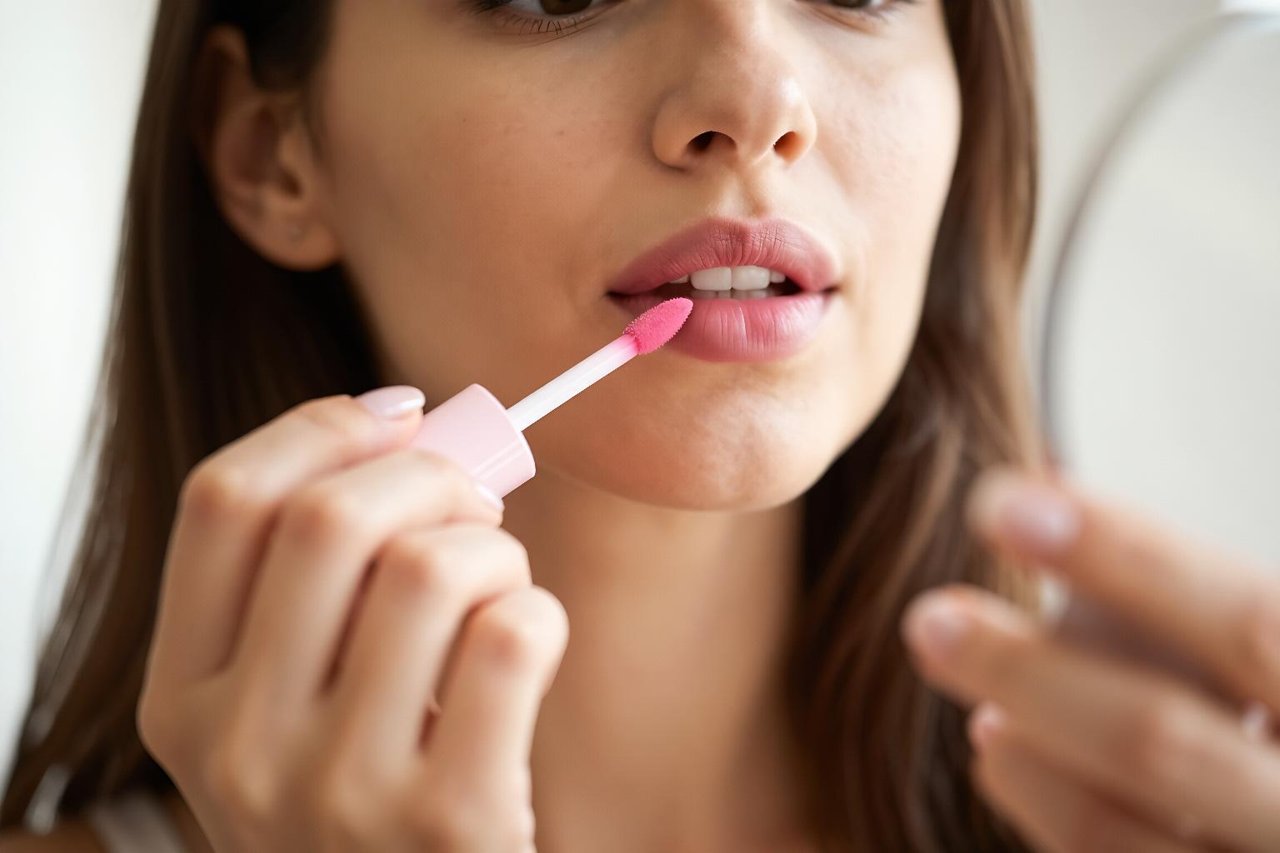
Apply the plumper straight from the applicator. Start at the center of your lips and work outward, using small swipes. A thin coat is more effective than a thick one because it lets the active ingredients absorb evenly.
Step 3. Let the Tingle Build
Wait 60–90 seconds before you do anything else. This is the step most people miss—they immediately layer on another product or lick their lips. Give the formula time to sink in. If you feel a strong tingle, that’s the blood flow doing its job. If it actually stings, wash it off and try a gentler product.
Step 4. Add a Layer of Gloss or Tint
Now you can go over with a clear lip gloss or a tinted balm to seal in the plump. This is where you can play with color. A great option is to combine the plumper with a lightweight tinted lip oil or a glossy glaze. In our review of the Glossier Lip Glaze, you’ll see exactly how well it layers over a lip treatment without smudging the line.
Step 5. Don’t Rub Your Lips Together
Rubbing pushes the formula away from the edge of your lips, which is where the fuller outline shows up. Keep your lips still for the first few minutes, then blot gently once if the gloss feels heavy.
How to Layer Lip Plumping Products with the Rest of Your Routine
Lip plumping products aren’t a standalone step. How you integrate them into your makeup matters. Start by applying them after your lip liner but before your final gloss. This is a common mistake: people use plumper as a top coat, but then the active ingredients only touch the surface and never absorb. If you’re using a lip liner, outline and fill your lips first, then apply the plumper over it. This lets the formula penetrate without being blocked by wax.
If you prefer a tint of color without a full lipstick, try a plumping tinted balm. We’ve rounded up the 8 best tinted lip balms of 2025—some of them contain plumping agents, and others layer well with a dedicated plumper.
Three Mistakes That Sabotage Your Plumping Results
Even with the right technique, it’s easy to mess up. Here are the most common pitfalls I see (and have definitely done myself).
Mistake 1: Using too much product. More isn’t better. A thick coat creates a barrier that prevents absorption, and you’ll end up wiping most of it off.
Mistake 2: Applying to wet lips. Water or a thick lip balm can dilute the active ingredients. That’s why blotting after the balm is crucial.
Mistake 3: Choosing a plumper with irritating fillers if you have sensitive skin. If you know your lips flush easily, skip the cinnamon oils and go for peptide-based formulas. They’re gentler and build a more comfortable fullness.
The extra minute you spend prepping and layering is what separates a temporary shimmer from a genuinely plumper look. Start with a clean, hydrated base, apply a thin layer, wait for it to absorb, and then seal with a gloss. Your lip plumping products will finally feel like the hero of your routine instead of a wasted splurge.


