
Table of Contents
It’s 7:42 AM, you’re running late, and the mirror is not being kind. You could stare at it for another ten minutes hoping things change, or you could apply a few genuinely clever beauty hacks that actually deliver. The trick isn’t buying more products—it’s using what you already own in a smarter sequence. This isn’t a list of vague tips; it’s a step-by-step, minute-by-minute plan that gets you out the door looking polished.
What You’ll Need Before You Start the 10-Minute System
Gather these once, and you’ll be able to perform every hack below without hunting around at the last minute. Most of these are already in your kitchen or bathroom cabinet. The only thing you might need to buy is an ice cube tray.
- One ice cube tray (for coffee ice cubes)
- Two chamomile tea bags
- A spoon (an actual tablespoon, not a measuring spoon)
- Plain aloe vera gel (the kind without added alcohol)
- Dry oats and raw honey for the mask
- A clean, old mascara wand (wash it with soap and water)
- Hairpins and a bungee cord (yes, a bungee cord)
These ten minutes are organized from the messiest task to the cleanest, so you won’t have to re-wash your hands five times. It’s a system, not a scramble. If you want a broader set of time-saving ideas, check out this collection of beauty hacks that actually work—many of them pair perfectly with this routine.
Step 1: The 30-Second Depuffing Ice Facial
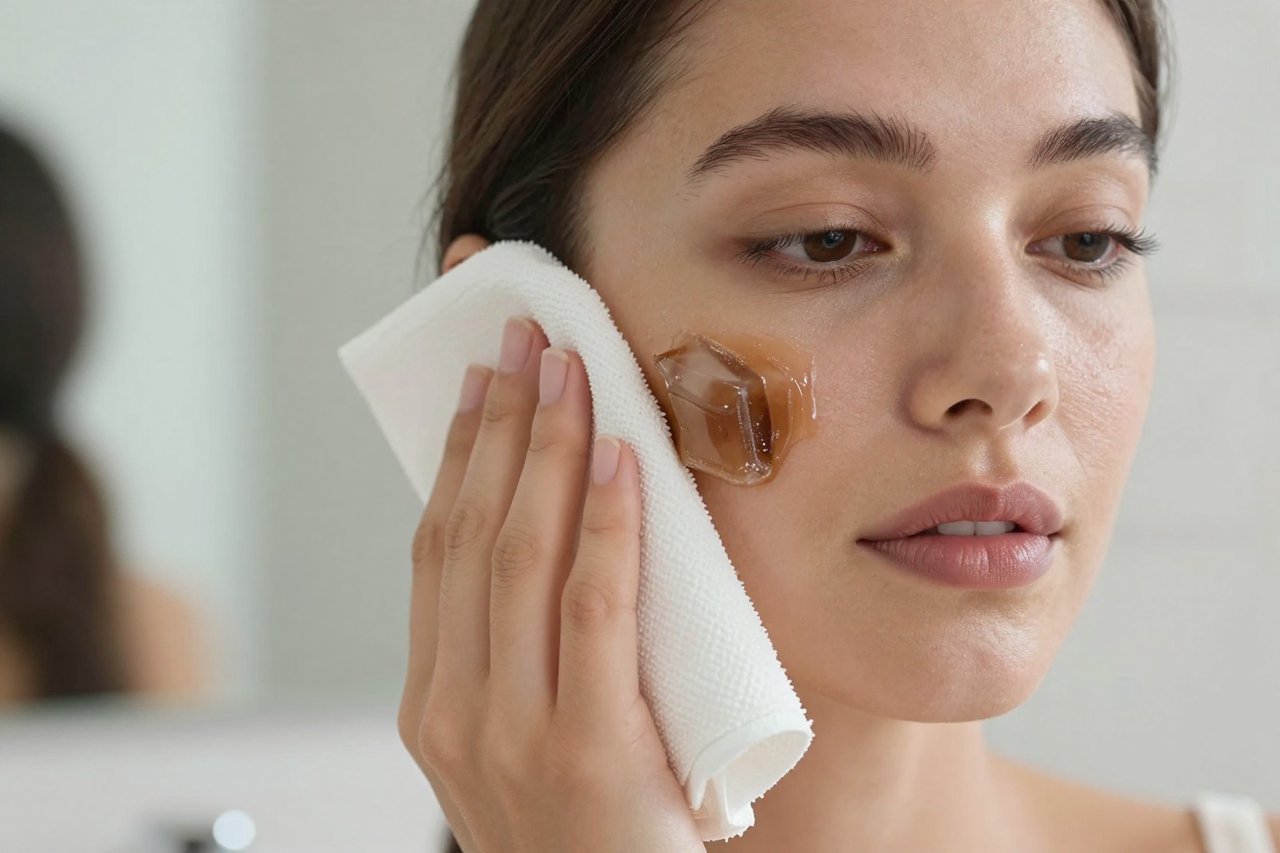
Brew a strong cup of coffee the night before, pour it into an ice cube tray, and freeze. In the morning, take two cubes and wrap them in a thin damp washcloth. Glide the cubes along your cheekbones, under your eyes, and along your jawline for exactly 30 seconds per side. The caffeine constricts blood vessels, reducing redness and puffiness immediately.

Don’t leave the ice on one spot longer than a few seconds—you’re not trying to numb your face. You want to move in small circular strokes. This hack works better than any eye cream I’ve tried, and it costs about a nickel. If you’re flying somewhere, you can do a simplified version with a cold can of soda against your face. That’s one of my favorite travel beauty hacks for long-haul flights, where face puffiness is always at its worst.
Step 2: The Two-Ingredient Hairline De-Sweater
On humid days, hair sticks to your forehead and makes your hairstyle collapse. Here’s the step-by-step fix: dip a clean toothbrush into a bit of aloe vera gel, then brush it along your hairline in upward strokes. The aloe acts as a natural, flexible hold—it’s not stiff like hairspray, but it controls flyaways without that crunchy feel. It takes exactly 20 seconds.
For a volume boost that lasts all day, I’ve tested the viral trick of spraying hairspray directly onto a bungee cord and using it to tie a ponytail. That’s a bit more involved, though, so I wrote up my full experience with the TikTok hairspray hack for volume if you want a deeper dive into that specific trick.
Step 3: The Spoon Trick for the Perfect Winged Eyeliner
You don’t need steady hands for a sharp wing. You need a spoon—the same one you stirred your coffee with. Hold the handle diagonally against the outer corner of your eye, so it creates a natural angle pointing toward your temple. Draw the first stroke of your wing along that handle. Then, flip the spoon over and use the rounded bowl pressed against your cheekbone as a guide for the flick. It works because the curved edge of the bowl matches the curve of your eye socket.
Weirdly, this works even better if you do your eyeliner before your foundation. Why? Because the winged tip naturally lies outside your eye socket. If there are any slight smudges, your foundation or concealer will cover them. This one little sequencing trick changes everything.
Step 4: The 3-Minute Overnight Oat and Honey Mask
This is my favorite pre-shower hack because it requires almost no skill. Mix two tablespoons of dry oats with one tablespoon of raw honey and a splash of warm water. The consistency should be like a thick paste. Spread it over your face and chest, then leave it on for three minutes while you brush your teeth. The oats gently exfoliate while the honey humectically draws moisture into the skin.
Rinse it off with lukewarm water. Do not scrub—just let the water run. Your face feels calm, soft, and not at all stripped. If you’re curious about a broader natural routine, this pairs beautifully with the step-by-step natural beauty routine I created last season. The key difference is that the oat mask is a spot treatment; a full routine is about consistency.
Step 5: The Mascara Wand Brow Tamer
After your mascara is dry, don’t toss the wand. Wash it thoroughly with soap and water, let it air dry overnight, and in the morning use it to brush your eyebrows. Because the wand has a small tapered tip, it reaches the inner and outer corners of your brows with precision. It controls stray hairs without making them look glued down.
For extra hold, spray the wand with a little hairspray before combing your brows. That’s a classic beauty-hack-for-brows that’s been around for years. It takes 15 seconds. Just make sure you’re not double-dipping into your mascara tube—that would introduce bacteria. A dedicated clean wand is non-negotiable.
Step 6: The Ten-Second Lip Stain That Lasts Through Brunch
This one uses a pantry staple you’d never expect: unweetened hibiscus tea powder or, failing that, the juice from a beet. Mix a pinch of hibiscus powder with a few drops of water to create a paste. Apply it to your lips with your fingertip, let it dry for thirty seconds, then blot. The staining pigment seeps into the lip skin in a way that regular lipstick never does. It leaves a naturally rosy tint that survives a breakfast burrito and half a cup of coffee.
If you want a deeper red, repeat the application twice. Just be aware this stains your fingertips too, so wash your hands immediately after. This is the kind of low-stakes, high-reward trick that makes you look like you put in a serious effort when you definitely didn’t.
Step 7: The Order of Operations That Seals Everything
Here is the critical part that most beauty-hack lists miss: the order in which you apply these steps matters. Do the ice facial first because it de-puffs and preps. Then apply the oat mask (you’ll rinse it off in the shower). After your shower, do the hairline de-sweater and the brow tamer, because they’re dry activities. Then the winged liner, then the lip stain. If you apply lip stain before eyeliner, you’ll be extra careful with your mouth while leaning into the mirror, and you might smear your liner. Keep the sequence: face prep, hydration, hair, eyes, lips.
This entire routine, once you’ve practiced it twice, takes exactly ten minutes. I’ve timed it. The ice cubes are the only element that requires advance prep, so make them in the evening when you’re already making coffee. There’s no wasted motion, no waiting for any product to set, and no moment where you’re standing around wondering what to do next.
Now, if you’re the kind of person who thinks these hacks sound great but you’re not sure whether they’ll actually work for your specific face or hair type, pause for a second. There’s a more detailed guide on beauty tips that actually work that covers how to adapt my methods for different textures and sensitivities. In my experience, the oat mask works for both acne-prone and dry skin, but if you’re allergic to honey, swap it for plain yogurt. The coffee ice cube works for everyone unless you’re highly sensitive to caffeine—then use regular ice cubes with a few drops of chamomile tea instead.
Start with just two of these hacks tomorrow morning: the ice facial and the spoon eyeliner. You’ll see a difference immediately, and you’ll be motivated to add the others. That’s the whole secret. Each hack is individually easy, but together they form a routine that genuinely looks like you spent an hour with a professional when you actually spent ten minutes in your bathroom. And the best part? Every item involved also serves its original purpose in your kitchen or vanity, so you’re not buying some obscure gadget you’ll use twice.


