
Table of Contents
Your alarm went off late, and now the mirror is showing you exactly what 8:42 a.m. looks like on your face. You have 15 minutes before that video call or school run, and you’re not even close to ready. The usual advice – a swipe of mascara, maybe some dry shampoo – rarely gets you to ‘polished’.
The solution isn’t to do more. It’s to do the right things in the right order. These step-by-step beauty tips are built for real mornings: they’re quick, they’re based on solid technique, and they use products you probably already own. No forty-step ritual, no $80 serum. Just a method that works.
Before we start, let’s get your toolkit in order. You don’t need a drawer full of cosmetics. This routine relies on a few staples:
- A gentle cleanser (or just water if your skin is sensitive)
- A hydrating serum (hyaluronic acid or glycerin-based works well)
- A lightweight moisturizer
- A concealer that matches your skin tone
- A tinted moisturizer or BB cream
- A brow pencil or tinted brow gel
- Dry shampoo
- A setting spray (or a damp makeup sponge)
Now, let’s walk through the actual routine.

Step 1: Prep Your Skin So Everything Else Works
Start with a gentle rinse. Lukewarm water is best – hot water strips your skin’s natural oils, and cold water doesn’t dissolve the night’s residue. Splash a few times, then pat dry with a clean towel. Never rub; rubbing creates micro-tears that invite irritation.
While your skin is still slightly damp, apply a few drops of a hydrating serum. Look for one with hyaluronic acid or glycerin – they pull water into the skin. Then, immediately follow with a lightweight moisturizer to seal that hydration in. This two-step combo takes less than 90 seconds, and it’s the difference between your makeup gliding on and clinging to dry patches.
If you use vitamin C or niacinamide, apply it under your moisturizer. These ingredients work best in the morning, and they give you a gentle glow that no highlighter can fake. The sequence matters: serum first, then moisturizer, then SPF if you’re going outside. Yes, even on cloudy days.
These morning moves align with the broader healthy beauty tips for face and body that emphasize consistent hydration over heavy products.
Step 2: De-Puff Your Face with a 60-Second Massage
Nobody has a chiseled jawline at 7 a.m. But you can coax yours back with one minute of focused massage. You don’t need a fancy tool – your fingers work perfectly.
Start at the center of your forehead. Press your fingertips firmly (but not painfully) and sweep outward toward your temples. Do this three times. Then move to your cheekbones, tracing from your nose to your ears. Finally, work along your jawline: start at your chin and sweep to your earlobes. End with a gentle press under your eyebrow bones – hold for 10 seconds each side. That little trick helps reduce morning eye puffiness.
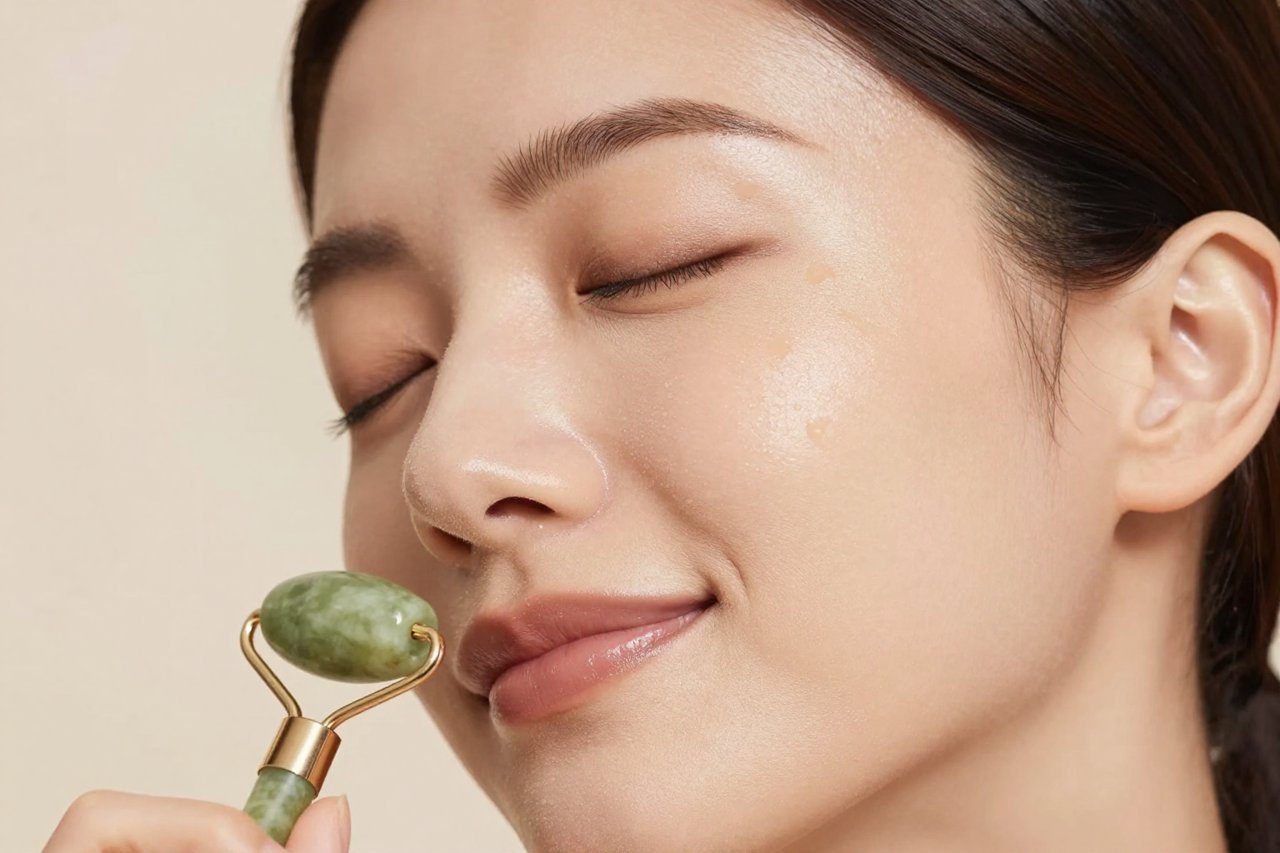
A jade roller or gua sha stone adds a cooling effect, but the technique works with bare hands. If you’re particularly swollen, a cold spoon or chilled roller will constrict blood vessels and speed up the process. Keep it to 60 seconds total – you’re not looking for a deep-tissue massage, just a quick lymph wake-up.
This is one of those natural beauty tips that work with your body, not against it – no products, no chemicals, just a smart technique you can use every morning.
Step 3: Apply Makeup Strategically
Heavy foundation is a waste of time when you’re in a hurry. You don’t need to cover your whole face; you need to cover the spots that need it.
Start with a concealer that matches your skin tone. Dot it onto the inner corners of your eyes (where shadows collect), under your nose, and on any blemishes or redness around your nose. Use a damp makeup sponge or your ring finger to blend. Your ring finger has the lightest touch, so it won’t tug at the skin.
Layer, Don’t Slap
Here’s where people go wrong: they apply a layer of foundation over the concealer, which undoes all their careful work. Instead, mix a pea-sized amount of your tinted moisturizer or BB cream with a drop of your regular moisturizer. This dilutes it enough to be sheer, and it makes the product spread easily. Apply it over your whole face with your hands or a sponge.
The result is a base that evens out your skin tone while still letting your freckles or natural texture show through. That’s what makes it look like you, not like a mask. If you have oily skin, set only your T-zone with a light dusting of translucent powder – don’t powder the whole face or it will look cakey.
For more creative looks when you have extra time, these makeup ideas and beauty tips offer plenty of inspiration for weekend experiments.
Step 4: Shape Your Brows in Two Minutes
Sparse or unruly brows can pull the whole face off-balance. But you don’t need to spend ten minutes on them.
Use a brow pencil that’s one shade lighter than your hair color – a darker shade will look harsh. Fill in only the sparsest areas with short, hair-like strokes. Test on the back of your hand first to make sure the pencil isn’t too waxy. Focus on the arch and the tail, because those are the parts that define your expression. Then, comb through with a clear brow gel to set the hairs upward and outward.
If you’re already blessed with naturally full brows, skip the pencil and just use brow gel. The goal is to tidy, not redraw. A little defined brow can make your eyes look more open and your face more structured, so this step is worth the two minutes.
Step 5: Fix Your Hair in the Time It Takes to Boil Water
Your hair is either greasy, flat, or sticking up in three directions. Here’s a simple plan.
For greasy roots, spray dry shampoo directly onto the roots in small sections – lifting small parts of your hair as you go. Wait at least 30 seconds for the powder to absorb the oil, then massage it in with your fingertips. Flip your head over and shake the roots for a second to add volume.
For flat or bent hair, a low ponytail or a claw clip is your best friend. Gather hair loosely at the nape of your neck and twist it into a soft bun. Pull out a few strands around your face – this softens the look and hides any spots you missed. It takes 90 seconds, but it looks like you planned it.
If your hair is actually clean but just wild, run a few drops of hair oil or water through your hands and smooth it down the length. Sometimes a little water is enough to tame flyaways.
Step 6: Set Your Work So It Lasts
You’ve spent 12 minutes on your face and hair – don’t let it slide off by lunchtime. A setting spray creates a thin film that holds makeup in place, but it also takes away any powdery finish.
Hold the bottle at arm’s length, close your eyes, and spray in an ‘X’ then a ‘T’ motion. That covers your forehead, cheeks, and chin without saturating one spot. It takes five seconds. If you don’t have setting spray, dampen a clean makeup sponge and press it over your face – a light press, not a wipe. This merges everything and keeps it hydrated.
If you’re prone to shine, a single blotting paper pressed over your T-zone before the spray will keep you matte all day.
And that’s it. From messy to groomed in under 15 minutes, with a routine that you can repeat without thinking. The more you practice these steps, the faster they become. If you’re preparing for something bigger – a wedding, a presentation, a big date – you can build on this foundation. For special occasions, the bridal makeup ideas and beauty tips will guide you through a more elaborate version.
Now go on and shine. You’ve literally got the rest of the day to be great.


