
Table of Contents
Most hair routines have a blind spot. You wash, you condition, you maybe add a styler. But the product that sits between them—the one you don’t rinse out—often gets skipped. Leave-in conditioner isn’t a luxury step you add for good measure. It’s the difference between hair that looks healthy from a distance and hair that actually feels healthy when you run your fingers through it. In this guide, we’ll cover what leave-ins actually do, how to use them without weighing your hair down, and why your current routine might be sabotaging the results.
What Exactly Is a Leave-In Conditioner?
Think of a leave-in as a moisturizer for your strands. Rinse-out conditioners use heavier ingredients that coat the hair temporarily, then wash away. A leave-in, on the other hand, uses a lower concentration of conditioning agents and lighter emollients so it can stay on the hair shaft all day without leaving a heavy residue. The goal is simple: hold on to the hydration your hair just received in the shower, and provide a detangling slip that makes the next morning’s brush-out less of a negotiation.
If your hair feels squeaky or stiff after washing, that’s your cuticle screaming for moisture. A few spritzes of a leave-in can soften that right up.
Three Benefits You’ll Notice Within a Week
Less Breakage, More Length
Your hair is most fragile when it’s wet. It stretches, snaps, and tangles. Denman brushes and fine-tooth combs only make it worse. By applying a leave-in before you detangle, you’re adding slip so the comb glides through instead of snapping through. That alone can reduce breakage dramatically. For anyone trying to retain length, this step is non-negotiable. If you need proof of what consistent, gentle care can achieve, look at how the woman with the world’s largest afro retains her length—her routine is built around moisture retention, not manipulation.

Heat Protection That Actually Works (Mostly)
Most leave-ins contain thermal polymers that create a buffer between your hair and your blow dryer or straightener. They won’t replace a dedicated heat protectant, but they add a layer of defense. When you’re using a ceramic tool at 180°C, every bit of protection counts.
Frizz Control Without the Crunch
A good leave-in makes flyaways lie flat instead of sticking out at awkward angles. The difference between a gel and a leave-in is flexibility—you get hold without the cast. Curls stay defined, and straight hair gets smoothness without the helmet effect.
How to Choose a Leave-In That Matches Your Hair
Fine or Thin Hair
Your enemy is buildup. Heavy butters and oils will coat your strands and make them look greasy within hours. Look for water-light sprays or milky lotions. Ingredients like aloe vera, hydrolyzed rice protein, and pro-vitamin B5 add strength without the weight. And if your hair is feeling dry and brittle, you might be surprised by the range of options in this list of 11 best shampoos and conditioners for dry hair—the right wash routine sets up your leave-in for success.
Thick or Coily Hair
Your hair can absorb a lot. Heavier leave-ins with shea butter, castor oil, or cream bases help lock in moisture through the day. For maximum slip, use a leave-in that mentions ‘detangling’ on the label. The key is to apply while your hair is still soaking wet, then follow with a styling cream.
Curly or Textured Hair
Curls need both hydration and definition. A creamy leave-in that supports curl clumping is ideal. If you’re already using a cleansing conditioner to preserve your natural oils, that’s a solid foundation—but you still need a leave-in afterward to provide that second layer of moisture and seal the cuticle.
The Right Way to Apply Leave-In (It’s Not Just Rubbing It In)
Many people treat leave-in like a rinse-out conditioner and lather it through their whole head. That’s how you end up with a wet-looking scalp by noon. Here’s the practical routine that works for all hair types:
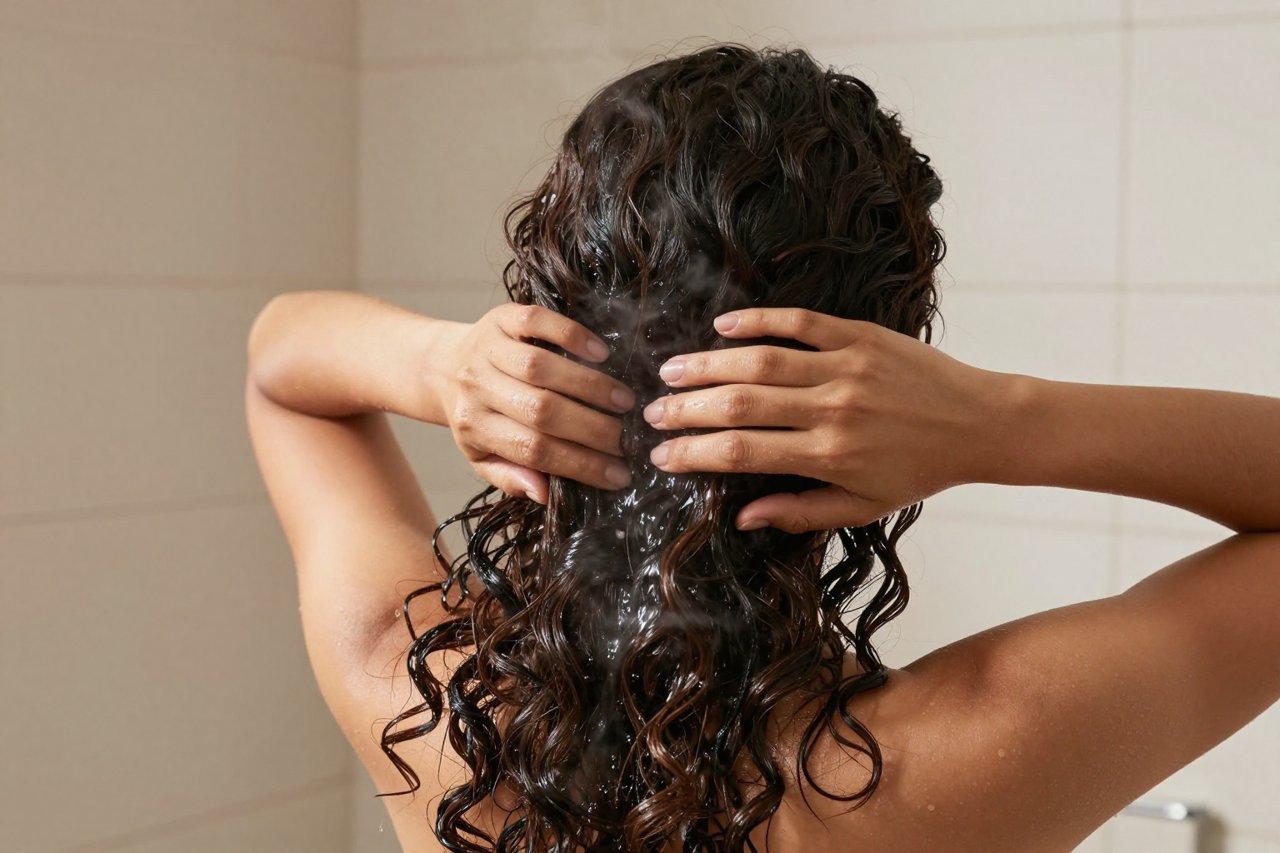
- Start with shower-damp hair. Wring out excess water—your hair should be wet but not dripping. If it’s too wet, the product dilutes and does nothing. If it’s too dry, the product sits on the surface and clumps.
- Shake the bottle if it’s a spray, or pump the lotion into your palm. For medium-length hair, two pumps (roughly a quarter-sized amount) is a safe starting point. You can always add more, but you can’t easily subtract.
- Rub your palms together, then apply the product by ‘praying hands’—flatten your palms over sections of hair from mid-length to ends. Then use a wide-tooth comb or your fingers to distribute it evenly. For curly hair, finish with a ‘squish to condish’ motion: cup your curls upwards and squeeze gently to encourage the product to soak into the strand.
- Do not rinse. That’s the whole point.
- Style as usual. If you’re air-drying, keep your hands out of your hair while it dries to avoid splitting the curls. If you’re diffusing, go ahead.
For extra dry ends, apply a tiny amount to your fingertips and smooth over the last few inches after styling. That’s the best way to refresh without rewetting.
The Most Common Leave-In Mistakes (And How to Fix Them)
- Applying to bone dry hair and expecting miracles. Unless the label says it’s a dry-hair formula, a leave-in needs water to bind to. Spray some water on your hair before you apply if you’re past the wash day.
- Overloading the mid-section. The roots produce natural oil; your ends don’t. Focus the product on everything from your ears down. Leave the top inch of scalp alone.
- Mixing incompatible products. If your leave-in is silicone-heavy, layering an oil over it can cause the silicone to pill up into white flakes. A silicone-based leave-in works fine if you aren’t co-washing, but silicone buildup can also weigh down fine hair. Learn to read the label or choose water-soluble options like the ones highlighted in our guide to leave-in conditioner and hair oil, where we break down what to look for.
- Rinsing it out by accident. If you zone out and shampoo again, that’s fine. Just know you’ll need to reapply.
- Using too much. You know the feeling—hair that feels almost ‘sticky’ after it dries. That means you’ve crossed the threshold. Next time, use half.
How to Layer Leave-In With Hair Oil (And Why the Order Matters)
If you’ve been putting oil on dry hair then wondering why your strands still snap, this one’s for you. Oil and water don’t mix, and hair followed by oil is basically a sealant with nothing to seal. The general order is this: water or leave-in (moisture), then oil (occlusive layer), then a cream or butter to lock it all in.
This is the reason a leave-in conditioner works so well before a few drops of hair oil. The leave-in brings hydration, the oil traps it in the cuticle. If you flip that order, the oil blocks the leave-in from penetrating, and you’re basically just slicking down the surface.
There’s a deeper dive into that relationship in our article on leave-in conditioner & hair oil, and a broader overview in this no-nonsense guide to hair oil. But the short version: always go water-based first, oil-based second.
Leave-In vs. Cleansing Conditioner: What’s the Difference?
If you’re looking at your shower shelf and seeing a ‘cleansing conditioner’ next to your leave-in, don’t get them mixed up. A cleansing conditioner is a multitasker that strips away dirt and buildup while depositing conditioning agents—it replaces both your shampoo and your normal conditioner. A leave-in conditioner is strictly a finishing product; it doesn’t clean anything, but it provides ongoing moisture and protection until your next wash.
Many curly-haired people use a cleansing conditioner on wash day because it’s gentler than sulfate shampoo, and then follow up with a leave-in to lock in that slip. That’s a valid routine, especially if your scalp tolerates cowashing. The key is to treat them as separate steps with separate purposes. For more context, check out the piece on why your curls are begging for a cleansing conditioner—it explains how the two work together.


