
Table of Contents
Most makeup tutorials assume you have a ring light, a pro kit, and an hour to spare. This one doesn’t. The routine below is built for real mornings, real light, and real skin. It’s a repeatable process that works whether you’re heading to work, running errands, or starting a video call. You can finish every step in about 12 minutes once you’ve done it a few times. Here’s the exact order.
What You’ll Actually Need (and What You Can Skip)
Keep your kit lean. You only need a handful of products to make this look work:
- Tinted moisturiser or light foundation
- Concealer in a shade that matches your skin
- Cream blush and cream bronzer (a single stick for both works too)
- Two neutral eyeshadows: one light satin, one medium matte
- Mascara
- Tinted brow gel
- Translucent powder
- Setting spray or facial mist
What you can absolutely skip: eyeliner, an eyelash curler, highlighter, contour palettes, and colour correctors. That stuff is fun for occasional looks, but it slows you down and adds layers that can look heavy in daylight.
Step 1: Prep Your Canvas (or Your Base Won’t Stick)
Your foundation will only hold up as long as the skin underneath. Wash with a gentle cleanser, then apply a light moisturiser and sunscreen. If you put foundation on top of slippery serums that haven’t absorbed, it will pill and slide. Wait about two minutes after moisturising – use that time to brush your teeth or start your coffee.

For a more detailed breakdown of building a resilient base, check out our step-by-step guide to a flawless everyday look.
Step 2: Apply Foundation With the Right Tool (and in the Right Direction)
Stop switching between brushes and sponges at random – pick one and use it consistently. If your skin is normal to dry, warm the foundation between your fingertips and press it in. The heat helps it melt into the skin for a natural finish. If your skin leans oily, use a damp sponge and press the product in, never swipe.
Start with roughly a pump-and-a-half of foundation – that’s about the size of a thumbnail. Begin at the centre of your face and work outward toward your jawline and hairline. By the time you reach the edges, there’s less product on your tool, which prevents that obvious mask line. If you need more coverage in specific spots (like the sides of your nose), add one extra dot there and blend it out with the same tool.
Step 3: Spot-Conceal Instead of Building a Full Face of Coverage
You don’t need to cover every inch of your skin. Use a small synthetic brush or your ring finger to dip into concealer, then dot it only where you see redness, a lingering blemish, or dark circles. Blend the edges gently with your ring finger – the warmth will help it melt in.
For undereye circles, here’s a trick: draw a triangle shape with the base under your lash line and the tip pointing toward your cheekbone. Then press a damp sponge into it. This brightens the whole eye area without needing a thick layer. It also lifts the face slightly, which is a nice bonus.
Step 4: Place Cream Colour Before Any Powder
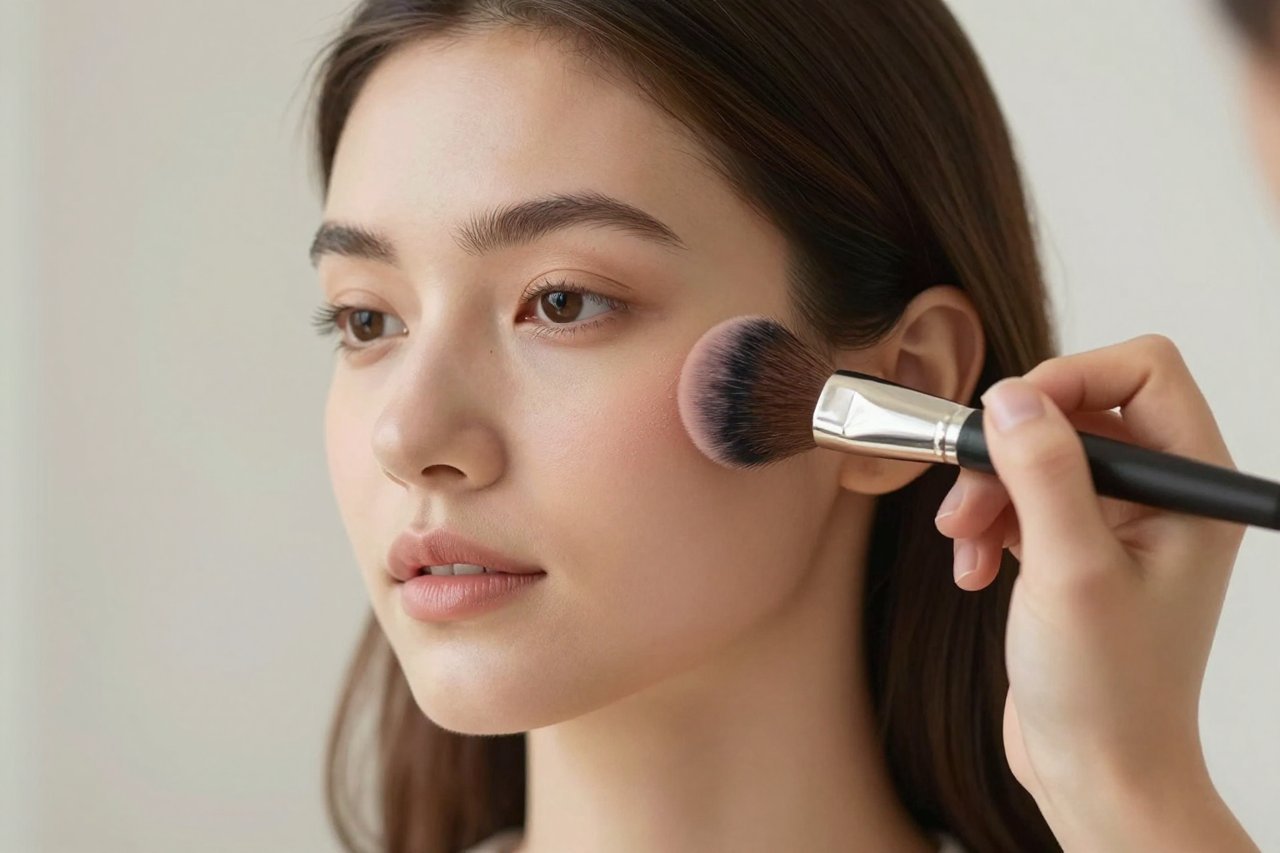
Cream products are your best friend for a fresh look. Use a cream blush in a soft apricot or rose shade. Smile, then apply the blush to the apples of your cheeks and blend upward toward your temples. This gives a cheerful flush that reads as natural.
Now take a cream bronzer and use a stipple brush to tap it just under your cheekbones, along your hairline, and lightly on the sides of your nose. Pressing with a stipple brush (instead of sweeping) gives a diffuse, never-streaky finish. If you have no bronzer on hand, a warm-toned lipstick doubles as a one-step blush and bronzer – just use a tiny amount and blend.
Step 5: A Three-Step Eye Look That Takes 90 Seconds
Forget elaborate eyeshadow tutorials – this is all you need: two neutral shades and a mascara. First, use your fingertip to press the light satin shade all over your eyelid. Then, with a fluffy blending brush, work the medium matte shade into the crease, back and forth in small windshield-wiper motions. That’s it. If you want a hint of depth, gently tap a touch of the matte shade on the outer corner of your lower lash line.
Finish with one coat of mascara on the top lashes. If your lashes hold a curl, skip the curler – it’s not necessary. This quick eye routine adds definition without looking overdone. For a more dramatic version using just three products, try our smokey eye tutorial with three products.
Step 6: Frame Your Brows in Two Strokes
Skip the eyebrow pencil unless you have sparse patches that need filling. Tinted brow gel does 90% of the work in about 30 seconds. Brush the gel upward first, then sweep the remaining product toward your temples. This grips the hairs, adds a little volume, and sets them in place without the hard lines you can get from a pencil.
If you do need more structure, use a fine-tip pencil to draw a few tiny hair-like strokes in the sparse areas only, then go over the whole brow with the gel. But for most people, the gel alone is enough for a groomed, natural look.
Step 7: Set It So It Lasts Without Looking Painted
Here’s the trick: don’t powder your whole face – just the zones that tend to get oily. Use a fluffy brush to press a bit of translucent powder under your eyes, along the sides of your nose, and on your chin. Pressing locks the product in without disturbing the cream blush and bronzer. Sweeping can smear all your hard work.
Finish with a setting spray or a hydrating facial mist. Hold the bottle six to eight inches away from your face, close your eyes, and spray twice. Let it dry naturally. The mist gives everything a seamless, skin-like finish and helps the products last through a long day.
After you’ve run through this routine a few times, it’ll become second nature. You’ll start to notice which steps make the biggest difference for your skin and which products you can rotate in for a bit of excitement. If you’re curious about what’s next in the world of beauty, our makeup trends for 2026 will give you plenty of inspiration. And if you ever feel like taking makeup more seriously, the professional beauty courses in Brampton cover this kind of foundation technique in detail.


