
Table of Contents
Most beginners don’t quit training because they picked the wrong programme. They quit because the programme was written for someone with a training history, an empty calendar and knees that already understand what a squat is supposed to feel like.
The seven movements below are the ones I keep coming back to with new clients. Between them they cover squatting, bending, pushing, pulling, carrying and bracing. You can do all of them with a pair of dumbbells, a resistance band and about four square metres of floor.
What Earns a Place on a Beginner’s List
Plenty of exercises are good. Only some are good first. The filter I use:
- It uses more than one joint. A leg extension isolates a muscle; a squat teaches your hips, knees and ankles to work together, which is what daily life actually demands.
- It has a version you can do today. If the only option is a full push-up and you can manage three, the exercise is useless until it isn’t.
- It can be loaded for years. A beginner move that you outgrow in six weeks wastes your time.
- It’s hard to injure yourself doing it badly. Good news travels slowly with a torn rotator cuff.
1. The Bodyweight Squat, Then the Goblet Squat
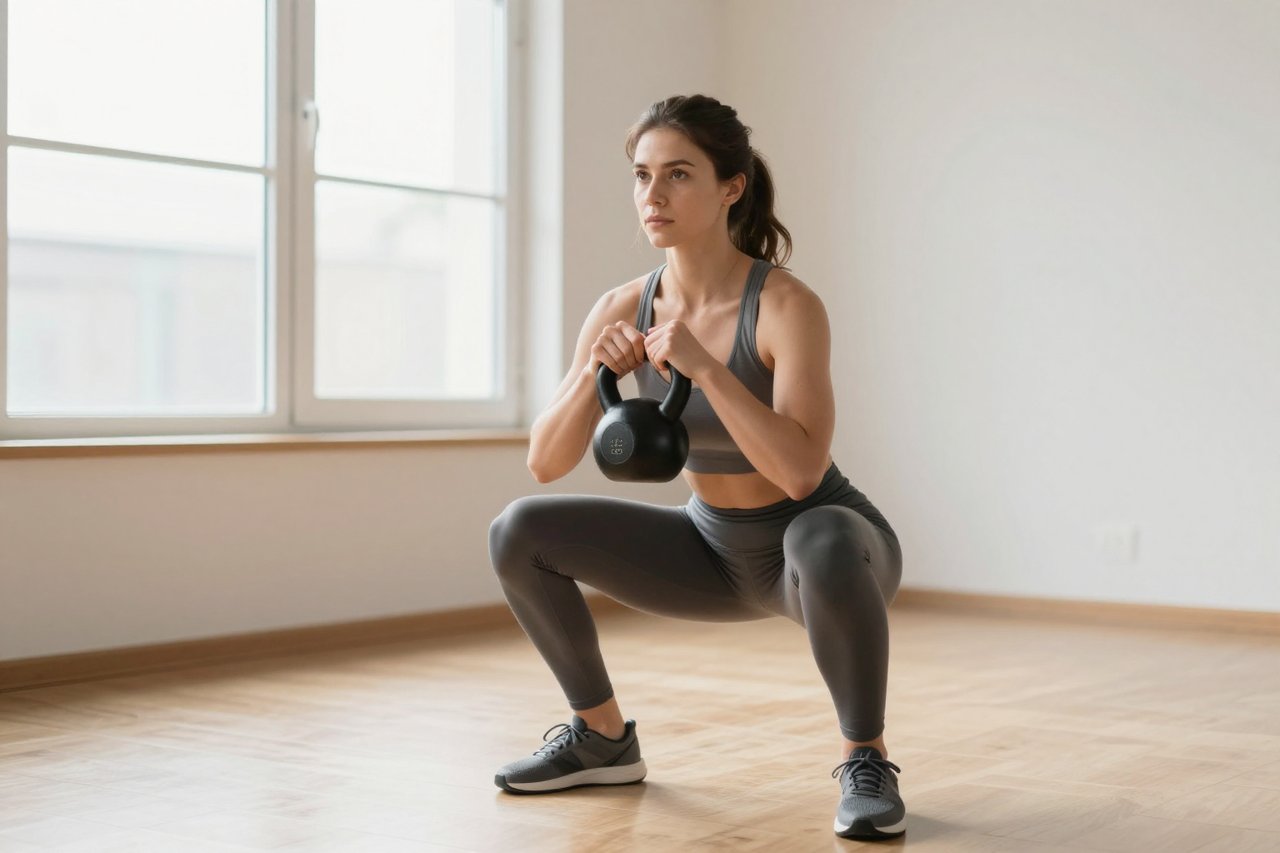
Stand with your feet a little wider than your hips, toes turned out maybe 10 degrees. Push your hips back and down as if aiming for a low chair, keep your heels glued to the floor, and let your knees travel forward over your toes. They’re allowed to. Three sets of 10 is a fine start.

Once bodyweight feels easy, hold a dumbbell or kettlebell against your chest with both hands. That’s a goblet squat, and it’s the single best way to learn to stay upright under load. If you already own a kettlebell, the goblet hold is where it earns its keep, and there’s a solid rundown of four kettlebell exercises worth mastering once the pattern feels natural.
The mistake to watch for
Rising onto your toes on the way up. It usually means the weight is too far forward or your ankles are stiff. Widen your stance slightly and think about pushing the floor away rather than standing up.
2. The Incline Push-Up
Hands on a kitchen counter, a sturdy bench or the third step of a staircase. Body in one straight line from ears to heels, elbows tucked at roughly 45 degrees from your ribs, chest touching down and pushing away. Two sets of 6 to 10 reps.
As you get stronger, move your hands lower: counter, then bench, then stairs, then floor. That progression can take three months and nobody needs to rush it. Full push-ups are the destination, not the entry fee.
3. The Glute Bridge
Lie on your back, knees bent, feet flat and about a hand’s width from your backside. Press through your heels and lift your hips until your body forms a straight line from knees to shoulders. Squeeze at the top for a full second. Two sets of 12.
This is the gentle on-ramp to the hip hinge, which is the movement behind deadlifts, picking up shopping bags and getting off the sofa without using your hands. Bridge first, hinge later, deadlift much later.
4. The Row
Every push needs a pull, and most beginners skip it. Loop a resistance band around a solid anchor at chest height, hold an end in each hand, and pull your elbows back past your ribs while keeping your shoulders down away from your ears. Two sets of 12. No band? A dumbbell row with one hand on a chair works just as well.
If you want more pulling options, this full-body resistance band workout covers rows, presses and hinges in one session, which makes it handy for travel weeks.
5. The Plank
Forearms down, elbows under shoulders, feet hip-width, ribs pulled down toward your hips. Twenty seconds done properly beats two minutes done with a sagging lower back. Add five seconds a week and stop when your form breaks, not when the timer does.
Bracing is a skill, and breathing while braced is a bigger one. If you catch yourself holding your breath, these breathing exercises that change how you feel are worth ten minutes of your week.
6. The Dead Bug
On your back, arms pointing at the ceiling, knees bent at 90 degrees above your hips. Lower your right arm and left leg toward the floor without letting your lower back arch away from the ground, then return and swap sides. Eight slow reps per side.
It looks like nothing. It is not nothing. Most first-timers discover their core can’t keep their spine still while their limbs move, which is exactly the skill that protects your back when you carry something awkward up a staircase.
7. The Farmer’s Carry
Pick up a weight in each hand. Walk 20 metres with tall posture, shoulders back, no leaning. Set the weights down under control. Three trips.
Grip strength, posture, core and calves in one unglamorous package. It’s also the closest thing in the gym to real life, which is why it belongs in week one rather than year two.
How to Fit the Seven Into a Week
Three sessions, with a rest day between each, is plenty for the first month. A simple layout:
- Session A: Squat, incline push-up, row, plank
- Session B: Glute bridge, row, dead bug, farmer’s carry
- Session C: Squat, incline push-up, glute bridge, plank
Two to three sets of each, 8 to 12 reps, resting 60 to 90 seconds between sets. The whole thing takes under 35 minutes. If you want a version that bends around shift work and small children, this guide to building a workout plan that survives real life is the practical next read.
A Six-Minute Warm-Up Worth Doing
Skip the treadmill walk and do this instead: 10 bodyweight squats, 10 glute bridges, 10 arm circles each way, and 30 seconds of marching on the spot. Add two minutes of roller work on your quads and upper back if they feel tight. Here’s exactly how to use a foam roller for warm-up or recovery without turning it into a 20-minute event.
How to Tell It’s Working
You won’t see a different body in the mirror at week three, so track markers that move faster. Can you do 10 squats without your knees clicking? Did your plank go from 20 to 35 seconds? Are you carrying the shopping in one trip instead of two?
Those are the signals that matter early. Strength gains in the first six weeks are mostly your nervous system learning to recruit muscle more efficiently, which is why the weights feel easier before anything looks different. Write your numbers down after each session, even in a notes app. In eight weeks you’ll have proof, and proof is what gets you into session nine when motivation is thin.
One last thing: if you’d rather follow a screen than a scrap of paper, there are twelve bodyweight training apps worth downloading that will cue these movements for you. Pick one, run it for a month, and don’t change programmes until the reps get boring. Boring reps are how beginners become people who train.


