
Table of Contents
If you’ve ever stared at a makeup counter and felt your brain short-circuit, you’re not alone. There are primers, bases, palettes, and powders, and nobody hands you a map. The good news? Makeup for beginners isn’t about buying everything. It’s about learning a simple sequence and repeating it until it feels natural. This step-by-step guide walks you through each stage with specific amounts, tools, and techniques you can use at home today. For a broader look at choosing the right products for your budget, our realistic guide to a simple everyday routine covers the essentials.
Your Makeup Toolkit: What to Have on Hand
You don’t need a pro kit, but having the basics ready will make the process flow. Here’s a list of the essentials:
- Moisturizer and primer
- Liquid or cream foundation
- Concealer one to two shades lighter than your foundation
- A makeup sponge or a foundation brush
- Translucent setting powder
- A neutral eyeshadow palette with a light, medium, and dark shade
- Mascara
- A brow pencil or tinted brow gel
- Blush, bronzer, and a lipstick or tinted balm
If you’re just starting your brush collection, consider a multipack. Some of the best Christmas makeup brush sets include all the essential shapes at a decent price.
Step-by-Step: From Bare Skin to Polished Look
Step 1: Hydrate and Prime
Makeup sits best on skin that’s clean and hydrated. Wash your face, pat it dry, and apply a pea-sized amount of moisturizer. Wait a full minute for it to sink in, then apply a thin layer of primer. Primer isn’t optional; it gives foundation something to grip and helps it stay put for hours.

Don’t forget your lips. Exfoliating and keeping them moisturized prevents lipstick from caking. A simple lip care routine will get them smooth before you start.
Step 2: Apply Foundation Like a Pro
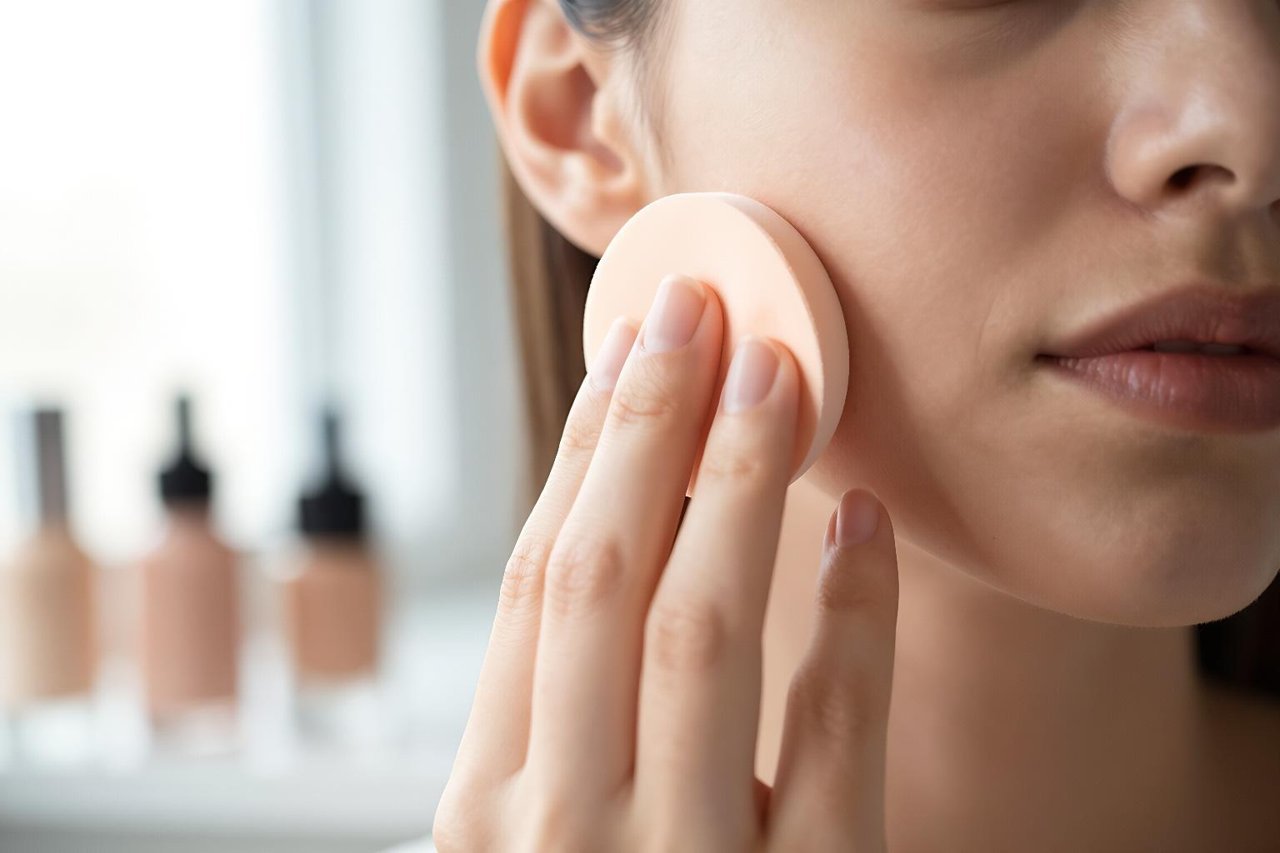
Dispense one to two pumps of liquid foundation onto the back of your hand. For beginners, a damp sponge is the most forgiving tool. Dot the foundation around your face (forehead, cheeks, chin, nose), then bounce the sponge outward in a stippling motion. You want a light, even layer. If you can still see red spots, don’t worry – you’ll add concealer next.
The right foundation formula matters more than the price tag. This guide to finding a foundation that fits your skin explains the differences between dewy, matte, and natural finishes.
Step 3: Conceal Target Areas
Use concealer only where you need extra coverage: under the eyes, around the nose, and on any blemishes. A dot smaller than a grain of rice is plenty. Warm it between your fingertips before patting it on, then blend with a small brush or your ring finger. The warmth helps it melt into your skin and avoids a visible line.
Step 4: Set With Powder
Lightly press translucent powder onto your T-zone with a fluffy brush. Tap off the excess first. This locks in your foundation and prevents shine. Avoid going over the whole face; you’ll end up with a cakey mask. A light dusting in the center of your face is enough.
Step 5: Add Color With Bronzer and Blush
Bronzer adds warmth, blush adds life. Sweep bronzer along the edges of your face where the sun hits first: your hairline, cheekbones, and jawline. Then smile and apply blush to the apples of your cheeks, blending upward toward your temples.
For beginners, cream products are forgiving because they blend easily and look skin-like. A peach-toned cream blush works on most skin tones. Use your fingers or a damp sponge to press it in.
Step 6: Soften Into Eyeshadow and Mascara
Start with one neutral shade on your entire eyelid, like a soft taupe, using a flat brush or your fingertip. Then define the outer corner with a slightly deeper brown, blending with a small fluffy brush until there are no harsh edges.
For eyeliner, skip the wing for now. Gently lift your eyelid and run a pencil along your lash line, smudging it slightly for a soft smoky effect. Finish with mascara: wiggle the wand from roots to tips, and apply two coats for a natural boost.
Step 7: Fill Brows, Finish With Lips
Brows frame the eye, but you don’t need a perfect arch. Use a brow pencil to sketch tiny feathery strokes in sparse areas, then brush through with a spoolie. The goal is to add definition, not to draw a new brow.
Now that the rest of your face has color, choose a lipstick that complements it. A tinted balm or a muted rose is perfect for daytime. Apply directly from the tube, press your lips together, and blot with a tissue. This gives you a soft wash of color that looks effortless.
Step 8: Set the Whole Look
If you have a setting mist, hold it about eight inches from your face and spritz twice in a cross pattern. This melts the powder and cream together, giving a seamless finish. Let it dry naturally, and you’re done.


