
Table of Contents
A foundation brush can look clean and still leave a film of old product on your skin. The bristles feel slightly stiff, foundation starts to streak, and by mid-afternoon your cheeks itch. That is buildup: a mix of makeup, oil, dead skin, and whatever the brush picked up from your makeup bag. Learning how to clean makeup brushes to help prevent buildup takes about ten minutes a week, and it is one of the cheapest ways to improve your makeup finish and keep skin calmer.
What Actually Builds Up on Makeup Brushes
Every pass across your face pushes sebum, sweat, sunscreen, dead skin cells, and pigment into the bristles. Synthetic brushes used with liquid foundation collect the most because cream products cling to the fibers. Natural-hair brushes can absorb oils, which makes them feel tacky over time. Leave that mixture in a warm bathroom and bacteria join the party.
A dirty brush is not automatically the cause of every breakout. Still, if your skin feels congested and you are already looking into enlarged pores treatment, check your tools as well. Clean brushes spread less bacteria and apply makeup more evenly, which makes it easier to judge what your skincare is actually doing.
How Often to Wash Makeup Brushes
There is no single schedule that suits every brush and every face. Use this as a practical starting point:

- Foundation, concealer, and cream blush brushes: once or twice a week if you wear them most days.
- Powder brushes: every two to four weeks, or sooner if the bristles look dusty.
- Eyeshadow and blending brushes: weekly for daily use; angled eyeliner brushes two or three times a week.
- Beauty sponges: after every use, or at minimum every two to three days.
- Any brush used during an illness or active breakout: immediately.
Oily or acne-prone skin, daily full-coverage makeup, and humid weather all push you toward the shorter end of those intervals. A brush that smells faintly of old foundation is overdue.
Spot Cleaning Between Deep Washes
Keep a spray brush cleanser and a microfiber cloth on your vanity. Spritz the bristles lightly, wipe them across the cloth until the pigment lifts, then let them air-dry for a few minutes. Spot cleaning buys you a day or two between proper washes. It does not replace water and cleanser, especially on foundation brushes.
The Step-by-Step Brush Washing Method
You do not need a fancy kit. A mild shampoo or a dedicated brush cleanser, lukewarm water, a silicone cleaning mat or small bowl, and two clean microfiber cloths will do. Skip harsh dish detergent on natural bristles and never use hot water.
1. Wet only the bristles
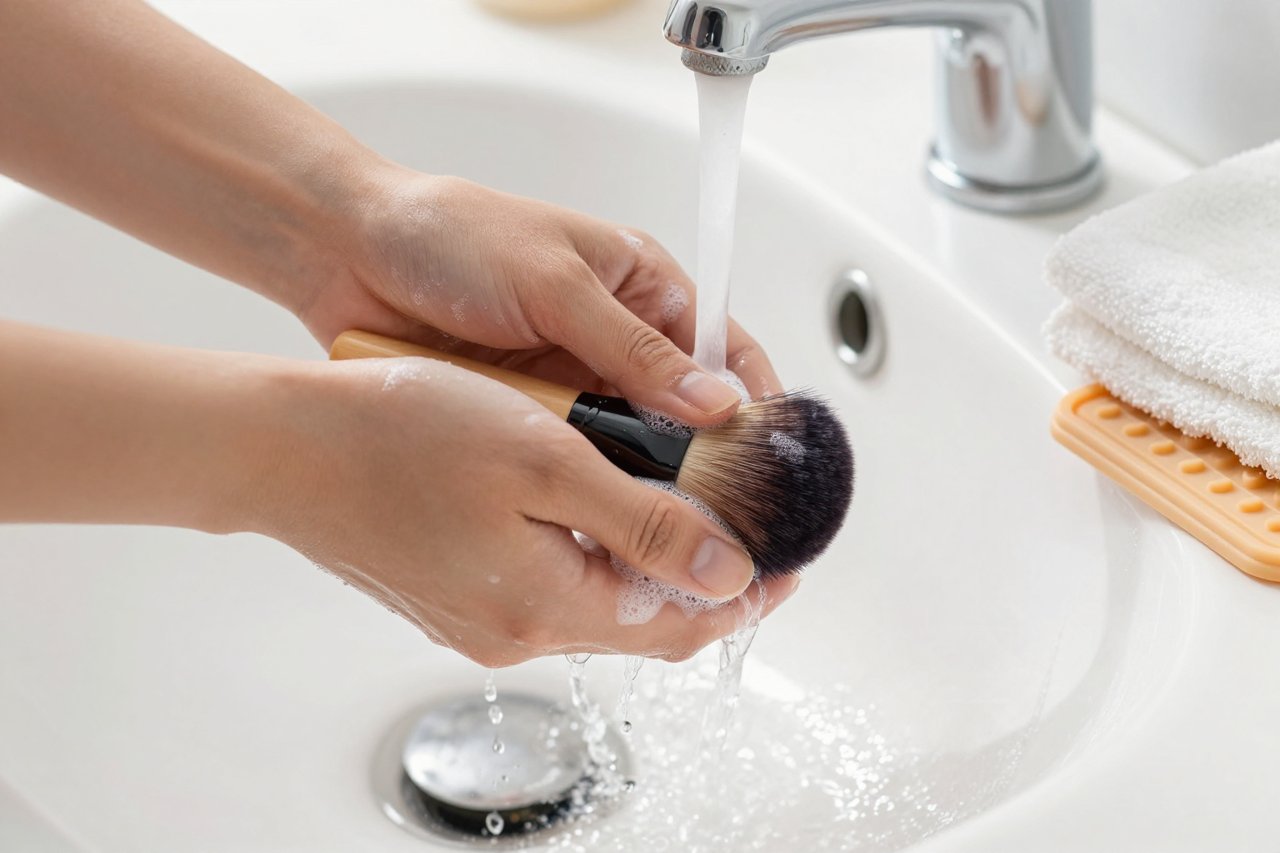
Hold the brush with the bristles pointing down and run lukewarm water over them. Keep the ferrule, the metal band holding the bristles, and the handle dry. Water trapped inside the ferrule loosens glue and shortens the brush’s life.
2. Work cleanser through the fibers
Add a drop of shampoo or brush cleanser and swirl the brush in your palm or on the mat. For a foundation brush, use your fingertips to massage the cleanser through the center of the bristles. Be gentle. Scrubbing hard bends fibers and creates a frayed shape.
3. Rinse until the water runs clear
Rinse with the bristles still pointing down. If the water is tinted, repeat the cleanser step. Foundation and concealer brushes often need two rounds. Avoid soaking the whole brush in a bowl of water, since that invites water into the handle.
4. Squeeze, reshape, and dry flat
Gently squeeze the bristles from ferrule to tip using your fingers or a clean towel. Reshape the brush head with your fingers. Lay it flat with the bristles over the edge of a counter or on a drying rack so air can move around them. Most synthetics dry in four to six hours; dense natural brushes may need eight to twelve.
Drying Mistakes That Undo a Good Wash
Standing brushes upright to dry is the most common mistake. Water creeps into the ferrule, softens the glue, and creates a damp pocket where mildew can grow. Keep brushes out of direct sun, off radiators, and away from hairdryers. High heat warps synthetic fibers and makes natural hairs brittle.
Do not bundle damp brushes in a towel or drop them into a closed makeup bag. They need airflow. If you use brush guards, put them on only after the bristles are completely dry, otherwise you trap moisture against the fibers.
How to Handle Stubborn Buildup, Stains, and Smells
Stiff foundation brushes often hold silicone-based makeup that shampoo alone struggles to break down. Massage a small amount of cleansing balm or oil cleanser into the dry bristles first, then wash with shampoo. This step is safe for most synthetic brushes and helps restore a soft feel.
White bristles may stay slightly stained even when clean. That is cosmetic, not a reason to bleach them. For a musty smell, wash the brush again and dry it in a well-ventilated room. If the odor or dark spots return after a full dry, replace the brush. Mold in a brush is not worth saving.
A Wash Routine That Fits a Real Week
Pick one slow moment, such as Sunday evening while a kettle boils or a podcast episode plays. Put your dirtiest brushes by the sink the night before. Wash foundation and concealer brushes first, then eye brushes, changing the water when it looks cloudy.
If you already follow a natural spring cleaning checklist room by room, add your brush rack and makeup bag to the bathroom list. A seasonal reset is a good time to wash every brush, wipe out the bag, and replace sponges that have seen better days.
Storage and Daily Habits That Slow Buildup
How you store brushes matters as much as how you wash them. Small habits add up:
- Stand brushes upright with bristles facing up in a cup, and leave space between them so air circulates.
- Wipe the handles after use, especially if you apply foundation with your hands first.
- Pump foundation onto the back of your hand or a mixing palette instead of dipping the brush into the bottle.
- Clean your makeup bag every week with a damp cloth and let it dry open.
- Wash your hands before makeup, and avoid sharing eye brushes.
- Wash new brushes before their first use to remove manufacturing dust.
When Replacing a Brush Beats Cleaning It
A brush that sheds every time you use it, stays stiff after two washes, or has a cracked ferrule is done. Daily-use foundation brushes often last one to three years with good care; cheaper ones may go sooner. Replacing a worn brush costs less than treating repeated irritation, and fresh bristles apply product more smoothly. If your skin still feels congested after a few weeks of clean tools, it may be worth exploring enlarged pores treatment rather than blaming the brush alone. Keep one backup foundation brush, wash it on rotation, and you will rarely be stuck with a dirty brush on a busy morning.


