
Table of Contents
You can put together a genuinely fast desktop for less than the price of a mid-range laptop. Not a machine that limps along, either. One that boots in under ten seconds, runs modern games at 1080p on high settings, and still has an empty M.2 slot waiting for a second drive next year.
The catch is that budget builds reward planning and punish impulse. Buy the wrong part first and you end up either returning it or building the rest of the machine around a mistake. Here is how to avoid that.
Decide What the Machine Is Actually For
Gaming rigs and work rigs pull money in opposite directions. A $250 graphics card does almost nothing for compiling code, and 32GB of RAM does almost nothing for frame rates. Spend an hour deciding which one you are before you spend a dollar.
If the answer is “both, a bit,” that’s fine, but pick a priority. A balanced $650 build with a mid-tier GPU and 16GB of RAM handles 90% of what most people do. If you are specifically building for development work, the trade-offs are different enough that it’s worth reading up on choosing a computer for programming without overspending before you lock in a parts list.

Worth settling early: do you actually need a desktop at all? Desktops win on price-per-performance, repairability, and upgrade paths. Laptops win on everything else. There’s a fuller breakdown of laptop versus desktop for real working habits if you’re on the fence.
Set a Number, Then Subtract $80
Whatever budget you name, the true cost lands about $60–$90 higher. Tax, shipping on three separate orders, a fan splitter, a SATA cable the motherboard didn’t include, thermal paste if the cooler’s pre-applied patch looks sketchy. That buffer is not padding. It is the difference between finishing the build on a Saturday and waiting until Thursday.
Also decide now whether the monitor, keyboard, and mouse come out of the same pot. A $600 tower with no display is not a $600 computer.
Where the Money Should Go
Budget builds fail when the money gets spread evenly. It shouldn’t be. Here’s roughly how a $600–$700 tower breaks down, assuming you’re buying mostly new:
- Graphics card, 30–35%. This is the single biggest lever on gaming performance. A used RX 6600 or RTX 3060 at $180–$220 is the sweet spot right now.
- CPU, 15–20%. A Ryzen 5 5600 or Intel i5-12400F runs $100–$130 and will not bottleneck anything in this price class.
- Motherboard, 10–15%. A B550 or B660 board around $90 gets you two M.2 slots and four RAM slots. Skip the $200 boards with features you’ll never touch.
- RAM, 5–7%. 16GB of DDR4 3600 costs about $35–$40. That’s the whole budget line. Don’t pay $40 extra for RGB heat spreaders.
- Storage, 8–10%. A 1TB NVMe drive is $55–$70. This is the best value-per-dollar part in the entire build.
- Power supply, 8–10%. $55–$70 for a 550–650W unit from a known brand with an 80+ Bronze rating or better.
- Case, 5–8%. $40–$60. Or zero, if you have an old one with decent airflow.
If some of those categories feel abstract, it helps to know what each component actually does before you start comparing model numbers. Knowing why the PSU matters makes the $70 line item much easier to justify.
The Used Market Is Where the Real Savings Live
Some parts are safe to buy secondhand and some absolutely are not.
Safe: CPUs (they either work or they don’t, and they rarely die), cases (it’s a metal box), RAM (test it, then trust it), monitors (check for dead pixels in person).
Risky: graphics cards. Ex-mining cards are everywhere, and while many are fine, you can’t tell by looking. Ask for the original invoice, test it under load before paying, and avoid anything listed as “for parts.”
Never buy used: power supplies. A failed PSU can take the motherboard and drives with it. It’s the one place where $60 new beats $30 used every time.
A Concrete $650 Build That Holds Up
Ryzen 5 5600 ($110), B550M motherboard ($90), 16GB DDR4-3600 ($38), 1TB NVMe SSD ($60), used RX 6600 ($190), 600W 80+ Bronze PSU ($60), budget mid-tower case ($50), stock cooler included. Total: about $598 before tax.
That machine runs most current titles at 1080p/60+ on high settings and handles 1440p on medium. It compiles a mid-sized codebase fine. It will feel fast for four or five years, and the AM4 platform leaves room for a Ryzen 7 5700X3D upgrade later if you want one.
Mistakes That Quietly Eat the Budget
Most blown budgets aren’t caused by one big splurge. They’re caused by five small ones.
Buying a $180 case because it looked good in a video. Paying $30 extra for a motherboard with built-in Wi-Fi when a $15 USB adapter does the same job. Spending $220 on a CPU and $120 on a GPU, which produces a machine that benchmarks well and games badly. Buying a 500GB SSD to save $20, then adding a drive three months later for $60. Forgetting that Windows costs money unless you’re going Linux.
There’s a longer list of these in the buying mistakes that cost people the most money, and most of them apply just as much to self-built machines as to pre-builts.
Assembly Day: The Bits People Get Wrong
The build itself takes about 90 minutes. These are the steps where first-timers lose an evening.
Standoffs. Count them. A missing standoff means a short; an extra one under the board means a dead motherboard. Neither is obvious until you press the power button and nothing happens.
RAM in the right slots. On a four-slot board with two sticks, use slots two and four, counting away from the CPU. Check the manual, because putting them in one and two costs you 10–15% performance and you’ll never notice.
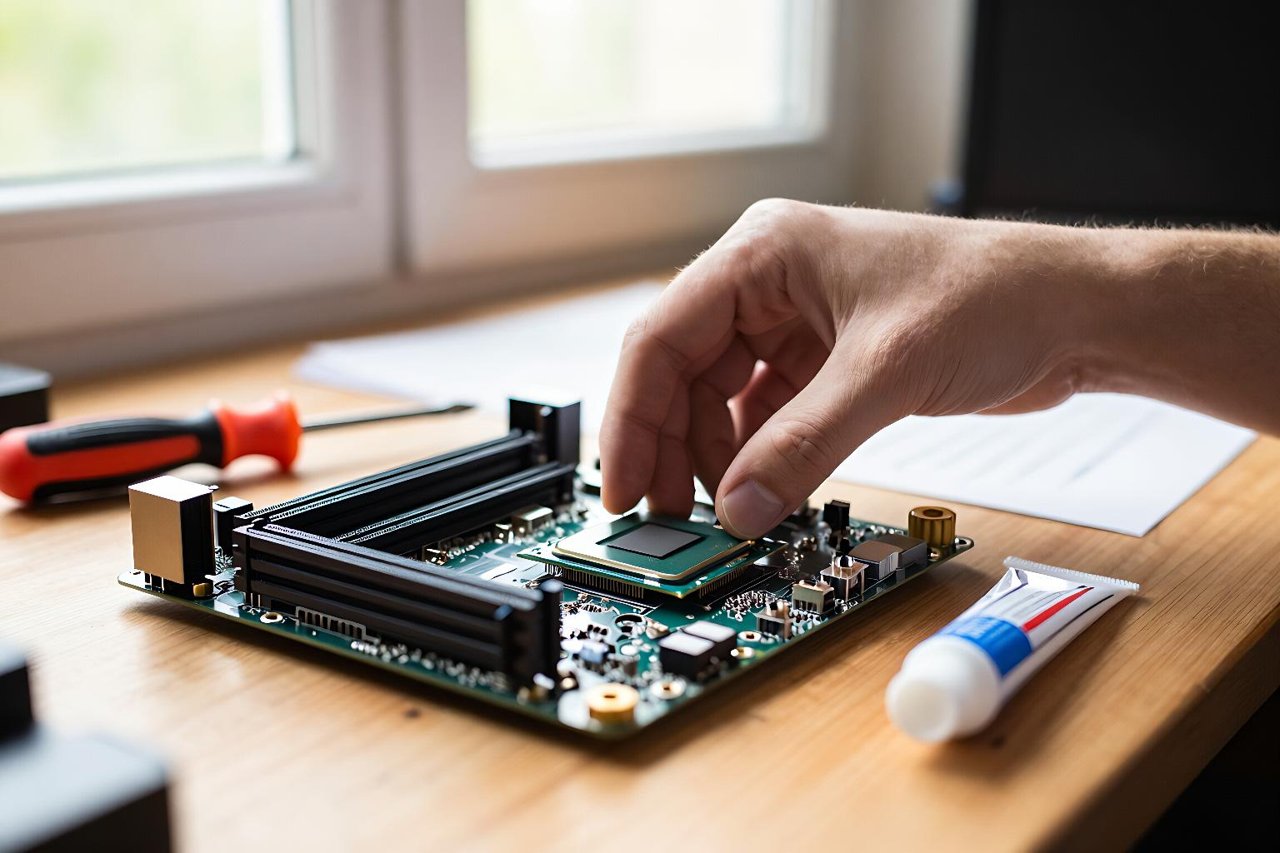
Thermal paste. A grain of rice in the centre is plenty. More paste does not mean more cooling, it means more mess.
Front panel headers. The tiny labelled pins at the bottom of the board are the least fun part of any build. Read the manual diagram, use a torch, and accept that it will take fifteen minutes.
Enable XMP or EXPO in the BIOS. Until you do, your 3600MHz RAM runs at 2133MHz. It’s one toggle and it’s free performance.
Buy the Upgrade Path, Not the Spec Sheet
The spec sheet tells you what the machine does today. The upgrade path tells you what it can become, and on a budget that matters more.
Three things are worth paying a little extra for, because they’re expensive or annoying to change later. A motherboard with two M.2 slots, so adding storage doesn’t mean removing a drive. A power supply with 150W of headroom over your current draw, so a GPU upgrade in two years doesn’t require rewiring the whole case. A case with at least 320mm of GPU clearance and two intake fans, because airflow is the cheapest performance upgrade that exists.
Everything else can be swapped in fifteen minutes with a screwdriver. Buy the chassis, the board, and the PSU with the next build in mind, and the rest of the machine can stay as cheap as it needs to be. That’s the whole trick: spend on the parts you’ll keep, save hard on the parts you’ll replace. Do that and a $650 computer stops feeling like a compromise and starts feeling like a machine you got away with.


