
Table of Contents
So you’ve finally got your hands on a tracker for my dog. That’s the phrase I kept typing into search engines, hoping for a simple answer. Instead, I got a box, a clip, and a QR code that just said “scan me.” The vet tech at the front desk said it was easy. She was wrong.
The truth is, setting up a dog GPS tracker isn’t hard, but it’s not as obvious as the packaging promises. In this post, I’m going to show you the exact steps I’ve landed on after doing this three times. I’ll be honest about the mistakes too, because the fifth time I forgot to charge the thing was the fifth time too many.
Step 1: Charge the Tracker Before You Even Open the App
The very first thing to do is plug in your tracker and let it charge. Not for an hour. Overnight. Most trackers use a lithium battery, and they ship with a partial charge that’s just enough for you to get excited and disappointed. The indicator light will change from red to green, but trust me, a green light isn’t the same as a full battery. The first firmware update over Bluetooth is notorious for draining whatever juice is left, and nothing says “great start” like having your tracker die in the middle of a pairing sequence.
Set a reminder on your phone. Also, use the included cable, not your phone charger. Some dog trackers are picky about the charging head. I ruined one by using a tablet charger that kept interrupting the current. Now I stick with a low-power USB port.

Step 2: Scan the QR Code and Create Your Account Like You Mean It
Once the tracker is at 100%, open the companion app and scan the QR code on the box. This sounds obvious, but here’s the part that trips people up: you’ll be asked to create an account with an email and a password. Use a real email you check regularly, not the one you use for shopping newsletters. A lot of these apps send geofence alerts to that address, and you don’t want those buried in spam.
If you haven’t chosen a device yet, I’d recommend reading my guide on how to find a tracker for your dog that won’t let you down before you fall in love with a product. It’s less about brand names and more about network coverage, battery life, and whether the subscription will eat your lunch money. I learned that the hard way.
After you scan the code, the app will ask for permission to access your phone’s location. Always allow it “while using the app” if the option is there. If you deny it, the live map won’t work properly, and you’ll end up blaming the tracker when it’s really a permissions issue.
Step 3: Set Up Your Geofence With a Tape Measure, Not a Guess
Now the fun part: geofencing. For me, this is where a tracker for my dog really earns its place. The geofence is a virtual boundary. When your dog crosses it, the app sends an alert to your phone.
Most apps default to a 100-meter (about 328-foot) circle around your home. That sounds fine until you realize it covers half the neighborhood. I now set my “home” zone to 25 meters (around 82 feet). If my dog slips out the front door, I want to know immediately, not when he’s already at the corner store.
How to set the boundary on purpose
Here’s how to do it right: walk to the edge of your property with the phone and drop a marker at the boundary. Don’t just zoom out on the map and tap the middle of your house. The GPS on your phone is more accurate than the map tiles, especially if you have a long yard or a fence line. If you’re not sure how to set this up on your specific device, the step-by-step in our honest guide to never losing your dog again explains the interface better than the app’s own help section.
Step 4: Attach the Tracker the Right Way (Yes, There’s a Right Way)
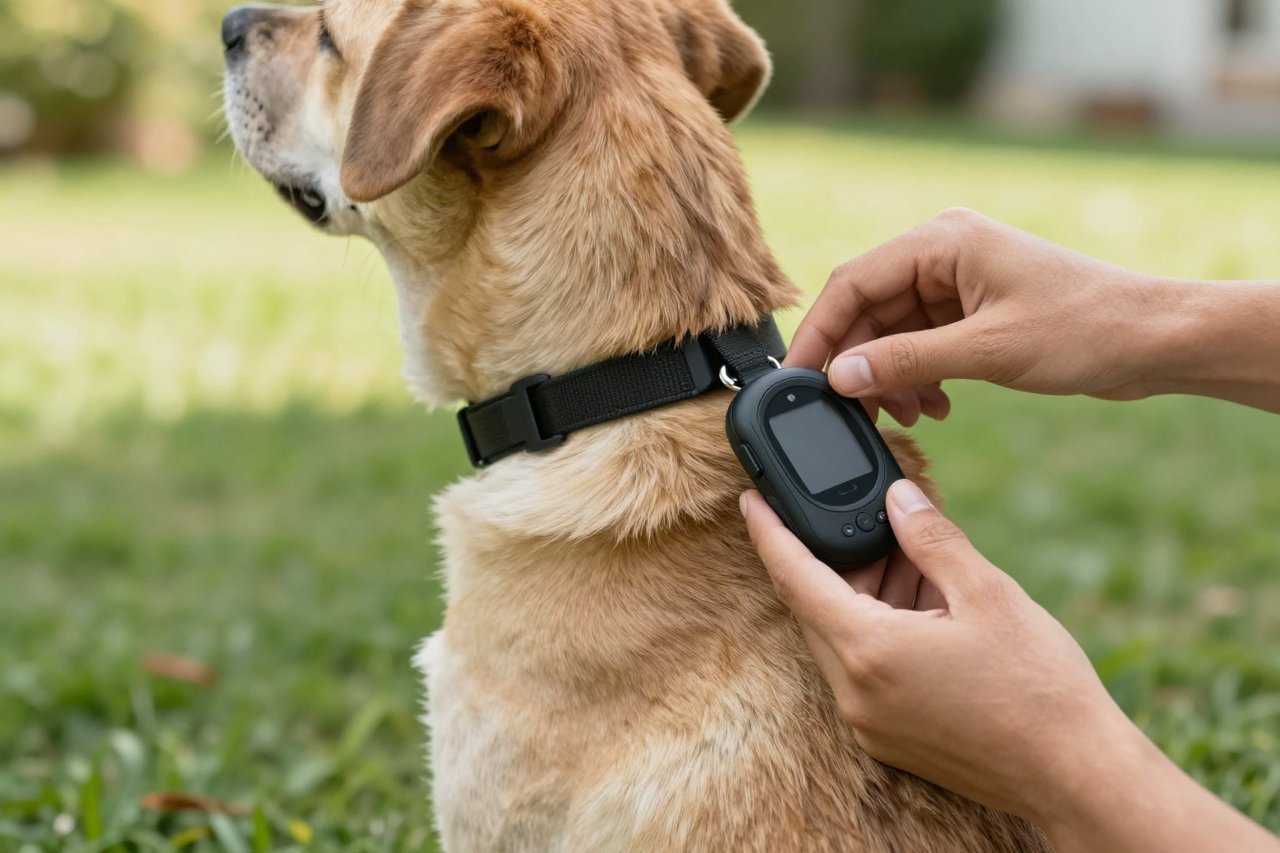
The hardware placement is not as simple as clipping it to a ring. Most trackers are designed to sit on the collar so that the antenna faces up. If it dangles and flips against your dog’s chest, the signal will be weaker, especially in wooded areas. I learned this after my foster dog Ruby bolted through a forest and the tracker kept showing her near a pond, but in reality she was at a camp a mile away.
Antenna orientation matters
For trackers that come with a silicone or nylon holder, thread the collar through it, then slide the tracker in. For the little ones that hook onto a collar ring, consider adding a secondary ring so it stays upright. Think of the tracker like a tiny antenna: it needs to see the sky, not the ground. If you’re comparing collar options, you might find this article on GPS dog leash and collar differences helpful. I never understood why someone would choose a leash over a collar until I saw the attachment points.
Step 5: Test the Tracker Before You Need It
Remember the morning I thought my tracker was broken? It wasn’t broken. It was just that I hadn’t tested it outdoors. GPS requires a clear signal, and your house can block it. So here’s the drill: put the collar on your dog, take them for a walk, and open the app while you’re standing still. Wait for the little “GPS” icon to go from blinking to solid. That can take between 30 seconds and a few minutes in dense neighborhoods.
The grocery store test
Then actually walk a few blocks away and ask someone to let your dog out. No, seriously, do it. Give a friend the tracker’s live sharing link (most apps can do this) and have them stand in your backyard. Then go to the grocery store and watch the map from your phone. See if the location updates within the expected interval. If it’s stuck at the same spot for 5 minutes, you have a problem. This is the kind of real-world behavior we cover in our article on what actually happens when your dog wears a GPS tracker. Spoiler: it’s not like the movies.
Step 6: Share Access With Everyone Who Watches Your Dog
The tracker is only useful if the people in your life can use it too. On most apps, there’s an option to invite a co-pet-parent or add another viewer via a QR code. Do this for your partner, your dog walker, and your mom. My neighbor’s daughter once found my dog using the app on her mum’s phone because I’d added both of them. It sounds complicated but takes about a minute. I also set up a family routine: if anyone sees a notification, they post in our group chat. The first one to arrive at the location wins the “hero” title.
Step 7: Create a Weekly Charging Routine
Honestly, this is the step most people skip. Your tracker won’t help if it’s dead. Battery life matters, but no tracker lasts forever. I charge mine on Sunday nights like a toothbrush. I put a daily reminder on my phone for an hour before dinner. It takes five seconds to check the battery percentage in the app, and if it’s under 30%, I plug it in while I cook.
If you can’t remember to check, some trackers have a low-battery warning. But don’t rely on it. I’ve had alerts arrive after the battery died. This is especially important if you use a subscription-based service that relies on cellular signal; an empty battery literally takes you offline. I’ve started keeping a spare tracker in my car now, but that’s a story for another time.
Step 8: What to Do When the Alert Actually Happens
The day will come when you get that notification. Your dog has crossed the geofence. I know because I’ve been there, and the feeling in your stomach is unmistakable. Do not panic. Do not call their name from the front porch and expect them to come back. Instead, do this:
- Open the tracker app immediately and tap “live view” or “follow me” if your tracker has that feature.
- Watch the map for a minute or two instead of averaging the last few points. The update intervals can be 30 to 60 seconds, so one ping might look weird.
- Grab your keys and shoes. Don’t wait for someone else to do it.
- If the location hasn’t changed for three or four minutes, get in the car and drive towards that point.
- Call the phone number on their tag as a backup, but don’t wait for the person to pick up.
I can’t stress this enough: your app’s location is only as good as the cellular network in the area. This is why it’s worth reading the most honest comparison article I’ve found on the best tracker for my dog after testing six GPS collars. It gives you a sense of which tracker performs well in forests versus suburbs and where the signal drops. I kept my old tracker as a spare, but after reading that comparison, I switched to a model with better network coverage.


