
Table of Contents
Walk into any beauty aisle and you’ll see hundreds of products, each promising to fix something you didn’t know was broken. For a beginner, that’s not exciting. It’s paralysing. The problem isn’t that you’re bad at makeup. It’s that nobody ever explained the basic logic behind it all.
This primer is that explanation. No product recommendations, no complicated techniques. Just a mental framework you can use to understand what makeup actually does, which products matter, and how to start without wasting money or feeling overwhelmed.
Start With Your Skin, Not With Products
Makeup sits on top of your skin. If your skin is dry and flaky, foundation will cling to those flakes. If it’s oily, makeup will slide off by lunch. So before you buy a single product, get to know your skin type. Oily, dry, combination, sensitive. Each one dictates what will work for you. A mattifying primer will make dry skin look worse. A rich moisturiser under foundation can make oily skin greasy.
The non-negotiable basics: cleanse gently, moisturise, and wear sunscreen every day. That’s it. You don’t need a ten-step routine. You just need a clean, balanced canvas. If you want to go deeper into the prep steps that actually matter, the fundamentals nobody explains first is a good place to start.

The Four Jobs of Makeup (and Why That Matters)
Every product on the shelf does one of four jobs. Once you see them as categories, the overwhelm disappears.
- Even out skin tone. This is your base: primer, foundation, concealer, powder. They create a uniform canvas.
- Add colour and dimension. Blush, bronzer, and highlighter bring life and shape back to your face after foundation flattens it.
- Define features. Eyeliner, mascara, brow products, and lip liner make your eyes and lips stand out.
- Set and finish. Powder and setting spray lock everything in place so it lasts.
You don’t need all four categories on day one. Most beginners can get a great everyday look with just the first two, plus mascara. The rest is optional.
The Base: Foundation, Concealer, and the Myth of “Full Coverage”
Foundation is the product people fear most. The good news: you don’t need it to be full coverage. In fact, sheer-to-medium coverage looks more natural and is far more forgiving for beginners. Tinted moisturisers and BB creams are essentially foundation with skincare benefits and lighter pigment. Start there.
Choosing a shade
Match your jawline, not your hand or your neck. Test in natural daylight. Store lighting lies. If you can’t tell where it ends and your skin begins, it’s a match. If it looks like a mask, it’s wrong.
Concealer
Concealer covers what foundation misses: blemishes, redness, dark circles. For beginners, a shade that matches your foundation exactly is easiest. One shade lighter for under-eyes can work, but it’s a fine line between brightening and looking like a raccoon. Apply in thin layers and build only where needed.
How you apply matters as much as what you apply. The order you apply makeup in can make or break your finished look, especially with cream and powder products.
Colour Products: Blush, Bronzer, Highlighter
After foundation, your face can look flat. Colour products fix that. Think of them as a triangle of warmth and glow.
- Blush goes on the apples of your cheeks and blends up toward your temples. Cream blush is easiest for beginners. Just tap it in with your fingers.
- Bronzer adds warmth where the sun would naturally hit: forehead, cheekbones, jawline. Use a light hand. It’s not contouring; it’s a healthy glow.
- Highlighter catches the light on the high points of your face: cheekbones, brow bone, cupid’s bow. A little goes a long way. Too much and you’ll look sweaty, not dewy.
Pick one or two of these to start. A cream blush and a subtle bronzer can be enough to make you look alive.
Eyes and Lips: The Quick Version
Eyes and lips are where beginners often overcomplicate things. You don’t need a twelve-shade palette or a perfect winged liner. Here’s the simple version.
Eyes
Start with one neutral eyeshadow, a shade close to your skin tone but slightly darker. Sweep it over your lid and blend into the crease with a fluffy brush. Then mascara. That’s it. Mascara makes the biggest difference: wiggle the wand at the base of your lashes and sweep up. If you want more definition, a pencil liner smudged into your upper lash line is more forgiving than liquid liner.
Brows
A tinted brow gel or a pencil to fill sparse areas is plenty. Follow your natural shape. Don’t draw them on like stickers.
Lips
Tinted balm or a satin lipstick is your friend. Prep with a little lip balm, then apply. If you want a polished look, line your lips with a shade close to your natural colour, but it’s not required.
If you want a full walkthrough of a simple, realistic routine that takes less than ten minutes, a realistic everyday routine is worth reading.
Tools: You Don’t Need 20 Brushes
You need far fewer tools than the internet suggests. Here’s a no-nonsense starter set:
- A damp makeup sponge for foundation and concealer.
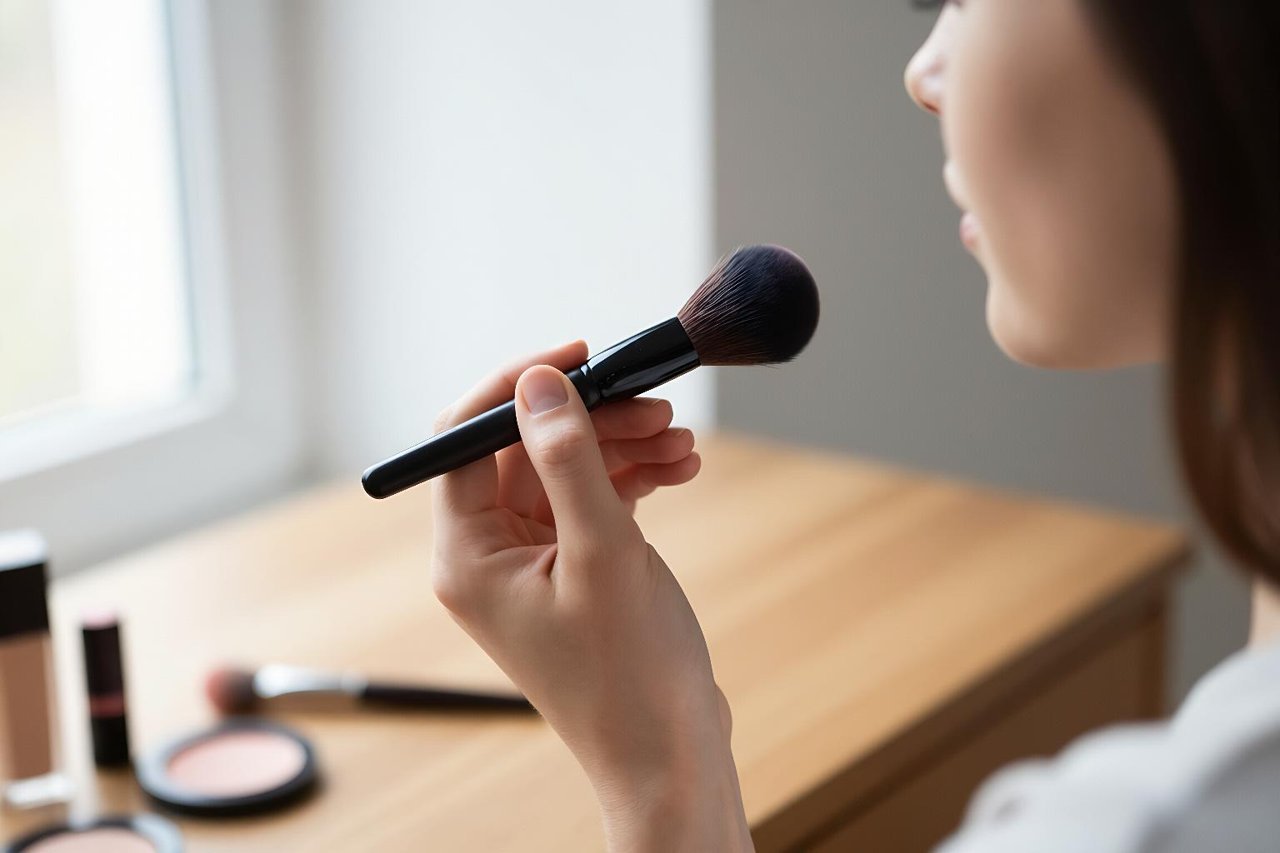
- A fluffy powder brush for powder and bronzer.
- A slightly smaller brush for blush.
- A flat shader brush for eyeshadow.
- A spoolie brush (or clean mascara wand) for brows.
That’s five tools. You can do almost everything with those. Fingers work beautifully for cream products. Wash your brushes once a week with gentle soap and warm water. Dirty brushes cause breakouts and patchy application.
Your First Five Products (A Starter Kit That Actually Works)
If you’re building from zero, here’s a minimalist kit that covers 90% of everyday situations:
- Tinted moisturiser or light foundation for evening out skin tone.
- Concealer for spots and under-eyes.
- Cream blush for instant life.
- Mascara for opening up your eyes.
- Tinted lip balm for colour and moisture.
Optional extras: a translucent powder to set your T-zone, a brow gel, and a neutral eyeshadow. But don’t buy them until you’ve mastered the first five.
How to Practice Without Wasting Product
Practice at night, right before you wash your face. You’re not going anywhere, so there’s no pressure. Take a photo in natural light (window light, not bathroom light) to see how it actually looks. Then remove it and try again tomorrow.
Focus on one skill per session: blending foundation, or getting blush placement right, or applying mascara without clumps. Trying to learn everything at once is how people get frustrated and quit. How fast you learn depends on the trade-offs you make. The trade-offs that decide how fast you learn breaks down what to prioritise.
Common Beginner Traps to Avoid
Most beginner struggles come from a handful of habits. Applying too much product. Using the wrong shade. Skipping moisturiser. Not blending. Using dirty tools. These are fixable, and they’re covered in detail in 9 mistakes that keep you looking like a beginner. Read that after you’ve got the basics down, and you’ll spot them in your own routine immediately.
Give Yourself Permission to Be Bad at It
Nobody starts out good. The first time you apply eyeliner, it will be wonky. Your foundation might look cakey. You might pick the wrong blush shade. That’s not failure; that’s the process. Makeup is a skill, and like any skill, it improves with repetition and curiosity.
Start with the five products above. Practice once a week. Watch how your skin reacts, what feels comfortable, and what you actually enjoy wearing. The goal isn’t to look like a beauty influencer. It’s to feel a little more put-together in your own skin. And that starts with understanding the basics, not memorising rules.


