
Table of Contents
Most makeup tutorials begin somewhere in the middle. Someone with a ring light and a full brush roll says “start with your base,” and if you have never applied a base in your life, you are already behind. Nobody stops to explain why the base goes first, what it should feel like on your skin, or what to do when it turns patchy by lunchtime.
This guide starts at zero. No assumed knowledge, no enormous shopping list, no pressure to look like anyone in particular. Just the fundamentals: the order products go on, the tools worth owning, and how to build a routine you can repeat on a Tuesday morning when you are already late.
The Order Matters More Than the Products
If you take one idea from this whole article, take this one: makeup goes on in layers, running from thinnest to thickest. Skincare first, then liquids, then creams, then powders. Follow that sequence and a budget foundation will look better than an expensive one applied in the wrong order.
There is a physical reason. Powder clings to whatever is wet underneath it, so powdering before your liquid base means everything drags and goes flaky. Cream blush applied under a powder foundation disappears within an hour. Once you understand that layers need to sit on top of each other rather than fight, most beginner problems solve themselves.

The Five Layers of Almost Every Routine
Full-glam routines can involve twenty products. Yours does not have to. Almost every look, from a five-minute face to evening makeup, is built from the same five layers in the same order.
1. Prep
Cleanse, moisturise, and let the moisturiser sink in for a few minutes before anything else touches your face. If you are heading outdoors, choose a moisturiser with SPF 30 or higher instead of layering sunscreen separately. It is one less step and one less chance of pilling. Primer is optional and plenty of people skip it. If your foundation slides off by midday, an oil-controlling primer helps. If your skin feels tight and flaky, a hydrating one does.
2. Base
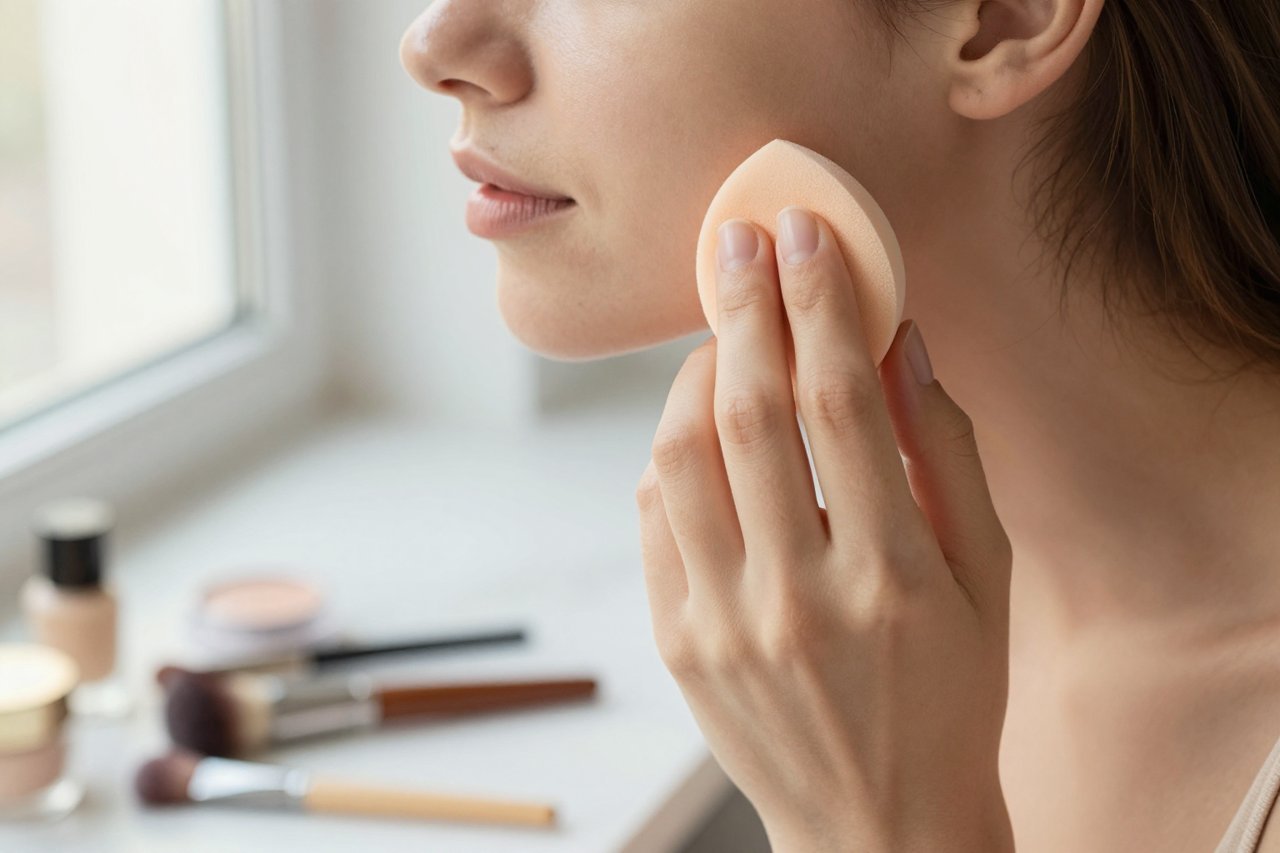
Base means foundation, tinted moisturiser, or concealer, not all three at once. Start with the lightest coverage you can tolerate. A pea-sized amount of foundation, dotted down the centre of your face and blended outwards with a damp sponge, covers more than most people expect. Concealer goes only where you need it: under the eyes, around the nostrils, on a spot. If you want a slower walkthrough of this stage, there is a step-by-step guide to a flawless everyday look that breaks the base down move by move.
3. Colour
This is blush, bronzer, and highlighter, and it is the layer beginners skip most often. Skin without colour reads as flat, even when the foundation is flawless. Cream blush tapped onto the apples of your cheeks with fingertips takes twenty seconds. Bronzer goes where the sun would naturally land: temples, cheekbones, jawline. Keep highlighter to the tops of the cheekbones. Colour is also where seasonal trends live, and if you want to know how to wear 2026’s biggest makeup trends without looking like you borrowed a costume, that is the place to look next.
4. Eyes and Brows
One neutral shadow swept over the lid, a coat of mascara, and a brow product that fills sparse areas will do more for your face than an elaborate smoky eye. Curl your lashes before mascara rather than after, and wipe the wand on the rim of the tube so you do not end up with clumps.
5. Lips and Set
Lip balm, tint, or lipstick, then a light dusting of translucent powder only where you get shiny, which for most people is the T-zone. Setting spray is optional but helps everything settle into the skin. That is the whole routine.
The Tools That Actually Change Your Results
You do not need a twenty-four piece brush set. Four things will get you through almost everything.
- A damp makeup sponge for foundation and concealer. Wet it, squeeze it out so it is damp rather than soaking, and bounce rather than drag.
- A fluffy powder brush for blush, bronzer, and setting powder. One brush can handle all three if you tap it off between products.
- A small angled brush for brows and any liner you attempt.
- Clean fingers, which remain the best tool for cream products. Body heat melts them into the skin better than any brush.
Wash the sponge and brushes once a week with gentle soap and warm water. Dirty tools sit behind a surprising share of breakouts and patchy application.
How to Practise Without Wrecking Your Confidence
Do your practice runs at night, right before you wash your face. You get the repetition without the pressure of leaving the house, and if it goes badly you wipe it off and go to bed. Fifteen minutes, three times a week, builds real muscle memory inside a month.
Lighting matters more than people admit. Bathroom spotlights cast shadows that hide half your face, while a window with daylight is the most honest mirror you own. Practise under one light only and you will be surprised by how your makeup reads everywhere else.
Set yourself small targets. This week, get the base looking even. Next week, add blush. Stacking one new skill at a time is how the whole thing stops feeling overwhelming.
The Beginner Traps Worth Knowing About
Some mistakes are almost universal, and most of them have nothing to do with talent. Applying foundation to dry, unmoisturised skin. Testing a shade on the back of your hand instead of along your jawline. Buying full-coverage foundation when your skin is mostly clear. Pumping a mascara wand to get more product out, which only pushes air in and dries the formula faster.
There is a longer list of habits that quietly work against beginners, and it is worth reading through these common makeup tutorial mistakes once before you shop, purely so you do not spend money on things you will never use.
Choosing Where to Start
Once the basics click, you will notice tutorials split into different camps: quick everyday faces, full routines with contour and liner, trend-led looks that shift every season, and professional techniques borrowed from working artists. They are not competing with each other. They are simply aimed at different amounts of time and different occasions.
If you want a sense of which direction suits your life right now, this comparison of fresh face, full routine, trend looks, and pro training lays out the trade-offs honestly, including how much time each one really demands.
A Four-Week Practice Plan
Week one, base only: moisturiser, foundation, concealer, powder, nothing else. Week two, add blush and a single eyeshadow. Week three, add mascara and brows. Week four, put all of it together and time yourself. Most people land somewhere between six and twelve minutes, and once you have a routine that fits that window, compare it against this 15-minute fresh face routine to see what is worth adding and what you can happily drop.
Keep the products you reach for every single day and move everything else into a drawer. The kit that actually gets used is small, and it grows on its own as your skills do.


