
Table of Contents
Your dog’s nails are the one piece of grooming you can’t skip, and the one piece most owners quietly dread. Get it wrong and you’re dealing with a bleeding paw and a dog who bolts whenever the clippers come out. Get it right and the whole job takes about four minutes on the living room floor.
Most of the difficulty isn’t the cutting. It’s the confidence to know where to stop. Here’s the method vets and groomers actually use, including what to do about black nails, nervous dogs and the paw that’s already bleeding.
Long nails do more damage than owners realise
Stand your dog on a hard floor and look at the paw from the side. The nail should hover just above the ground. If you hear clicking on tile, they’re past due.
When a nail grows beyond the toe, it levers the digit backwards and changes how the paw loads. That pressure travels up the leg, into the wrist and shoulder, and plenty of dogs who seem stiff on walks are really just walking on splayed toes. Nails left long enough can curve around and press into the pad, which hurts and is a fast route to infection. Dewclaws, the ones partway up the leg, never touch the ground, so they grow fastest of all and are the ones most likely to curl into the skin.

Find the quick and the guesswork disappears
Every nail has a soft core called the quick, packed with blood vessels and nerves. Cut into it and your dog will feel it, bleed, and remember it for weeks. Knowing where it ends is the whole skill.
On clear or white nails, the quick shows through as a pink triangle. Hold the paw up and backlight it and you’ll see the line. On black nails it’s invisible, so you read the cut face instead. Chalky grey-white with a dark ring around the edge means keep going. A solid black or glossy dot right in the centre means you’re at the limit. Stop there.
Tools that do the job properly
- Bypass clippers for most dogs. Two curved blades that slice through the nail instead of crushing it. Guillotine styles are still sold, but they squash thick nails.
- Small scissor clippers for toy breeds, puppies and dewclaws, where full-size blades simply don’t fit.
- A rotary grinder with a diamond drum if your dog tolerates the noise, or if you want rounded edges that don’t snag carpet.
- Styptic powder or plain cornflour, kept within arm’s reach rather than in a cupboard two rooms away.
- Something ridiculous. Freeze-dried liver, cheese, a spoon of peanut butter. Ordinary kibble won’t hold a nervous dog still.
Dull blades cause more split nails than bad technique. If your clippers leave a jagged white edge or you have to squeeze hard, replace them or swap the grinder’s drum.
Set up before you call the dog over
Good light, a non-slip mat, and everything laid out within reach. Trim after a walk rather than before, when the energy has drained out of them. Use the same spot every time so it becomes a known routine rather than an ambush. The thinking in this guide to tools and tricks for stress-free grooming applies to nails just as much as to brushes and baths.
How to hold the paw without a fight
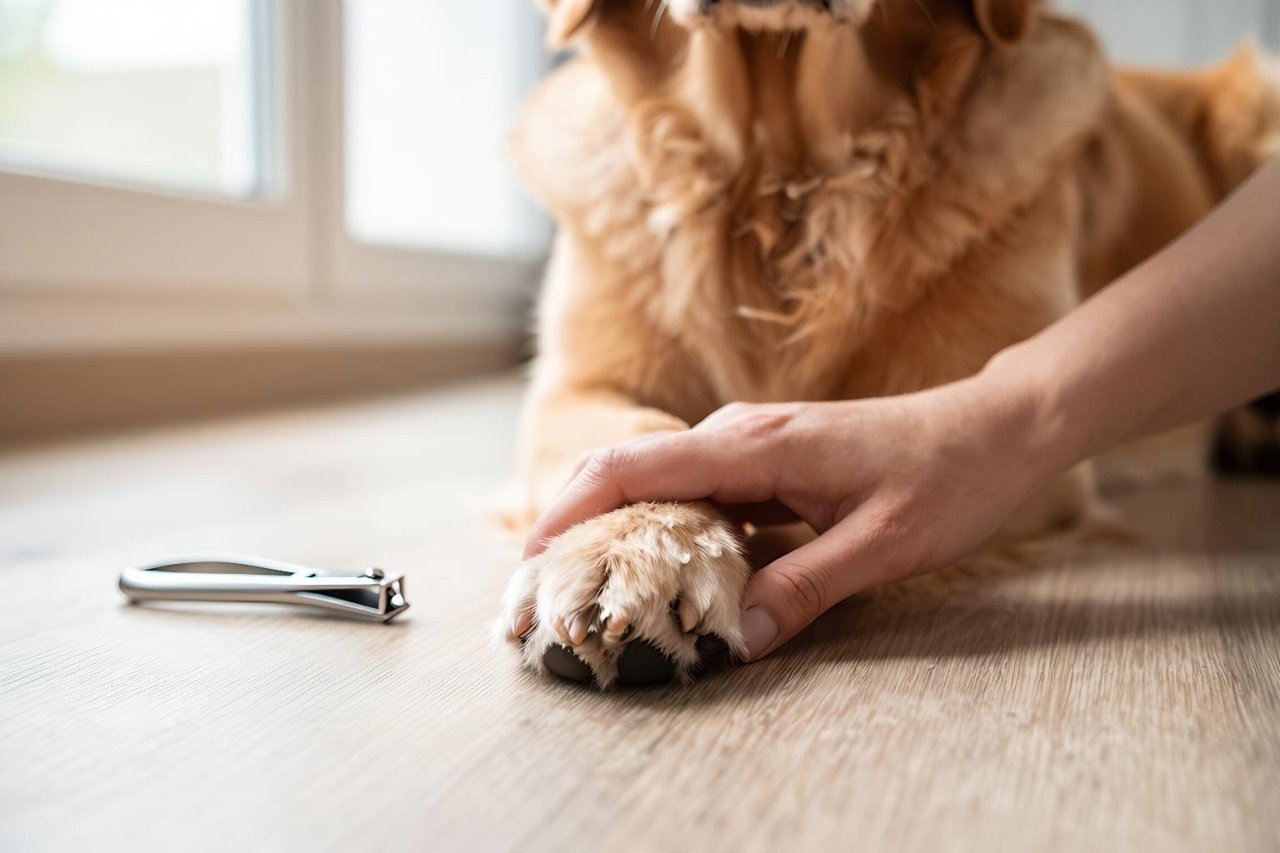
Slide your forearm under your dog’s chest or belly so they’re supported rather than dangling. Cup the paw from underneath with your thumb resting on the pad and your fingers across the top of the toes. Don’t squeeze the leg or grip above the wrist; that feels like restraint, and most dogs start pulling.
For small dogs, sit on the floor with them in your lap, their back against your chest. For big dogs, kneel beside them and bring one front paw forward rather than reaching underneath.
The trim, step by step
- Take one nail at a time, starting on a front paw. Most dogs accept the front feet far more easily than the back.
- Cut parallel to the pad, not at a slant. The cut face should be flat and roughly level with the ground.
- Take 1 to 2mm slices. It’s slower, and it stops you removing a chunk you can’t put back.
- Check the cut face after every slice. Grey-white, keep going. Dark spot, done.
- Praise, treat, next nail. If your dog gets up, let them, then restart thirty seconds later.
Black nails and the sliver method
For dark nails, treat every one as if the quick sits two millimetres closer than you think. Four or five thin slices with a check in between is completely normal. Doing this every three weeks gradually pushes the quick back, so the nails get shorter and the job gets easier. Skip two months and you’re back to square one with long quicks and a dog who has learned that nail day hurts.
Clippers versus the grinder
A grinder takes longer to learn but removes far less nail per second, which in practice makes it very hard to quick a dog. Use two-second touches and keep the drum moving so you don’t build heat in the nail. Let the dog hear it running while they eat something good for a few days before it goes anywhere near a paw. Some dogs never come around to the noise, and that’s fine. Clippers work.
If you nick the quick
It happens to groomers, vet techs and everyone else. Press a pinch of styptic powder onto the tip for thirty seconds, or dip the nail straight into the pot. Cornflour works if you have nothing else to hand. Most nicks stop bleeding within a few minutes. Keep your voice level, because your dog reads your reaction faster than they feel the sting, and give them the rest of the day off. Ring your vet if bleeding hasn’t stopped after ten minutes of steady pressure.
How often is often enough
Every three to four weeks for most dogs. Dogs who log serious pavement mileage wear their front nails down and might stretch to six weeks, but the dewclaws still need attention every single time. Puppies need theirs checked weekly, mostly so they get used tobeinghandled. If you’re unsure, book a groomer for one session and watch where they cut. It’s a cheap way to calibrate your eye.
When your dog genuinely panics
Stop trying to do all four paws. Do one nail a day for a week and pair each one with a treat that only appears during nail work. Touch the clippers to a nail without cutting, reward, finish. This slow desensitisation beats a firm hold every time, and the dog training tips that hold up in real life apply here just as much as they do to recall. If your dog is thrashing, muzzle training plus a second pair of hands is safer than a wrestling match, and there’s more on low-stress handling in this guide to grooming a dog at home without a wrestling match.
Senior dogs with arthritis often find standing on three legs genuinely painful. Trim on a carpeted floor with a rolled towel under the belly for support, and cap sessions at two or three nails. If joint comfort is the sticking point day to day, it’s worth reading about orthopaedic dog beds and what they actually do for sore joints.
One nail counts as a win
Take the sliver approach seriously. Two millimetres, a check, a treat. Dogs recover from a bad experience when sessions are short and the cheese is good, and a dog who will sit through one paw today will sit through four in a month. Book a vet or groomer if a nail is cracked below the gum line, a dewclaw has curled into the skin, or you’ve lost your nerve entirely. Otherwise the clippers in the drawer are fine, the floor is the only place you need to be, and the whole thing really does take four minutes once you’ve done it a few times.


