
Table of Contents
Most dogs will put up with an ear clean in well under two minutes. Ear infections, by contrast, mean a vet appointment, a course of prescription drops and a fortnight of wrestling matches twice a day. The gap between those two outcomes usually comes down to technique: how you hold the ear, how deep you go, and what you refuse to put inside it.
Here’s how to clean a dog’s ears safely, without turning it into a drama or causing damage along the way.
First, understand why a dog’s ear is different
Your dog’s ear canal runs almost vertically down from the opening, then turns roughly 90 degrees toward the eardrum. It’s a J shape, and about a third of it you cannot see. Wax, dirt and moisture collect in that bend, which is why a dry cotton bud dragged around the visible flap achieves so little, and why pushing one down the canal is genuinely risky.
Dogs with floppy ears (spaniels, retrievers, basset hounds) and dogs with hair growing inside the canal (poodles, terriers) trap warm, damp air down there. That’s the environment yeast and bacteria enjoy. Plenty of other dogs go years with barely a smudge of wax.

Check the ear before you clean it
Healthy ears look like this: pale pink skin, a small amount of light brown wax, and no smell stronger than “dog”. If that’s what you see, you’re cleaning for maintenance, not treatment.
Stop and phone your vet if you find any of the following:
- Redness, swelling, or a hot, thickened ear flap
- Brown, yellow or green discharge, or a sour, yeasty or pus-like smell
- Head shaking, scratching at the ear, or rubbing the side of the head along the carpet
- Yelping or flinching when the ear is touched
- A head tilt, loss of balance, or a drooping eyelid or lip on one side
Cleaning an infected or inflamed ear hurts, and it can push debris deeper into the canal. Those ears need a vet looking down them, not a bottle of cleaner. The same applies if you suspect a ruptured eardrum, which is one good reason never to use anything harsher than a proper dog ear cleaner.
What you actually need
- A veterinary ear cleaner, either saline-based or one containing a drying agent for swimmers
- Cotton wool pads or gauze squares (skip loose cotton balls, which shed fibres)
- Cotton buds, for the visible folds only
- A towel for grip, and a handful of high-value treats
- A second pair of hands if your dog is strong or wriggly
Leave these in the cupboard: hydrogen peroxide, rubbing alcohol, vinegar, human ear drops, and anything scented. Dog deodorising sprays belong nowhere near an ear canal, though a proper coat spray has its place elsewhere. This explainer on why dog sprays are more than just perfume covers what’s safe to put on a dog’s body.
Reading labels beats brand loyalty here. A general guide to choosing what is safer for your dog is worth ten minutes before you buy anything new for the ear routine.
How to clean a dog’s ears, step by step
1. Set up somewhere your dog won’t slide
A bathroom floor or a non-slip mat works well. Kneel beside or slightly behind your dog rather than leaning over its head. Small dogs can go on a table with a towel underneath for grip.
2. Lift the flap, don’t pull it back
Fold the ear flap gently up over the top of the head so the opening is exposed. You’re opening a hinge, not stretching skin.
3. Fill the canal with cleaner
Squeeze a generous amount into the opening, enough that it visibly fills. Most owners use far too little. The liquid does the work down in the canal; your job is simply to get it there.
4. Massage the base of the ear
Find the firm cartilage at the base, below the opening, and massage for 20 to 30 seconds. You should hear a wet squelching sound. That’s the cleaner reaching the bend of the canal and loosening wax. Most dogs lean into this part.
5. Let them shake
Step back and let your dog shake its head. That’s the whole point. The shake flings loosened wax and liquid up and out of that J bend, and onto your bathroom wall, which is exactly why you’re in there.
6. Wipe what you can see
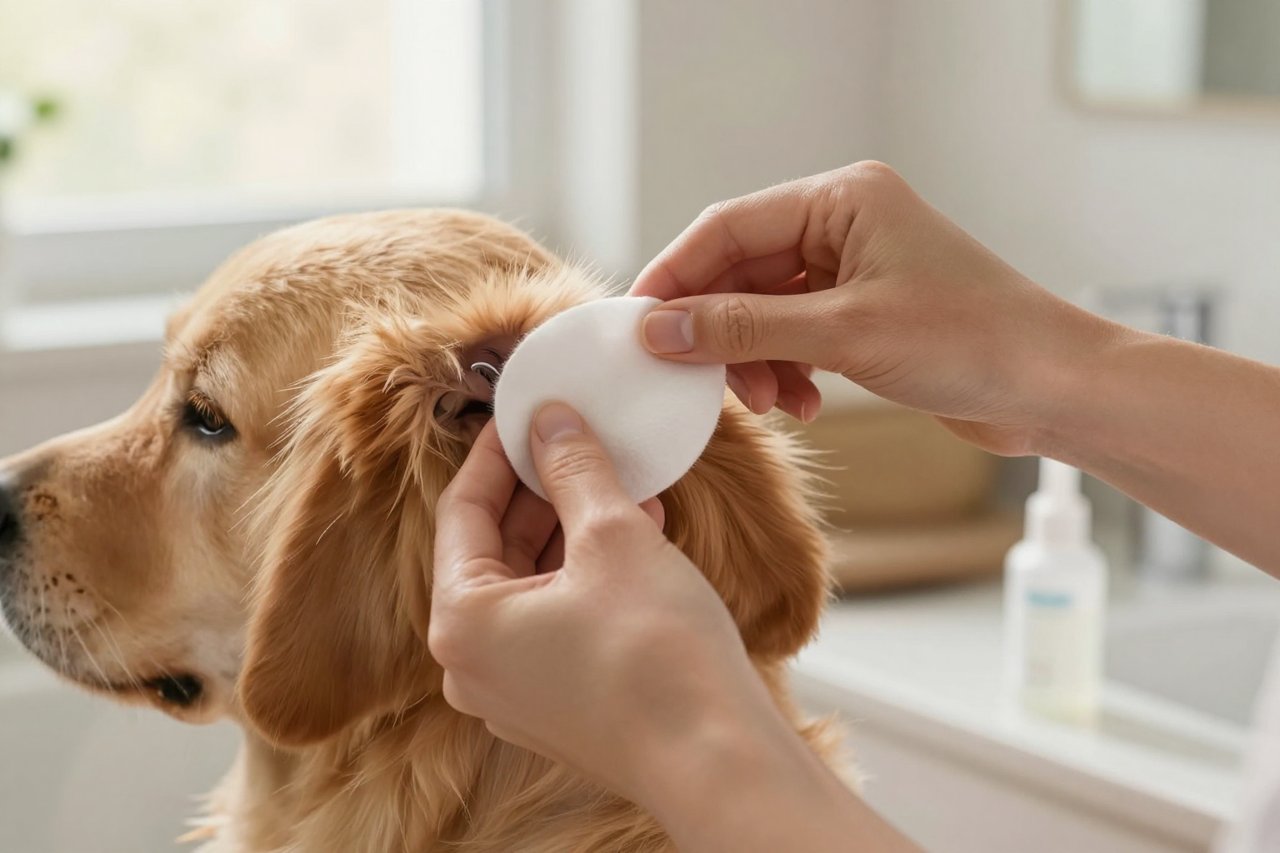
Wrap a cotton pad around your finger and wipe the inside of the flap and the opening, always working outward. A cotton bud is fine for the folds and crevices you can see directly. It goes nowhere near the canal. Use fresh pads until they come away almost clean, usually two or three per ear.
7. Dry and pay up
Pat the ear dry with a clean pad. Moisture left sitting in the canal feeds yeast, so use a drying cleaner as directed after swimming or a bath. Then treat, sincerely and immediately.
How often should you do this?
For a dog with clean, healthy ears, once a month is plenty, and some dogs need it far less than that. Go weekly if your dog swims regularly, has heavy floppy ears, grows hair in the canal, or has had infections before. If your vet has prescribed a medicated cleaner, stick to their schedule exactly, even once the ear starts looking better.
Mistakes that cause more harm than a dirty ear
- Pushing a bud down the canal, which compacts wax against the eardrum
- Cleaning an ear that’s already sore. Pain means stop.
- Reusing the same pad between ears, moving bacteria from one side to the other
- Leaving the canal damp after a bath or a swim
- Reaching for home remedies. Vinegar and alcohol sting inflamed skin and won’t touch a yeast infection.
- Plucking hair that isn’t causing a problem. Ask your vet or groomer before you start pulling.
Making it something your dog stops dreading
Fidgety dogs improve fastest when the handling itself is rehearsed. Touch the ear, treat, stop. Lift the flap, treat, stop. Do that for a week before you ever open a bottle. The principles in these tools and tricks for stress-free grooming apply to ears just as well as they do to nails and coats.
Adolescent dogs are a separate challenge, because the handling is often fine and the staying still is not. If your dog has recently decided that ears are a negotiation, this conversation on what’s going on with teenage dogs explains a lot of the behaviour.
If your dog is genuinely fearful rather than just wriggly, don’t force it. A vet nurse demonstration, a groomer’s help, or a basket muzzle for the two-minute job is far cheaper than a bite or a permanently hand-shy dog.
A 30-second check you can do every week
While the kettle boils, flip each ear open, look inside, and have a sniff. That’s 15 seconds per ear. What you’re building is a clear picture of your dog’s normal, so a change on Tuesday gets noticed before Saturday. Dogs whose ears are checked weekly tend to be the ones whose infections are caught at the itchy stage rather than the head-tilt stage, and the ones who don’t mind a cleaner being produced because it’s just part of the furniture. Fold it into the same weekly routine as a brush-out and a nail check, and ear cleaning stops being an event.


