
Table of Contents
Everyone wants to know the single best concealer. But here’s the thing: there isn’t just one. There’s a best one for your under-eyes, a best one for that stubborn pimple, and a best one for a red, flaky patch. Finding it isn’t about reading one review and buying the same product. It’s a process. These six steps will get you to the right tube faster than guessing.
Step 1: Work Out What You’re Hiding
Before you can choose a concealer, you need to know exactly what you want it to do. Dark circles, dark spots, active breakouts, redness, and fine lines all require different formulas and finishes.
For example, a raised, angry pimple is easier to cover with a matte, high-coverage concealer. A flat dark spot from an old breakout responds well to a lightweight, buildable formula that won’t cake as you layer it. If you’re dealing with the latter, you might want to check out the 9 best concealers for dark spots that won’t cake by midday – that list includes options with staying power for uneven skin tone.
Under-eye darkness is a different beast. Thin, delicate skin there needs hydration and a slightly peachy or salmon undertone to neutralize blue or purple tones. A thick matte concealer will just settle into every line and look worse by noon.

Step 2: Choose the Right Formula for Your Skin Type
Your skin type determines the base and finish that will actually work. Dry skin needs creamy, hydrating concealers with a satin or dewy finish. Oily skin needs oil-free, mattifying formulas that won’t break down. Combination skin? Look for something balanced, often labeled “natural finish.” If you’re not sure where to start, the best hydrating concealers for dry skin article has specific product picks for flaky or parched skin.
The same logic applies to foundation: the best foundation isn’t one formula – it’s the one that fits your skin. If your foundation is matte and long-wear, a skin-like concealer from the same family will blend seamlessly. If your foundation is sheer and glowy, a heavy full-coverage concealer might look like a patch.
Mature Skin Needs Different Ingredients
If you’re over 50 or have fine lines, you need a concealer with peptide or hyaluronic acid, not one that dries down fully. It should move with your skin, not sit on top of it. Our best concealers for mature skin guide explains why silicone-heavy, dry-touch formulas are a recipe for creasing.
Step 3: Find Your Shade Like a Pro
Shade matching is where most people go wrong. Test three close shades on your jawline or the side of your neck. Not on your wrist. Not on the back of your hand. Your face is naturally a different tone.
Use natural daylight, not the fluorescent lights in the store. Your phone camera can help: take a photo of your jawline in the shade, then look at the screenshot to see if the color disappears into your skin. If it vanishes, that’s your match.
Also think about undertone. If your skin has yellow or warm undertones, a cool-pink concealer will look gray. If you’re neutral, either works. When in doubt, go one shade lighter than your foundation for the under-eyes, but match your foundation exactly for blemishes.
Step 4: Apply Concealer the Right Way
You can own the best concealer in the world and still ruin it with bad application. Start with a clean, moisturized face. Primer is optional, but if you’re oily, a pore-blurring primer around the nose and inner cheeks helps.
- Use a pea-sized amount. More product means more creasing. You can always add, but you can’t subtract without wiping everything off.
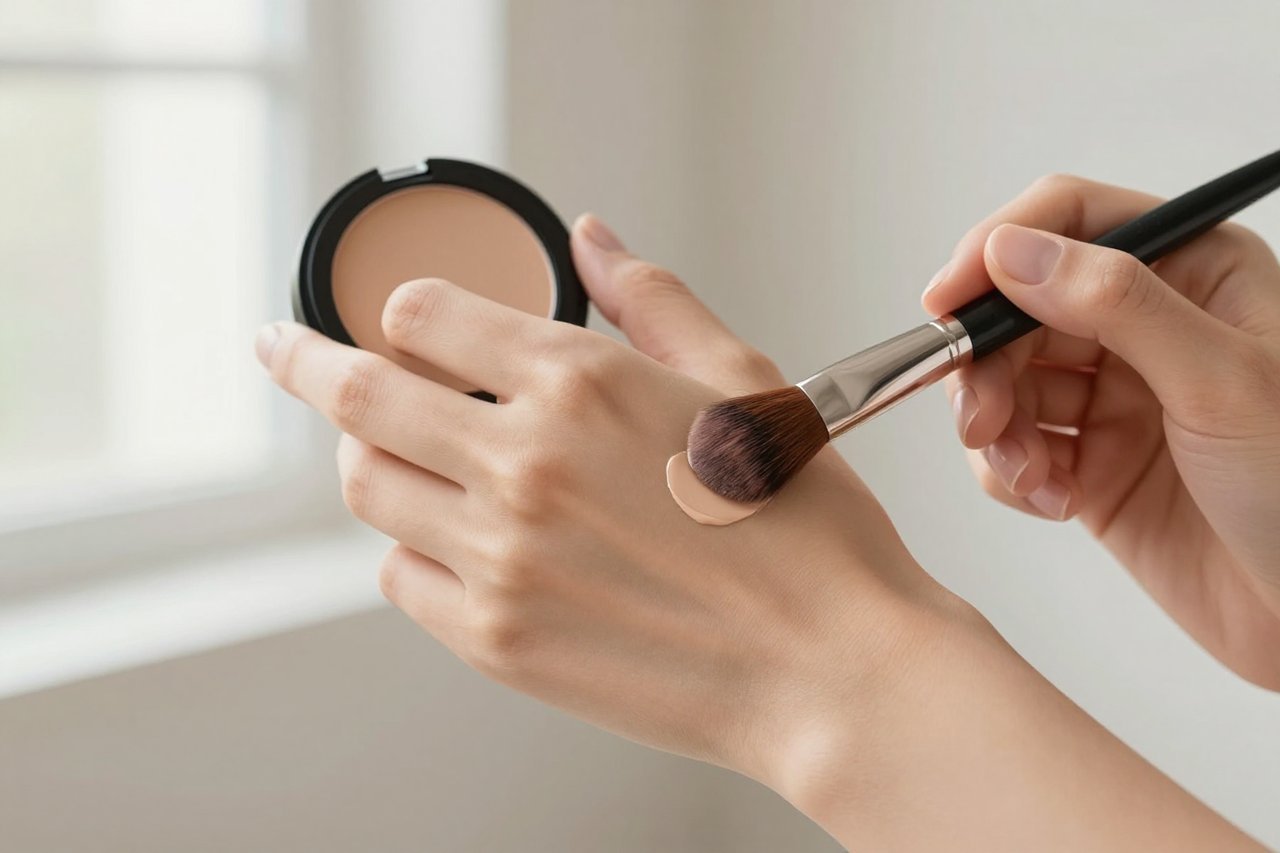
- Warm it up. Dab the concealer on the back of your hand to let it warm up, then pick it up with a ring finger or a small dense brush.
- Pat, don’t rub. Rubbing drags the skin and pushes product into fine lines. Patting press-press-press deposits color without disturbing the base.
- Wait before blending. Give it 30 seconds to set slightly, then blend with a damp sponge or your fingertip. You’ll get better coverage and less transfer.
For blemishes, use a small angled brush to paint the concealer directly on the spot, then blend the edges with a fingertip. For under-eyes, apply in an inverted triangle shape. That shape brightens the whole eye area, not just the darkest part under your lash line.
Don’t Forget the Skin Prep
Concealer won’t fix peeling skin. If you’re dry, exfoliate gently once or twice a week and use a hydrating serum before makeup. If you’re oily, you don’t need to skip moisturizer – that can backfire and make your skin produce more oil. A targeted skincare routine for oily skin will keep your base in check so concealer doesn’t slip off by early afternoon.
Step 5: Set It So It Lasts
Setting is not optional if you want your concealer to last past lunch. For under-eyes, use a light dusting of translucent powder. Pick it up with a fluffy brush, tap off the excess, and press it gently into the area. Don’t sweep, or you’ll move the concealer around.
For oily skin, a setting spray with alcohol-free, mattifying ingredients can lock everything in. For dry skin, skip powder entirely if you can – the heat from your face is often enough to set a hydrating concealer. Just avoid touching your face during the day; the less you fuss, the longer it stays.
Step 6: Know When to Switch It Up
Your skin changes with the seasons, your diet, and even your stress levels. That concealer that was perfect in December might cake up in July when you’re sweating. Keep a backup that’s one shade darker for summer, and a slightly creamier formula for winter. If you notice a product starts to pill or settle, it’s not ‘bad’ – it’s just not right for your skin right now.
Finding the best concealer is less about chasing a single holy grail and more about knowing what to look for. Once you’ve done the prep work – identifying your need, choosing the right formula, nailing the shade, applying with care, and setting with intention – that $10 drugstore option can outperform a $40 luxury one. And when you find the one that disappears into your skin and stays put, you’ll know. Because you’ll stop thinking about it.


