
Table of Contents
Our family’s border collie, Scout, disappeared for four hours last fall. We had a GPS collar on him the whole time. The problem wasn’t the device. The problem was that everything about how we’d set it up was wrong. The collar hung too loose and the antenna sat sideways. The battery had died that morning because I’d forgotten to charge it. And the safe zone we’d drawn around the house was so large that the alert never even fired when he slipped through the gate.
That experience taught me that buying a great canine GPS collar is only step one. The real work happens in the first hour after you unbox it. Here’s the step-by-step routine I now run for every dog, and it’s the same one that’s kept Scout (and my sanity) intact ever since.
Before You Even Open the Box: Create Your Account and Charge the Device
Resist the urge to clip the collar on your dog immediately. A few minutes of prep now saves you from the middle of the night troubleshooting later. You’ll find the setup process varies by brand, but the standard steps are the same.
Step 1: Charge the battery fully
Most trackers ship at around 40% charge. Plug the device into its charging cradle or cable and let it top up completely. This takes anywhere from one to three hours depending on the model, and doing it before you start means you won’t be tapping your foot while the firmware updates.

Step 2: Download the app and create your account
Open the App Store or Google Play and search for your specific tracker brand. Not all apps are created equal, and the one that comes with a budget SATELLAI works very differently from the Halo app, for example. Take a few minutes to explore the menu so you’re not fumbling around during an actual emergency. If you’re still early in the buying process, our SATELLAI vs Halo comparison covers how their app interfaces differ in daily use.
Step 3: Pair the device via Bluetooth or Wi-Fi
You’ll typically need to press a button on the tracker itself to put it in pairing mode. Follow the on-screen instructions, and when the app asks for a Wi-Fi network, connect it to your home network. This allows the tracker to update its firmware without chewing through your phone’s cellular data. Many people skip this step, and it’s the number one reason “the app won’t work” later.
Fit the Collar So It Stays Put (But Doesn’t Cause a Rubbing Sore)
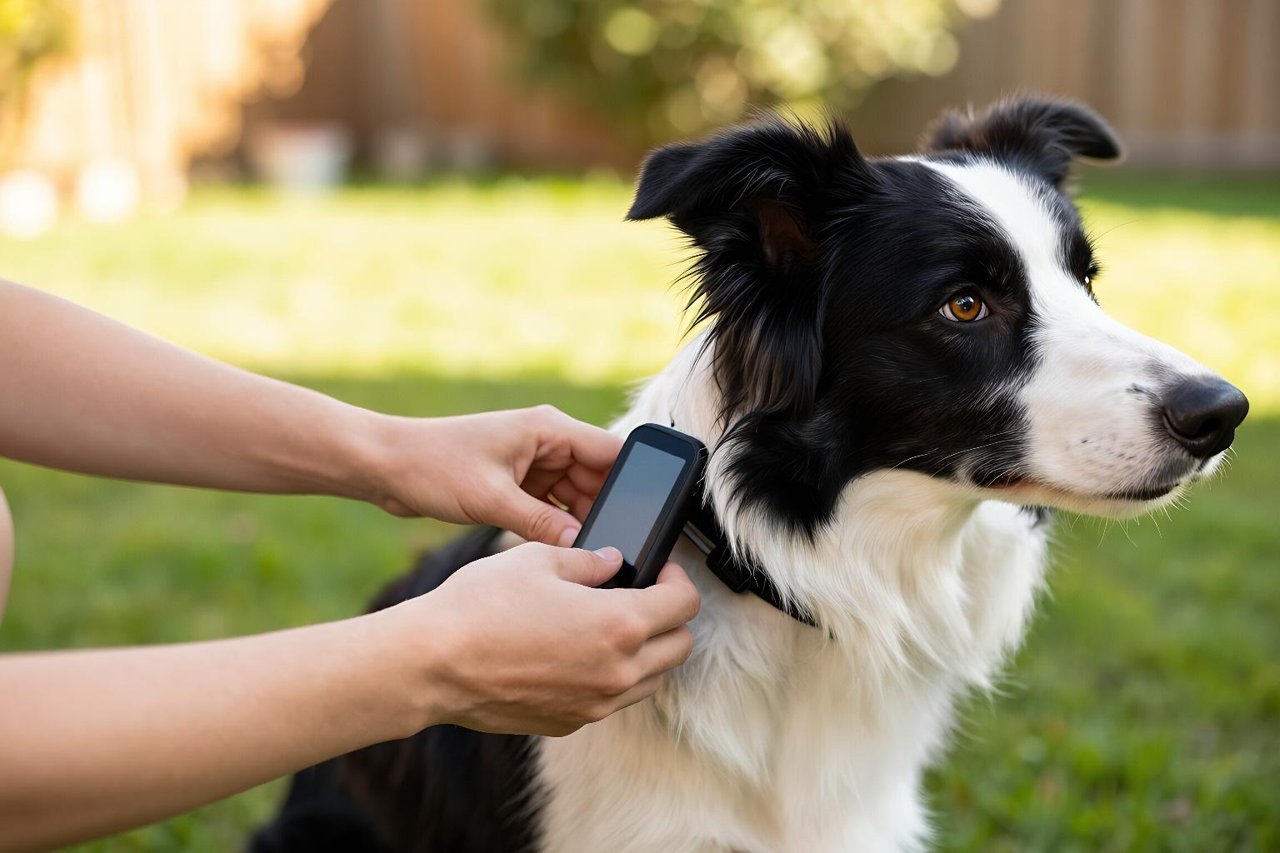
Here’s the thing about GPS collars: they’re heavier than a regular tag collar, and if you just put one on like a normal collar, it will flip around and the antenna will point at the sky. The tracker needs clear line of sight to satellites for the best signal, so the orientation matters a lot.
How to measure and tighten
- Measure your dog’s neck with a flexible tape at the widest point, usually just below the jaw.
- The collar should be snug enough that you can slide two fingers flat between the strap and the neck. Any looser and it’ll rotate; any tighter and it’ll chafe.
- Adjust the slack so the tracker sits either on the side of the neck or under the chin, depending on the manufacturer’s instructions. Some models, like those with a small antenna, do better along the back of the neck.
If you’re using a tracker that clips onto a separate collar, consider a secondary attachment to be safe. A small plastic carabiner or an S-Biner connecting the tracker to the collar ring will catch it if the clip somehow pops loose. It’s a cheap insurance policy.
For a deep dive on what to look for in terms of weight and strap design, see our breakdown of the features that separate a good canine GPS collar from a useless one.
Set Up Geofences with a Sensitivity That Actually Helps
Geofences, sometimes called “safe zones” or “virtual fences,” are the boundaries you draw on a map. When your dog crosses them, the app sends an alert. It sounds simple, but the way you draw those boundaries determines whether you get a calm heads-up or a panic attack over a false alarm.
Start small and expand outward
Don’t draw a circle that covers your whole yard and the neighbor’s yard too. Instead, start with a smaller zone around the house itself, maybe the porch and a little bit of the driveway. You can always make it bigger later. The point is that you want to know the moment your dog leaves the area he’s supposed to be in, not after he’s already two doors down.
Adjust the alert thresholds
Most modern apps let you set a “departure delay” or “sensitivity” slider. If you’re at home and your dog runs out the back door for a few seconds to bark at a squirrel, a zero-delay setting will fire the alert every single time. Set it to a 30-second delay or as recommended by the app. You’ll still get pinged the moment the dog is genuinely out, but you won’t jump every time the door opens.
If you have a breed that loves to dig under fences or a clever dog that’s learned to work a gate latch, you might also want to check out our guide to choosing a tracker and actually using it well. That article goes into specific situational uses like hunting or running.
Run a 15-Minute Outdoor Drill Before You Need It
You’ve charged it, fitted it, and set the zones. Now you need to prove the system works. Trust me, there’s nothing worse than going into “lost dog mode” while you’re standing in the same network that your collar uses every day, and realizing the app hasn’t updated in 10 minutes.
What to practice
Take your dog to a fenced park or a quiet field where you can easily see them. Open the live tracking screen and watch the little blue dot move as you walk. Then, have a friend or family member hold your dog at the far end of the field while you walk to the car. From there, you can see the location update and check that the distance reading matches the actual distance. You’ll also quickly learn how long it takes for the tracker to refresh in real-world conditions, which is usually every 5 to 10 seconds when the dog is moving.
If you have a separate base station or a feature that lets you call the collar and make it beep, test that too. Some collars have a built-in speaker that helps you locate the dog by sound alone, and it’s a genuinely useful tool when the GPS signal is weak.
This kind of testing is exactly the process I walk through in my step-by-step guide to tracking your dog in the real world, but the short version is this: if your tracker can’t hold a signal within a hundred feet of your house, it needs a different placement or a different device.
Build a Charging Habit That Doesn’t Fail on the One Day You Need It
This is the boring but essential part. Most GPS collars rely on a rechargeable battery that lasts anywhere from 24 hours to several weeks. The exact number depends on how often the tracker pings, whether it’s in live tracking mode, and how cold it is outside. What actually matters is consistency.
- Make the charger as visible as possible. Keep it on the kitchen counter, not in a drawer.
- Set a weekly reminder on your phone. I use a 7 p.m. Sunday slot, right after dinner.
- Charge the collar while your dog is eating dinner. You won’t forget to feed them, so this anchors the habit.
- Keep a small USB power bank in your car. Even 20 minutes of charging while you’re driving can turn a dead tracker into one that’s usable for an afternoon.
One thing I’ve noticed is that many people stop charging after the first month because the collar shows 80% after a quick top-up. But the battery calibration drifts. If you only charge to full occasionally, the capacity meter can be wildly inaccurate. So don’t trust the percentage blindly; do a full charge every couple of weeks. If you’re the type who likes to know the worst-case scenarios, our honest guide to never losing your dog again covers the real failure modes of GPS collars, including battery issues.
What to Do When the Alert Actually Goes Off
You’ve done everything right, and yet the day comes when your phone pings and the map shows your dog’s dot moving away from home at 15 mph. The first thing to realize is that a GPS collar is a reporting tool, not a catch-and-release system. Your response in the first five minutes is what matters.
Follow these steps
- Stay calm and check the app for the last known location. Do not shout and provoke the dog if he’s already out; that can push him further.
- Put yourself in the right place based on the wind and the dog’s likely route. Often a dog will circle back to the spot where he was startled, so head there.
- Use the live tracking feature to see which direction he’s moving in real time. If the app shows an arrow, follow it.
- If your collar has a beeper or a tone, press it to get his attention and call him in a happy voice.
- If you drive, park at the edge of the zone and whistle. Dogs often respond better to a familiar sound than to a phone signal.
One of the biggest mistakes people make is to run after the dog. That can turn a lost-dog situation into a chase, which is fun for the dog and terrible for you. Instead, walk with confidence, or better yet, sit down in the direction he’s heading and wait. Many dogs will come back when they see you’re not panicking.
If you haven’t already, set up one of those “home again” routines where you practice calling your dog to you whenever the collar beeps. It’s the kind of training that doesn’t need a GPS, but it makes the collar infinitely more effective.


