
Table of Contents
The first time our border collie slipped out of the side gate, I spent nearly an hour walking the streets calling his name. The second time, I had a dog GPS tracker. It took me six minutes to find him. This guide is for the confused middle phase: after you’ve bought a tracker but before you trust it enough to rely on it. Here’s exactly how to go from ‘charge it and clip it’ to ‘actually works when it matters’.
Step 1: Match the Tracker to Your Dog and Your Network
Before you mount anything, confirm that the tracker’s size and network match your dog’s lifestyle. My 11kg collie wears a small device that sits flush against a wide collar, while a friend’s 40kg mastiff uses a heavier tracker without any trouble. A chihuahua, though, would hate that weight.
Network choice matters just as much. A GPRS tracker for dogs can work well in areas with 2G coverage, but some network providers have already switched to LTE only. Check coverage maps before buying. If you aren’t sure which features deserve your money, this honest guide to dog GPS trackers explains which ones are worth it.
Step 2: Activate the SIM and Subscription Before You Need It
Set up the tracker’s subscription and app before you ever clip it to a collar. This sounds obvious, but owners frequently discover the plan isn’t active only after their dog has bolted. I made that mistake once with a new tracker.

When you create the account, use a real email address and a password you won’t forget. Give the app notification permissions, and keep your phone ready to receive push alerts. The exact steps vary by brand, so follow the manual. If you want a reliable walkthrough, check out this step-by-step guide to setting up a tracker for your dog, and don’t skip the ‘going live’ test.
Step 3: Mount It So It Stays Put
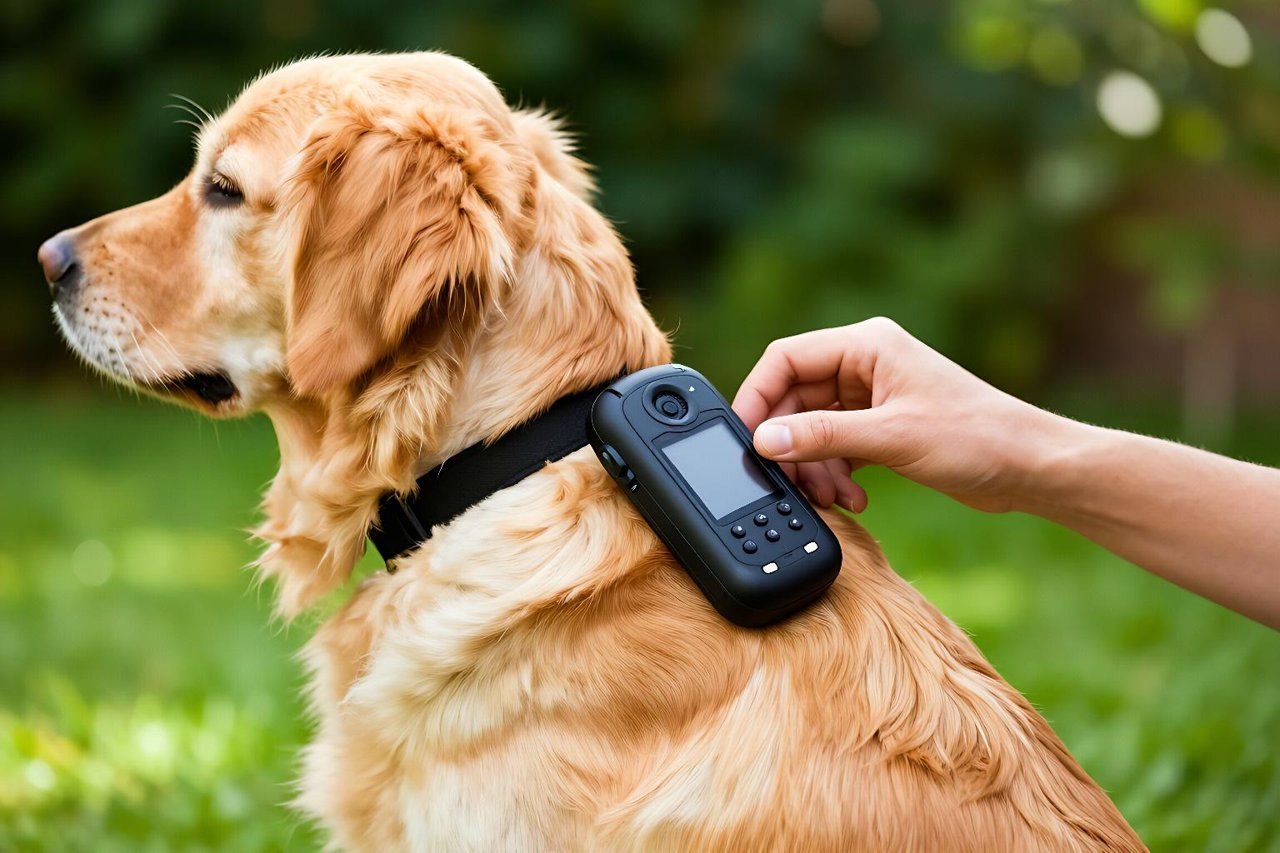
Don’t just thread the tracker onto the collar and hope it stays. The device should sit on the top of your dog’s neck or slightly to the side, never under the throat where it can get chewed. Make sure you can slip two fingers between the collar and skin; too loose means it can slide around, too tight means chafing.
Some owners debate between a traditional collar and a dedicated GPS dog leash. For a dog that bolts off-leash, a collar tracker is usually better because it stays attached even when your grip slips. A leash can also be dropped between you and a busy road.
Step 4: Test Your Tracker in Real Conditions
The first test happens at home. Walk around with the dog for a few minutes and watch the live map. Then have someone hold your dog in the backyard while you walk 100 meters away and check that the locator updates correctly.
Next, create a distraction. Take your dog to a busy park, let him meet other dogs, and watch the tracker keep its network connection. In my case, the device updated every ten seconds. At 250 meters, the accuracy was good enough to see which bush my collie was sniffing. If your tracker lags for over a minute, note it; sometimes urban canyons cause delays, but you want to know before it’s an emergency.
Use this simple checklist in your first week:
- Verify the tracker’s location with your own eyes at least twice.
- Test the geofence alert while your dog is still in your arms.
- Set a recurring reminder to charge the device.
- Keep the tracker’s SIM number and account login in your phone’s notes.
- Test the tracker in the area where your dog is most likely to escape.
Step 5: Build a Geofence Alert Routine
Every time you set up a new tracker, create a virtual fence around your yard and around your usual walking routes. My yard radius is 25 meters, which gives me a nudge the moment the dog crosses the boundary. That alert rarely fires when he stays inside, but it works instantly when he slips out.
When the alert does sound, don’t panic and sprint out the door shouting. Open the app and watch the live location for five to ten seconds. That brief observation tells you which direction your dog is heading. Then walk calmly toward the dog using a happy, authoritative recall word. For a puppy, a GPS puppy collar can be set up the same way, but you’ll need extra patience because young pups move unpredictably.
Step 6: Manage Battery and Subscriptions Like a Pro
A GPS tracker is useless with a dead battery. My tracker lasts about 14 days on a single charge if I check it occasionally, but only 4 days if I leave live tracking enabled. Build a habit around this. I charge mine every Sunday morning, and I have a backup reminder on my phone.
For long hikes, switch to power-saving mode and carry a portable power bank. Some trackers also use a magnetic charging cable that is easy to position. Keep an eye on the subscription renewal date; many brands pause sending alert messages if the plan expires, even when the app still shows the tracker as connected.
Step 7: Troubleshoot False Alarms Before You Ignore Them
If your dog is inside the house and you get a ‘left geofence’ alert, it may be GPS drift rather than a real escape. Walk your dog outside and confirm the app shows the correct location. Once, my collie was sleeping in his kennel under the porch, and the tracker thought he was in the neighbor’s driveway. That taught me to verify the alert in person before searching an entire street.
Also update the tracker’s firmware when the app asks you to. Brands routinely fix bugs that cause phantom notifications and poor battery life. If your tracker keeps dropping signal, check whether the mobile network in your area is actually compatible. Sometimes turning the tracker off and on again still solves more problems than you’d think.
After two months of using a tracker, you will know its habits: when the battery drains faster, which hills block the signal, and whether your dog has a favorite hiding spot. That knowledge is what makes the difference between a gadget and a reliable safety net. Use the tracker consistently, test it regularly, and the next escape story will end in minutes, not hours.


