
Table of Contents
Every year, millions of people type “best acne products” into a search bar and end up with a basket full of cleansers, serums, and spot treatments that claim to be the one. But the best acne product for your face is rarely the one with the most five-star reviews. It’s the one you’ve methodically tested, observed, and confirmed works for your skin.
That sounds tedious, but it’s actually the fastest way to clear skin. This practical guide will walk you through a five-step trial method using real examples. No generic shopping lists—just a repeatable process that gets you closer to your own best products.
Step 1: Map Your Breakout Pattern Before You Shop
You can’t pick a product if you don’t know what you’re treating. For seven days, before you change anything, log every new spot that appears. Use a notepad or the notes app on your phone. For each breakout, write down four things:
- Location – which part of your face (chin, cheek, forehead, jawline)?
- Timing – how long between when you first feel a bump and when it becomes visible?
- Texture – is it a whitehead, a hard nodule, or a cluster of tiny closed comedones?
- Sensation – tender, itchy, painful, or completely numb?
This week of data will tell you more than any ingredient label. For instance, when my friend Priya did this, she discovered that nearly all her breakouts clustered on her chin and right jawline in the week before her period. That pointed toward hormonal acne, which responds better to adapalene than to salicylic acid. For a deeper look at how this mapping connects to real product choices, read The Real Best Acne Products: A Guide to Clear Skin Without the Guesswork.

Step 2: Start With One Active Ingredient and a Base You’ll Actually Use
The best acne products for a face like Priya’s aren’t the same as for someone with blackheads scattered across the nose. So after mapping, choose exactly one active ingredient that targets your dominant breakout type:
- Salicylic acid 2% – for blackheads, whiteheads, and clogged pores.
- Benzoyl peroxide 5% – for inflamed red bumps and papules.
- Adapalene 0.1% – for stubborn comedones or hormonal eruptions.
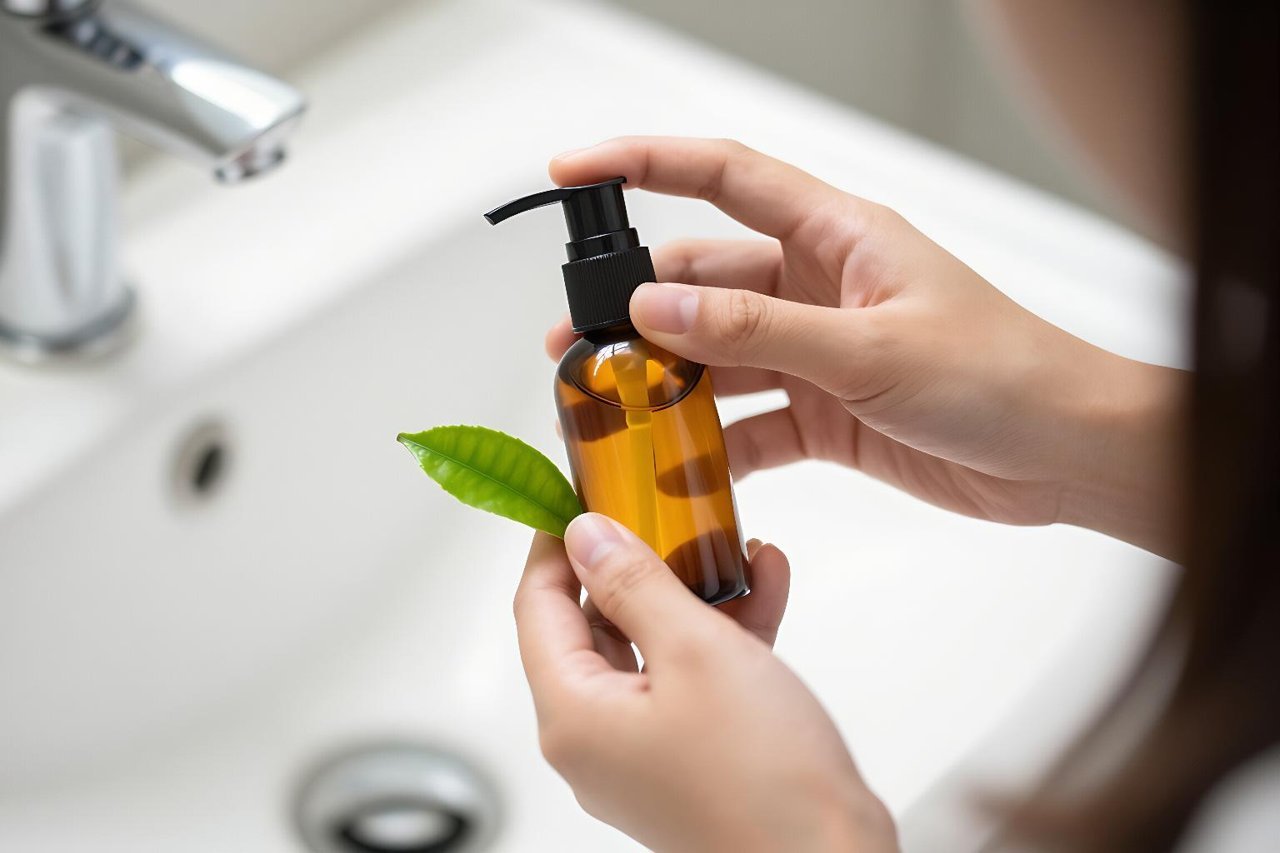
- Tea tree oil 5% – a natural alternative for mild to moderate breakouts.
My colleague Sarah had been cycling through three “best acne products” in one routine: a glycolic toner, a benzoyl peroxide wash, and a niacinamide serum. Her skin stayed red and flaky. I suggested she ditch two of them and keep only the benzoyl peroxide—but in a leave-on gel form, not a wash. The difference was dramatic. The wash barely stayed on her skin long enough to work, while the gel could sit for ten minutes. She still needed five weeks to see full results, but her skin stopped screaming by day three.
If you prefer a more natural route, coffee tree extract or tea tree oil can be surprisingly effective. For a complete how-to, see Tea Tree Oil for Acne: A Step-by-Step Routine That Actually Works. That article includes dilution ratios and a simple weekly routine.
Step 3: Do a Side-by-Side Patch Test on Your Face
You know the standard advice: patch test behind your ear. That’s safe, but it’s not precise enough for acne products. The skin on your face is more reactive to active ingredients, especially when you have existing flare-ups.
Instead, try a half-and-half test. Choose a spot that’s easy to observe—usually along the jawline or on one cheek. Apply the product for three mornings to that side only, leaving the other side completely bare. Take a photo each day in the same light. On day three, look for:
- Redness or burning that wasn’t there before
- New whiteheads or clogged pores that appear overnight
- Any texture changes, like peeling or roughness
If no adverse reaction appears, you can start applying it to your entire face. A similar method works for sunscreen—and it’s worth reading How to Find the Best Sunscreen for Sensitive Skin: A Step-by-Step Patch-Test Method to avoid dealing with a burnt face while testing a new acne treatment.
Step 4: Keep Everything Else Identical for 14 Days
This is the discipline test. Once you introduce a new acne product, don’t change your cleanser, moisturizer, or even your laundry detergent. If you’re using multiple products, you won’t know which one is causing a good or bad reaction.
I fell into this trap years ago. I started using a new salicylic acid serum and swapped my moisturizer at the same time. I broke out in hundreds of tiny bumps. I blamed the serum, but it was actually the mineral oil in the new moisturizer. I had to wait a full two weeks for my skin to settle, then re-test each product separately. If I’d kept my moisturizer constant, I would have known the culprit in three days.
Here’s what a boring but highly effective trial routine looks like:
- Morning: a gentle cleanser, the acne product (if it’s a serum or gel), a basic moisturizer, SPF 30.
- Evening: the sunscreen removal cleanser, the acne product again, and the same basic moisturizer.
Don’t add any face masks, exfoliating brushes, or vitamin C during this two-week window. Yes, it’s boring. But it’s the only way to get clean data.
Step 5: Evaluate Cost Per Use, Not the Price Tag
When you finally do find a product that passes the two-week test, the next question is whether you can afford to keep using it. The retail price of the product matters less than how long the bottle lasts in your actual routine.
Here’s a concrete example: a £20 face wash with 2% salicylic acid might last four months if you use a pea-size amount each night. A £15 serum with the same ingredient might last only six weeks if it comes in a runny formula that you end up using twice as much of. To train your eye on this, take a look at The Best Skincare Products Actually Worth Your Money (and Shelf Space). That article breaks down how to compare products by cost per millilitre and per application.
One tip: write down the date you opened the product and the date you finished it. Then do the division. You’ll be surprised at how some cheap tubes truly are the best acne products for your budget, or how a premium gel earns every penny because a little goes a long way.
Step 6: Add Sunscreen and Adjust Your Makeup
Almost every active acne ingredient—whether it’s salicylic acid, benzoyl peroxide, or adapalene—increases the skin’s sensitivity to sunlight. If you skip sunscreen during this trial, you risk pigmentation that lasts long after the acne clears.
Once your acne product is stable, go ahead and start wearing SPF every day. That sounds simple, but many people struggle to find a sunscreen that doesn’t clog their pores. The patch-test method from step three works perfectly here, too. For a step-by-step process focused on sensitive and acne-prone skin, see the article I linked earlier.
Makeup also matters. Some foundations and concealers can undermine your acne treatment, either by sitting in large pores or by containing ingredients that help you forget which product actually caused a reaction. Don’t switch foundations at the same time as you’re testing an active—that’s a variable you don’t need. Once your routine is settled, you can then systematically find a base formula that pairs with your new clear-skin plan. A great place to start is The Step-by-Step Method to Find Your Best Foundation (Without Guesswork).
If you’ve followed this trial method, you’ll have a routine backed by your own personal evidence—not by a generic listicle. The next time someone tells you they have the best acne products, ask them how they tested them. If they can’t describe a timeframe, a half-side patch test, or a two-week controlled period, take their recommendation with a grain of salt. Your skin is the only lab that matters.


