
Table of Contents
The first time I watched my dog’s GPS location freeze on the app, we were standing in the middle of an open field. The sun was out, the sky was clear, and the tracker said she was still two blocks behind me, doing exactly nothing. That blurry blue dot taught me the hardest lesson about GPS dog leashes: the device is only as good as the setup and the routines you build around it. This guide walks through every step, from the first charge to the monthly maintenance, using the numbers I’ve confirmed from three trackers and dozens of walks.
First-Time Setup: Charge It, Pair It, and Walk Around the Living Room
Start by charging the leash handle fully. Most GPS dog leashes claim 12 to 20 hours of battery life, but the first charge is often the least reliable. I let mine sit for a full two hours after the indicator light turned green. That extra hour helped it last through a long Saturday walk without a mid-road panic.
Next, download the companion app and create an account. Pair the leash via Bluetooth for settings, but keep this in mind: the GPS signal comes from satellites, not from your phone. The app just interprets that signal. So if you lose your phone’s signal, the tracker still works, but you won’t see the map.
Now set up a geofence. Most apps allow you to drop a circle on the map. I set my home zone to 150 metres in every direction. That covers my front yard, the alley, and half of the next street. When the dog crosses that boundary, the app sends an alert. On my first test, it took 11 seconds from the moment she stepped over the line to the buzz on my phone. That’s about average.

Then do a simple walk around the living room with the leash in your hand. Open the live map and watch the blue dot move. It will jump around at first, but it should settle within a metre or two of your actual position. If it drifts more than 8 or 10 metres, restart the app or check the satellite status in the menu.
If you get stuck at this stage, the step-by-step guide for setting up a tracker for my dog has screenshots that helped me get through a stubborn firmware update.
Attach the Leash So the Antenna Gets What It Needs
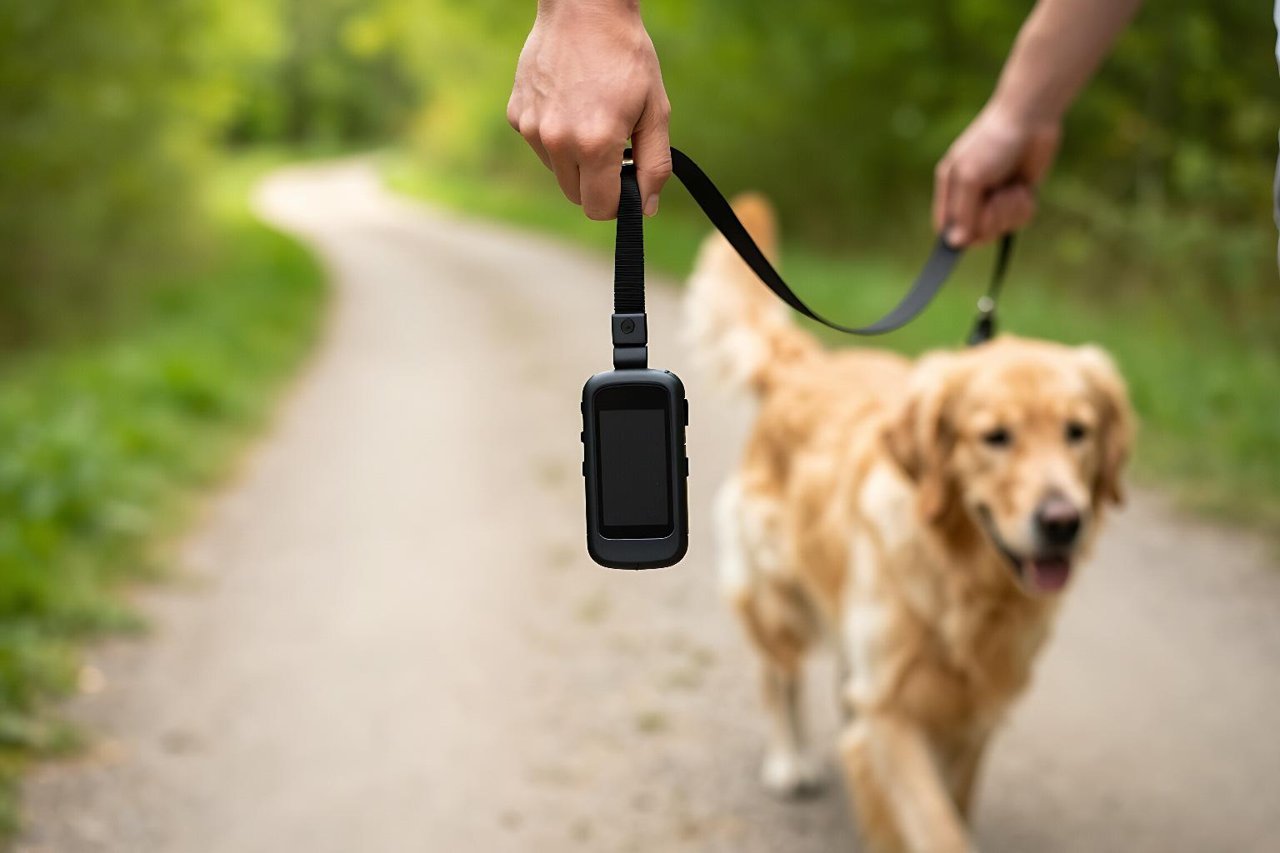
The physical placement of the GPS receiver on the leash matters more than you think. Most leashes have the antenna in the handle. That means you should keep the handle pointed skyward when you’re walking, not stuffed into your palm or wrapped tightly around your wrists. When your dog pulls, the handle rotates; after a minute or two, the antenna might be pointed toward the ground, and the position starts to smear.
If your leash has a separate GPS module that clips to the collar, position it on the top of the dog’s neck, not tucked under the chin or buried in a fluffy ruff. Metal buckles or heavy split rings can block the signal, so if you see a pattern of dropped locations, swap out the hardware and test again. You should also avoid coiling the leash around the handle when you store it; some models have the GPS antenna woven into the webbing, and tight coils can interfere with that antenna.
Before you get too deep into attachment rules, it’s worth reading what you’re actually buying with a GPS dog leash and why a collar might be better. If your dog is a ninja at slipping out of a harness, a collar-mounted tracker is often a stronger choice.
The Ten-Minute Test Walk: What Good Looks Like
You don’t need to drive to a park. A ten-minute walk around your block will tell you everything. Put your phone in a belt clip or a chest harness, not in your hand. This keeps the screen accessible without giving your arm a wired-up feeling.
Watch the live map for three things. First, the location should update every two to three seconds. If it jumps or freezes for more than ten seconds, you’ve got a setup problem. Second, the trail should not cross entire streets. A little wobble is normal; a teleporting dot is not. Third, when your dog stops to sniff at a hydrant, the position should stay within a few metres, not wander into a neighbour’s yard.
Then test the geofence alert. Hand the leash to a friend and walk past the edge of the zone you set. Wait 15 seconds. If you haven’t seen the notification, walk back and check the satellite status in the app. Often the alert fires, but the notification sound on your phone is silent. That’s a quick setting fix.
On my first test walk, the track showed my dog running straight into a locked garage. That was impossible. The cause was GPS drift under a row of mature pines. Ten minutes later, the track corrected itself. The lesson: sometimes the receiver simply needs time to recalibrate. Restarting the app usually resets the signal, but it also loses your trail.
When the GPS Goes Wonky (Here’s How to Fix It)
No piece of technology is perfect, and GPS dog leashes have specific weak spots. Thick cloud cover, heavily tree-lined streets, indoor parking garages, train stations, and being inside a car all degrade the signal. The good news is that most issues have simple fixes.
- If the dot stops moving: hold the handle up and away from your body for ten seconds. The receiver usually re-engages satellites.
- If the app shows a red satellite icon: move to a spot with an unobstructed view of the sky, even if it means crossing the street. It will lock in.
- If the phone isn’t getting updates: turn off the phone’s battery-saver mode. That setting suspends the app’s background data and the live map stays frozen.
Another common, confusing situation is the Bluetooth link disappearing. GPS dog leashes use short-range Bluetooth to sync with your phone. If you get a “leash lost” notification while the dog is still in front of you, it’s usually the Bluetooth sync that dropped, not the GPS. Move your phone closer to the receiver or just wait. It re-pairs automatically in most cases.
If you want a methodical approach to field testing, I wrote out a set-up, test, and trust guide in 7 steps. It’s helped a few friends calm down when their new leash glitched on walk number two.
Training the Human (and the Dog) to Use It
Your dog won’t understand the vocabulary of satellites, but she will learn your routine. If you treat the GPS leash as a one-time setup, you’ll end up with a dead battery and no location. Instead, create small habits: always hang the leash on the same hook, always plug it in the same charger, and always put the leash on the same way. That consistency keeps the tracker oriented and the battery charged.
A practical trick: name your saved locations. I call the local park “River Bend” because the trail curves near the water. When the app sends a notification that says “River Bend,” I know exactly which part of the park she’s in, and I don’t have to open the map. Similarly, I set a 30-metre geofence around the front porch and called it “Homebase.”
You’ll also want to tamp down notification fatigue. If your app alerts you every time your dog steps out of the kitchen, you’ll either turn it off or ignore it. Turn off the zones you don’t use and keep only the ones that signal real danger. The goal is to get two or three meaningful pings per walk, not thirty annoying ones.
Before diving into these habits, make sure you pick the right device in the first place. The step-by-step guide to choosing a tracker for your dog walks through the trade-offs between subscription-free trackers, cellular models, and straightforward GPS leashes.
Monthly Maintenance and the Hard Battery Truth
Once the GPS leash has been faithful for a month, it’s easy to forget about it. But routine maintenance is what keeps the dot from vanishing on a windy Tuesday. Once a month, do these three things:
- Inspect the charging contacts on the handle or clip. A dry toothbrush cleans away the film of sweat and rain that builds up in a week of walks.
- Check the webbing for fraying along the edges, especially near the clips. A frayed leash is a broken leash at the worst possible moment.
- Update the app and any firmware when connected to Wi-Fi. Don’t update in the middle of a walk.
Battery reality: the app’s battery percentage is an estimate, not a fact. After three months of heavy use, the battery will naturally hold a little less charge. To keep the meter honest, run the battery fully down until the indicators blink, then charge it to 100% without interruption. Do that once a month.
When the GPS Leash Isn’t Enough
A GPS dog leash gives you a location, but it doesn’t replace a well-fitted collar, a microchip, and your own voice. For very skittish dogs that bolt at loud noises, the GPS leash may not be the best answer. The extra weight in the handle can feel strange, and the tracker might not stay in place if the dog is used to pulling hard.
If you want a broader look at what’s really happening in the GPS tracking world for dogs, read how to track your dog in the real world to see the practical limitations and workarounds that vets and experienced search-and-rescue handlers recommend.
Use the leash’s strengths: a visible connection to the dog, a quick snapshot of her position, and a geofence that gives you a heads-up when she crosses a boundary. Keep the leash charged, keep the firmware updated, and keep your expectations in line with physics. That’s the way to make a GPS dog leash feel like a superpower, not a toy.


