
Table of Contents
Picture this: you just bought a crate, carried it through the front door, and now it sits in your living room. Wire panels are scattered everywhere, the instruction sheet is a blur of tiny diagrams, and your dog is sniffing the parts with cautious curiosity. Turning that pile into a safe, comfortable kennel for your dog takes more than just assembling the frame. It takes planning, patience, and a bit of dog logic. Here’s the step-by-step process that works for most canines, from a 4-kg Chihuahua to a 50-kg Rottweiler.
Step 1: Measure Your Dog, Not the Room
The single biggest mistake people make is guessing the size. A kennel that’s too small is an uncomfortable prison. One that’s too big is harder to keep warm and can make a dog less likely to settle. Start by measuring your dog. Use a flexible tape measure. Measure from the tip of the nose to the base of the tail where it meets the body. That’s the length your dog needs when lying flat. For height, measure from the floor to the top of the shoulder or the top of the head, whichever is higher. Add about 5 cm (2 inches) for standing room. The golden rule is that your dog should be able to stand, turn around, and lie down without hitting the walls. So a crate needs to be at least 15 cm (6 inches) taller than your dog’s shoulder height. For a 25-kg Border Collie, a 91-cm (36-inch) crate is usually enough. A 40-kg Labrador often needs a 107-cm (42-inch) version. For a giant breed like a Great Dane, look at a 122-cm (48-inch) model or larger. When in doubt, go up a size. But don’t go crazy; a dedicated den is better than a cavern.
- Keep the tape measure flat against your dog’s body.
- Measure twice, because a wiggly dog can skew the numbers.
- If you’re buying for a puppy, look for a crate with a divider panel so you can enlarge it as they grow.
Not sure whether a crate or an outdoor kennel is the right call? Our practical owner’s guide to kennels for dogs digs into the different types and how to decide between them.
Step 2: Select the Right Type of Kennel
Before you start shopping, remember that the best kennel is the one that fits your dog’s size, temperament, and your living situation. Here’s a breakdown of the main options.

Indoor Crates
There are three main indoor styles to choose from. Wire crates fold down for easy transport, offer the best airflow, and give your dog a full view of the room. Plastic crates are darker and more den-like, which many dogs prefer when they want to hide. They’re also easier to clean in deep sinks. Fabric crates are featherweight and perfect for travel, but a determined chewer can tear through the mesh in seconds. If your dog is a heavy chewer, skip the fabric crate entirely.
Outdoor Kennels and Runs
For outdoor kennels, the choices come down to frame material (galvanized steel is best), panel gauge, and floor material. A chain-link run with a gravel base drains well, but gravel needs regular raking. A concrete pad is easiest to clean, but it’s hard on your dog’s elbows. Add a rubber mat or a thick pallet bed to cushion the blow.
Whichever style you choose, make sure the door latch is secure. You’d be surprised how many dogs have learned to lift a simple hook-and-eye closure.
Step 3: Put the Kennel in the Right Spot
Indoors, the kennel should go in a quiet but not isolated corner of a room you use often. Dogs are pack animals. If the kennel is banished to the basement, your dog will feel abandoned and likely cry. But if it’s in the dead center of the hallway, they’ll be tripped over and never relax. A corner of the living room, away from radiators and drafty windows, works well. For outdoor kennels, location is even more critical. Look for a spot with partial shade during the hottest part of the day. That might be under a tree, but check that the tree doesn’t drop tiny seeds or nuts into the kennel. Avoid low spots where rainwater pools. Level the ground so the kennel doesn’t tilt. If you live in a hot climate, consider adding a shade cloth over part of the run. If it rains often, make sure the top is covered.
Step 4: Equip the Kennel With the Essentials
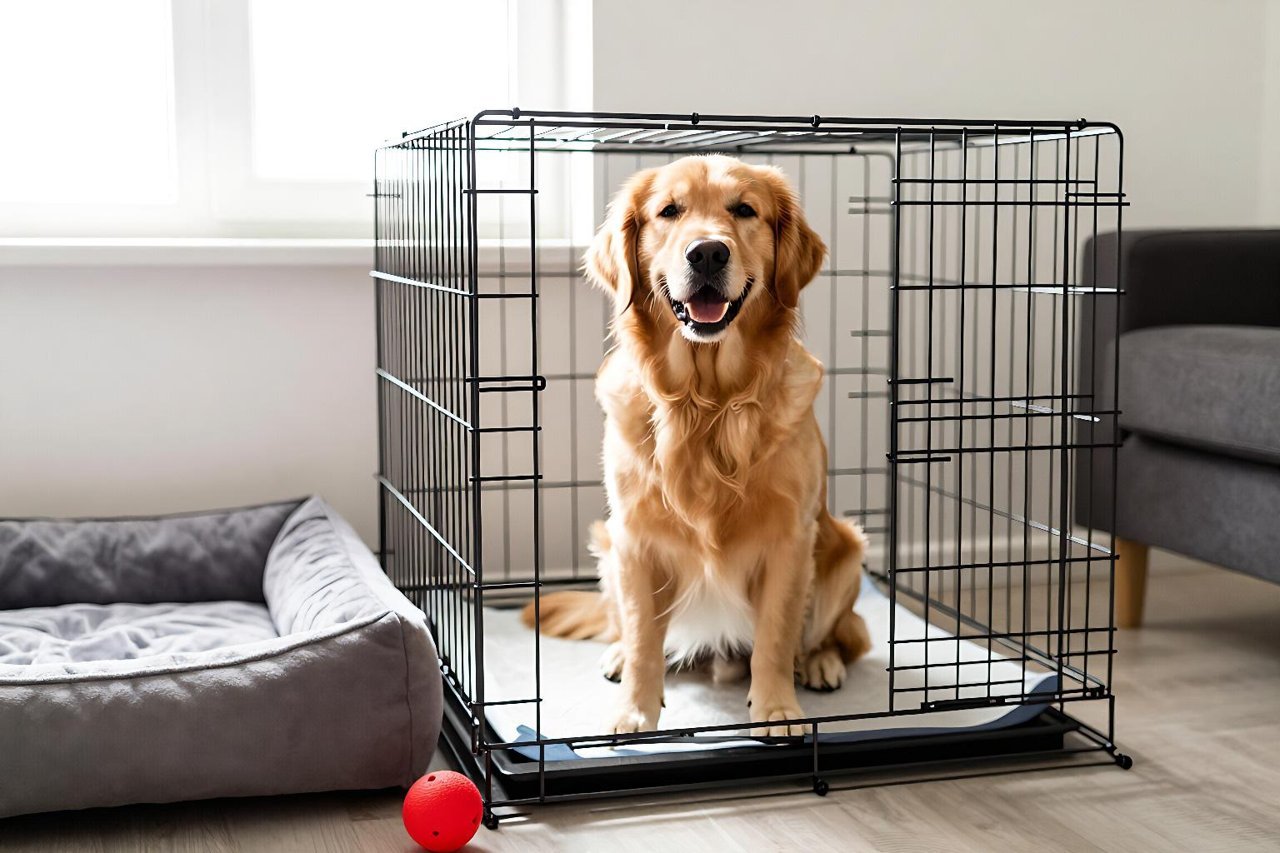
A bare wire box is not a home. At minimum, your dog needs a comfortable bed, clean water, and a safe chew toy.
Bedding That Supports
For the bed, don’t use a towel or a blanket that your dog can shred and swallow. Use a fitted crate pad or a rounded bolster bed. If your dog is older, arthritic, or has hip dysplasia, a thin piece of foam won’t cut it. You need something that supports their joints. Our guide on whether you really need an orthopedic dog bed explains what to look for in foam density and firmness, and when a cheaper option is fine.
Water, Chews, and Extras
For water, use a tip-proof bowl that clips to the side of the crate. In an outdoor run, use a heavy metal bowl or a hanging bucket. For most dogs, a bowl is better than a bottle because it’s easier to drink from and you can see if it’s empty. You’ll also want to add one or two safe chews and a spare toy so the kennel never feels boring.
- A washable bed that fits the entire floor space.
- Water in a bowl that clips to the kennel wall or sits low enough to reach.
- One or two safe chews, like a rubber KONG stuffed with a small treat.
- A spare toy to rotate, so the kennel never feels boring.
Avoid rawhide, pig ears, and other chewables that break into pieces. They’re a choking hazard when a dog is unsupervised.
Step 5: Introduce the Kennel Gradually (Don’t Just Shut the Door)
It’s tempting to put your dog inside and hope for the best, but that almost always backfires. Instead, turn the kennel into a place your dog chooses to be. Start on day one with the door open. Scatter a few treats on the floor inside. If your dog hesitates, toss a treat a little deeper, and finally one at the back. Don’t close the door yet. On day two, feed your dog a meal inside, with the door open. On day three, close the door while your dog eats, and open it the second they finish. Then try it with the door closed for two minutes while you sit on the floor beside the crate. Gradually increase the time and the distance you move away. Over the course of a week, build up to 10-minute sessions. If you have a puppy or a dog with separation anxiety, you may need to be even slower. The pace isn’t important; the association is.
Once your dog is comfortable inside, you’ve solved a huge piece of the boarding puzzle. Our step-by-step plan for boarding a dog without losing sleep walks you through the rest of the process, from packing to drop-off, so you can relax while you’re away.
Step 6: Keep It Safe and Clean (And Avoid These Blunders)
A clean kennel is a safe kennel. Daily, wipe down the floor with a damp cloth. Weekly, take the bed out, wash it, and scrub the crate pans with a mild detergent or vinegar solution. Let everything dry fully before you put it back. An outdoor kennel needs the same attention, but the focus is on the ground. Rake up waste every day, and hose down the cement or gravel at least once a week. Inspect the kennel for rust, sharp edges, or broken latches. A dog can work on a weak seam for weeks before you notice, but one cold night is all it takes for them to chew through it.
Here are the most common mistakes to avoid:
- Buying a kennel that’s too small. That 91-cm crate you already own might be fine for a mid-sized dog, but if you have a Husky, you need to upgrade.
- Using metal bowls in direct sun. The water heats up in minutes.
- Putting the kennel in a room that gets too hot or too cold. A dog can overheat in a garage in summer.
- Leaving your dog in the kennel for more than 4-6 hours during the day. If you work full time, consider a dog walker or a safe room instead.
- Forgetting to check the kennel’s ventilation, especially for plastic crates with a solid back.
One more thing: if you’re heading out of town for a few weeks, the kennel setup you’ve just done will make boarding much easier. For a detailed look at the entire boarding process, from choosing a facility to preparing your dog’s medication, read our complete guide to boarding a dog for a stress-free stay.
When you follow these steps, the kennel stops being a metal box and starts being a comfort zone. The moment your dog walks in on their own to take a nap, you’ll know you’ve done it right. And if you’re planning a trip, that comfort will translate directly into a smoother, less stressful boarding experience. Take the time to set things up properly now, and your dog will thank you for years.


